Advanced, Color, Freebies, Hand Drawn, Hand Lettering, Illustration, Procreate, Resources, Tutorials
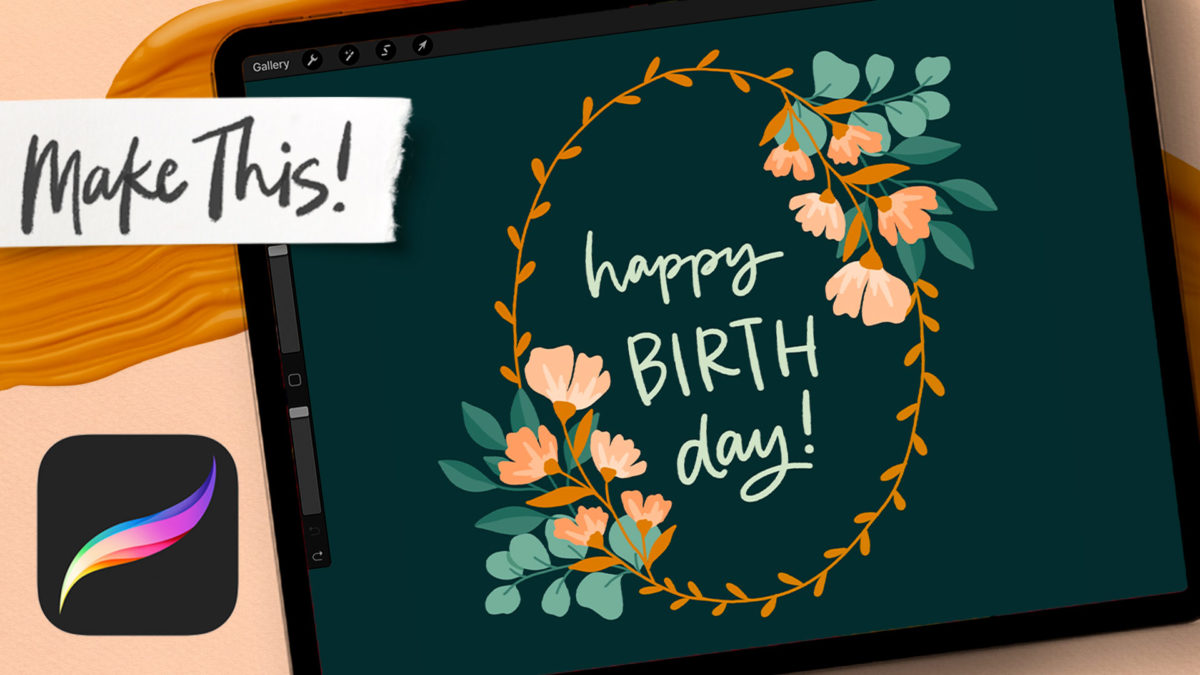
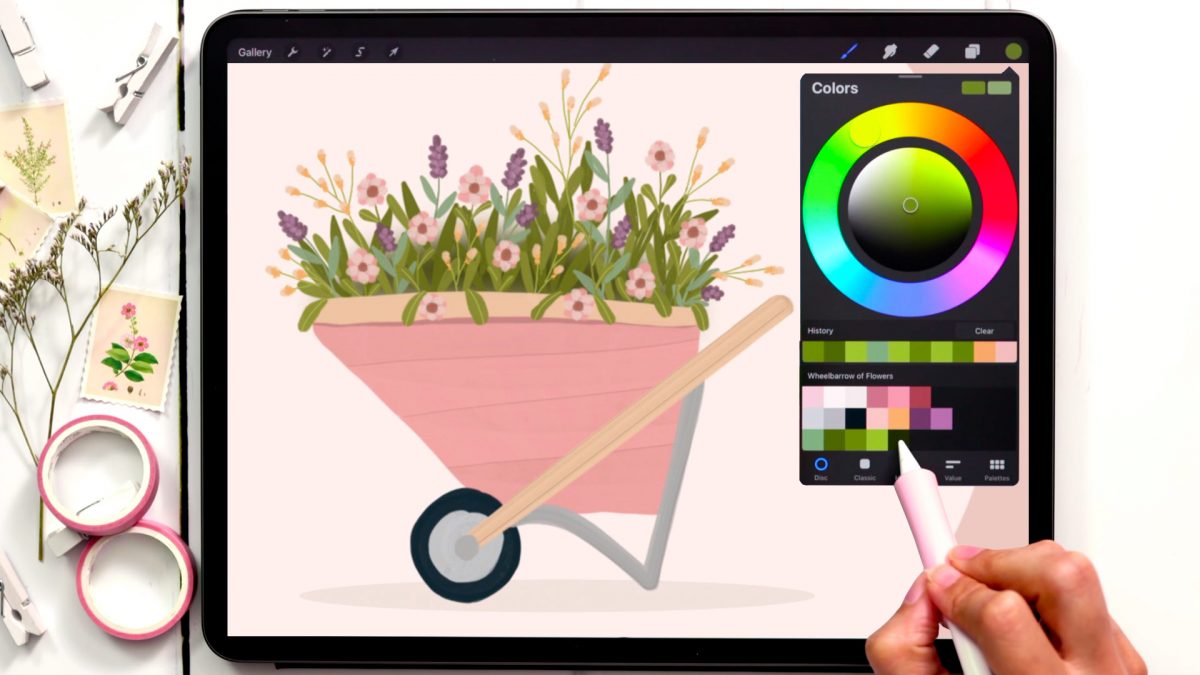
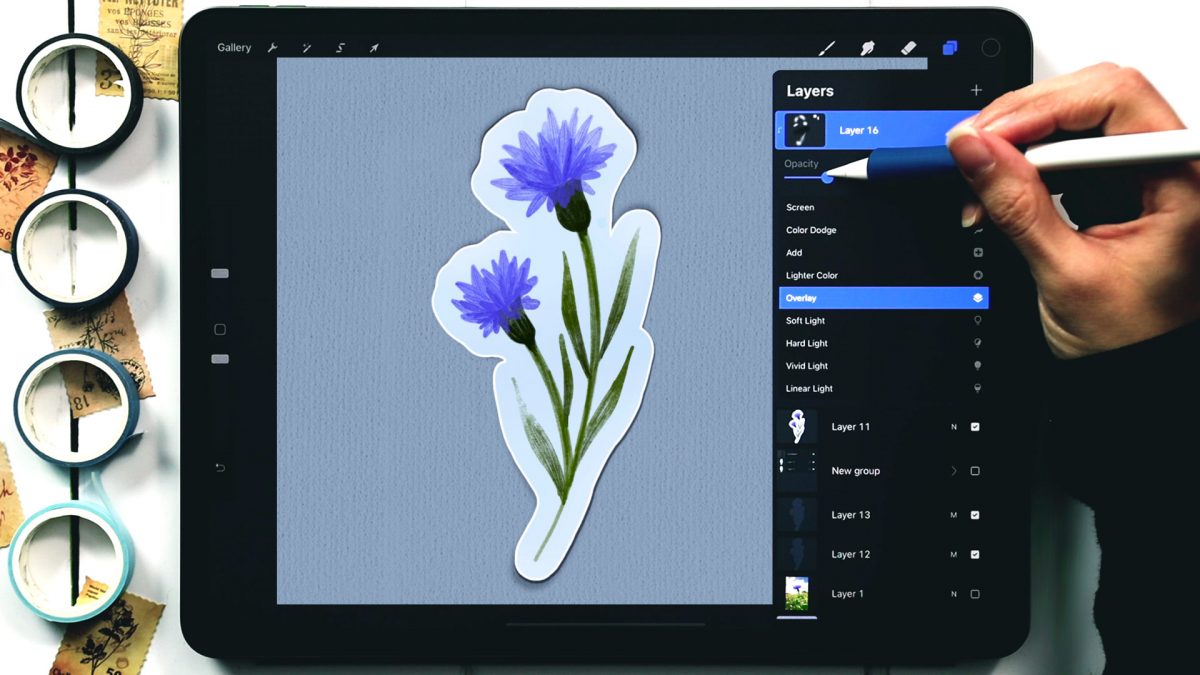
Paint Flat Florals for Birthday Stationery in Procreate
Happy Tuesday! I’ve got some fun flat florals for you today using a symmetry method that works perfectly for stationery! By using a symmetrical frame shape centered on the canvas, we can repeat the elements as they’re drawn and they’ll be placed exactly where they need to go! This is an advanced tutorial (we use layer order and layer masking quite a bit), so if you need a quick refresher, drop into my free Procreate for Beginners course for everything you’ll need 😉
0 Comments