HomePosts Tagged "ink"

ink Tag

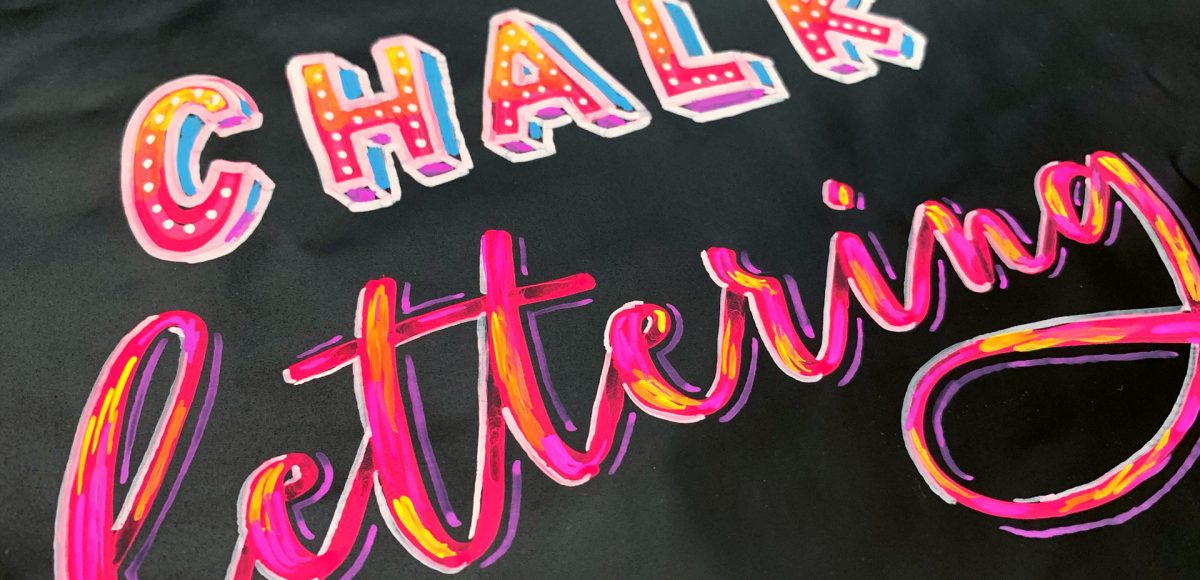
Chalk marker and traditional chalk lettering have been popular for a while now and they don’t seem to be letting up any time soon! While I love both, there’s soooo much less mess with chalk markers, so it makes them a little quicker and easier to experiment with. I had a thought the other week about using a wet paintbrush with my chalk markers to simulate depth. That idea ran into creating a paint streak effect, which led me to experimenting with fine line highlights and shadows. As I came out of that rabbit hole, I was so excited all of my experiments actually came out the way I had hoped, or better! This week, I’m sharing exactly what I did (including other effects), so read on for 10 chalk marker effects anyone can do!

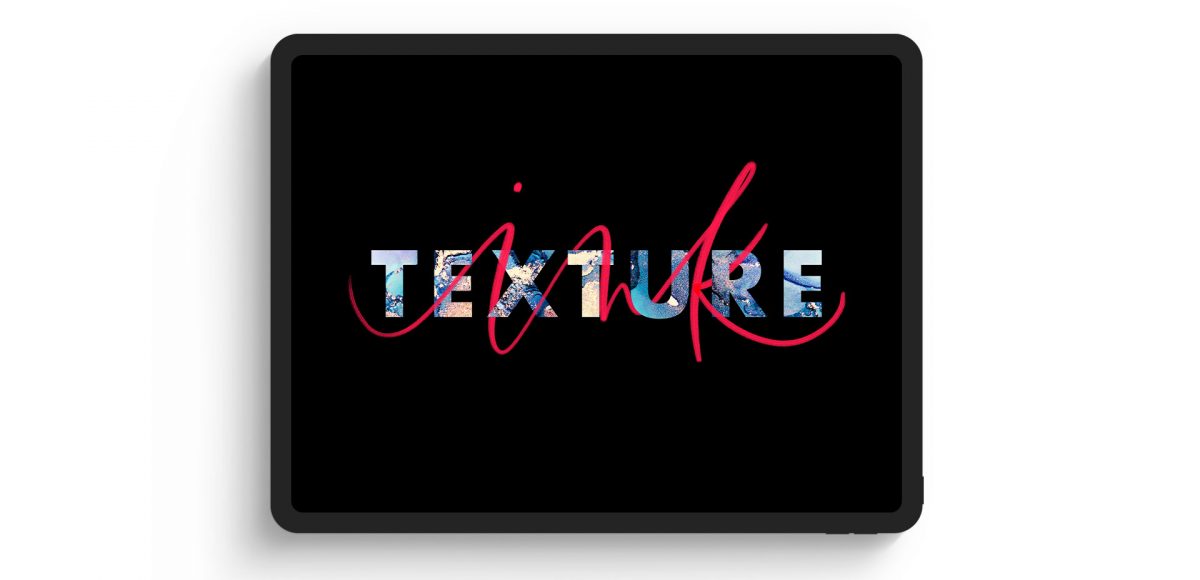
Within the past week, Procreate released their latest version, which allows you to add text! It’s been really fun playing around with the new feature and seeing how I’ll integrate text into future Procreate artwork. This week, I thought I’d share an easy way to create artwork with text, as well as sharing some masking tips, too. Read on for how to use text in Procreate!

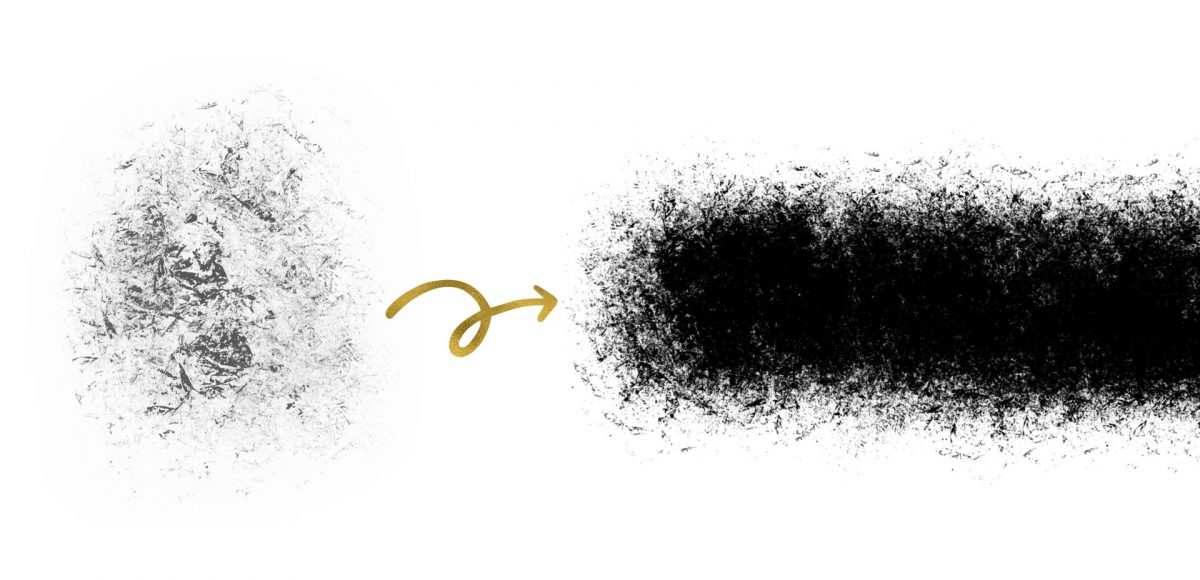
A couple weeks ago, I shared 3 tricks for creating unique grit textures. This week, I’m sharing how to create a gritty photoshop texture brush using a texture we created! This texture brush can be used for borders, backgrounds, illustrations and more (tutorial on those coming soon!). In the video, I share my scan settings and how I edit the texture before ever creating a brush with it. Once the texture is optimized, I share some of my favorite Photoshop texture brush settings. These are settings that you can easily implement into future texture brushes, too. This tutorial is perfect for beginners, so if you’re just getting started with Photoshop, be sure to read on to see it all!

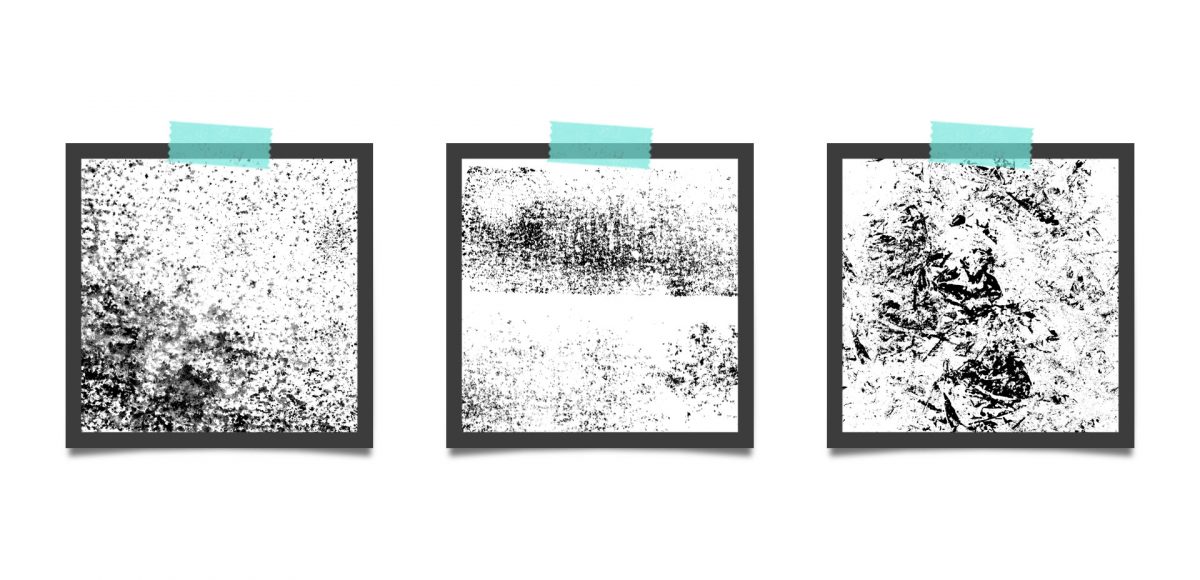
Grit textures are one of the quickest ways to add a handmade feel to digital art. By adding a little texture to edges, borders, blocks of color or even shadows, simulated depth and an organic feel are created. What’s even better is that it only takes a little effort to create and apply them. In this week’s tutorial, I’m sharing 3 of my favorite simple tricks for creating unique grit textures. In the coming weeks, I’ll also be sharing how to digitize and apply them to artwork. Let’s kick this off by breaking out some ink and experimenting!

It’s the last Thursday in September, which means it’s time for your free spooky/eerie October 2017 desktop wallpapers! I’ve been away from my watercolors a little more than I’d like, so it was time to bring them back for October! The ‘spooky’ texture was created using a saltwater wash with this Winsor & Newton pan set and a no.8 round brush. ‘October’ is set in my font, Hawthorne Script, and the dates are set in my other font, Espresso Roast (caps style). The texture was scanned in and everything was combined + enhanced in Photoshop.

The download includes the October 2017 desktop wallpapers in two common resolutions: 1280x1024px and 1920x1080px, with and without dates. I’ve left the year off of the ‘no-dates’ versions, so you can use it for any October in the future, too!

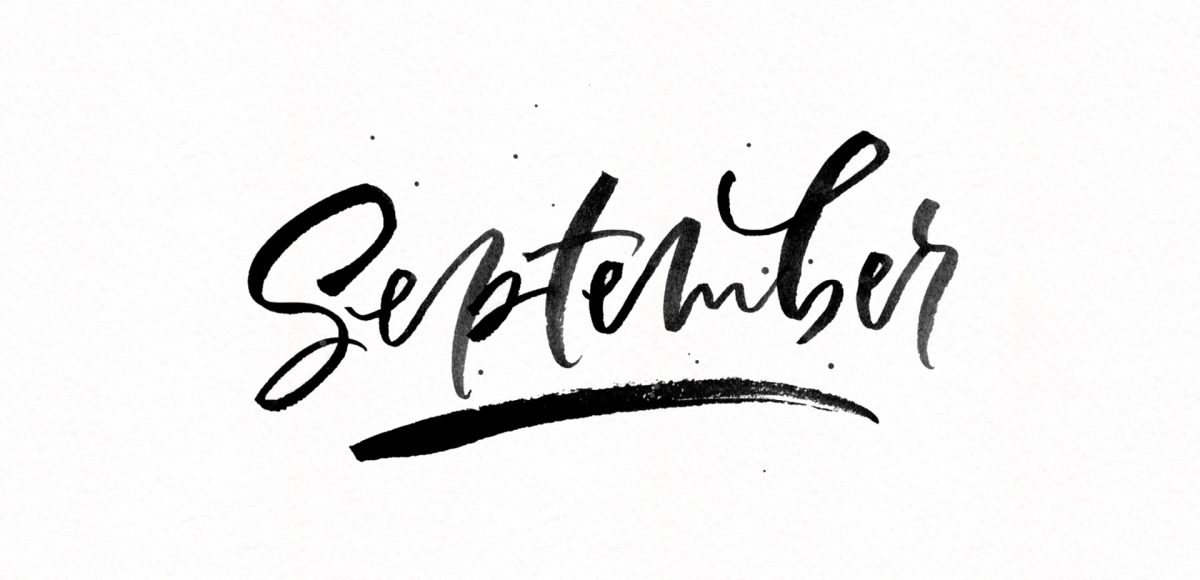
It’s the last Thursday in August, which means it’s time for your free September 2017 desktop wallpapers! I’ve been experimenting with freehand brush lettering quite a bit lately (check out some examples on my instagram), so I thought it would be fun to bring that into a wallpaper. I’ve never created a wallpaper like this before, or fully black and white, so it felt good to change things up a little 🙂 The lettering was created using this no.0 round Winsor & Newton Cotman brush with this slightly diluted Dr. Ph. Martin’s black concentrated watercolor (3-4 drops of water per drop of watercolor) on copy paper. It was scanned in, with contrast enhanced in photoshop and a watercolor paper texture added to the background. All days of the week (R is for Thursday to avoid two same sized T’s) and numbers were typeset using the caps style of my font, Espresso Roast.

The download includes the wallpapers in two common resolutions: 1280x1024px and 1920x1080px, with and without dates. I’ve left the year off of the ‘no-dates’ versions, so you can use it for any September in the future, too!

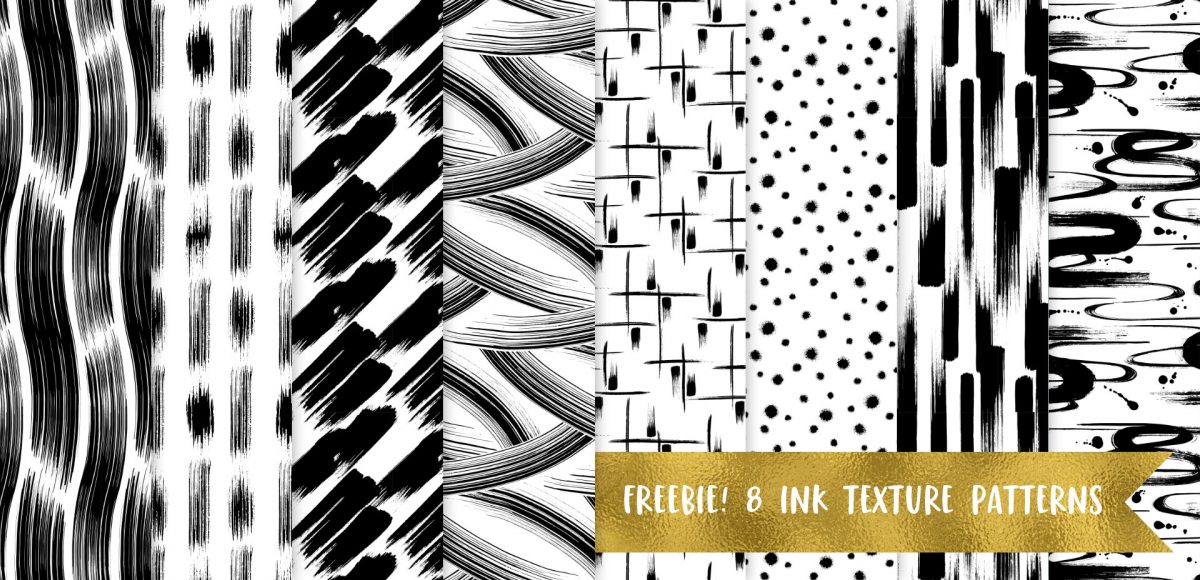
Happy Thursday! Today I have an awesome gift to share with you! My friends at Vecteezy put together an incredible set of 8 seamless ink texture patterns just for Every-Tuesday readers! I got so excited after I received them that I started playing around with them right away (see below). This free set comes not only as ai files, but eps files, psd files, a photoshop pat file *and* png files. Instructions on how to use them + ideas for use are all below!

I’ve only recently started incorporating Illustrator texture brushes into my work, and I regret not doing it sooner! Illustrator texture brushes offer so much hand made feel with such little effort, you almost feel like a magician 😉 To get started, all you need is any kind of vector texture like this set of inky brush strokes or these mini grit textures (both free!). From there, we convert them into Illustrator art brushes with specific settings and we’re done! This will be such a great addition to your regular workflow if you love including extra texture into your work. For the tutorial, we’ll create some inky and gritty typographic drop shadows in just a few quick minutes. Read on to see it all!

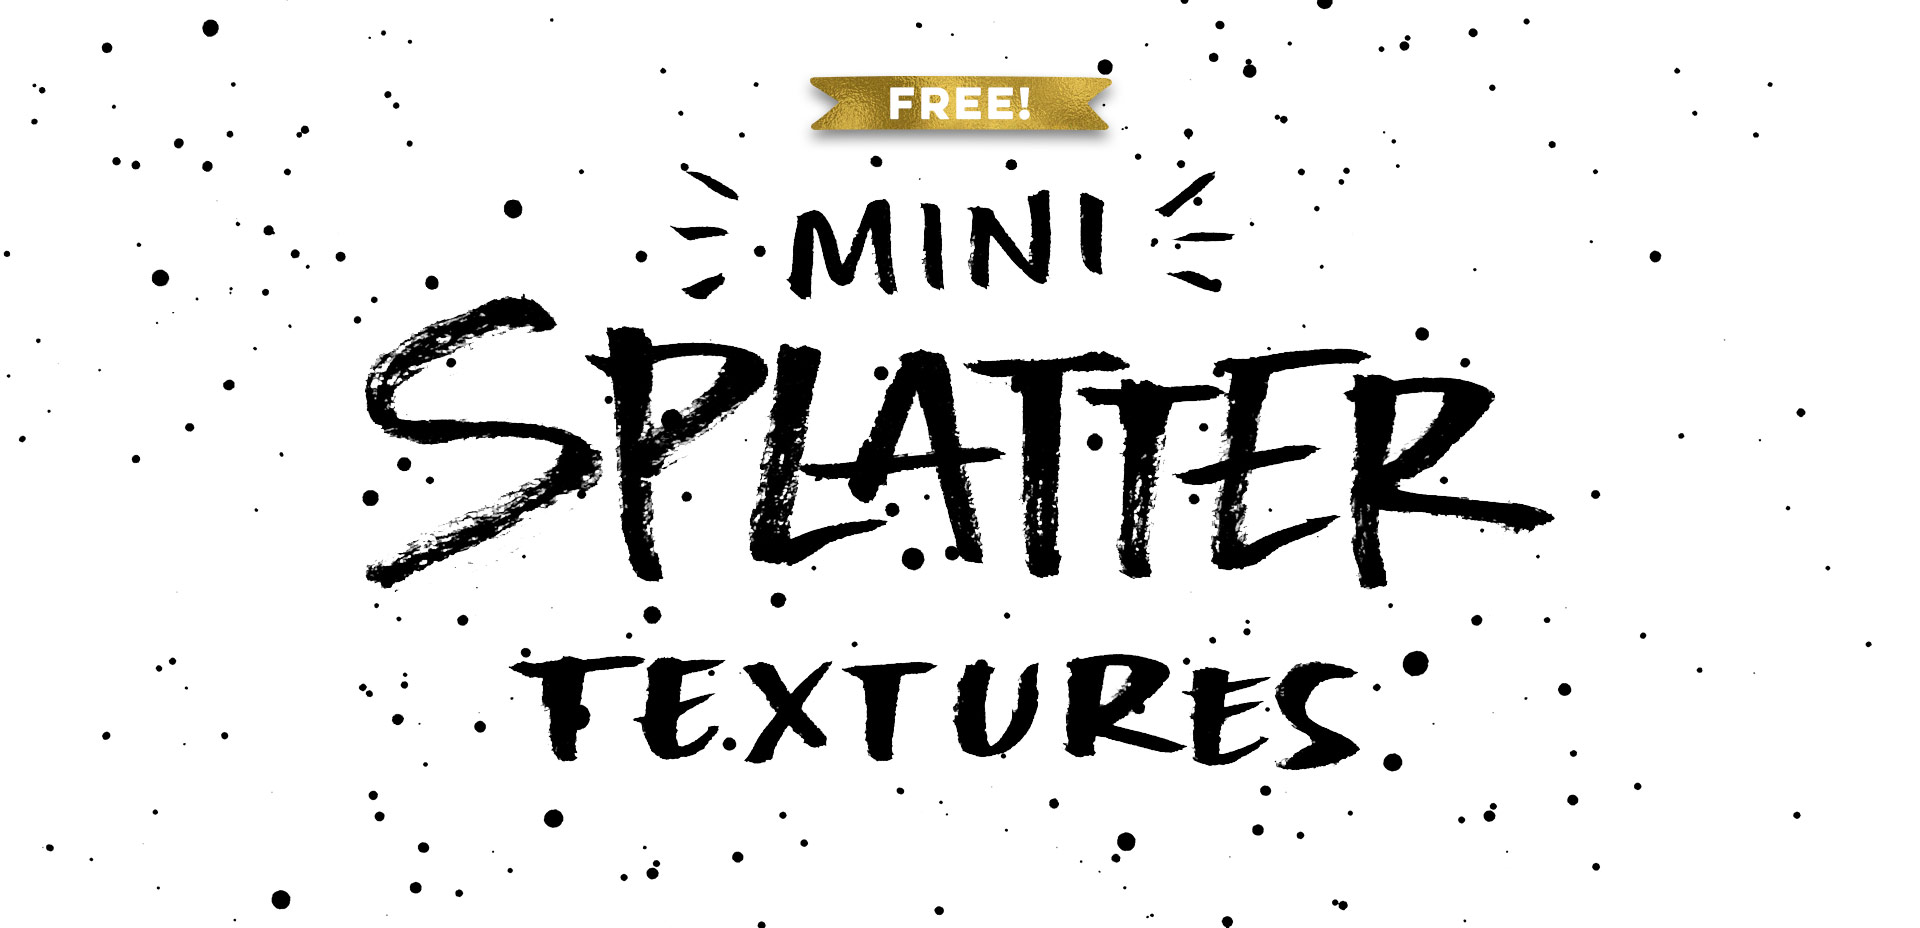
In many of the ventures I’ve taken into the depths of Instagram eye candy-land, adding some splatter to finished artwork is totally a thing. Here’s another thing though – splattering those babies is messy. Those little splatter dots actually go everywhere – I still have some on my keyboard from when I made this freebie 😁. If you’re taking your artwork digital, or editing things a little further, there’s a way to avoid those little keyboard/desk/everywhere ink freckles: pre-made splatters! This week’s freebie is a set of 3 varied mini ink splatter textures you can use at will. Grab them below, plus check out a few ideas + inspiration for using em!

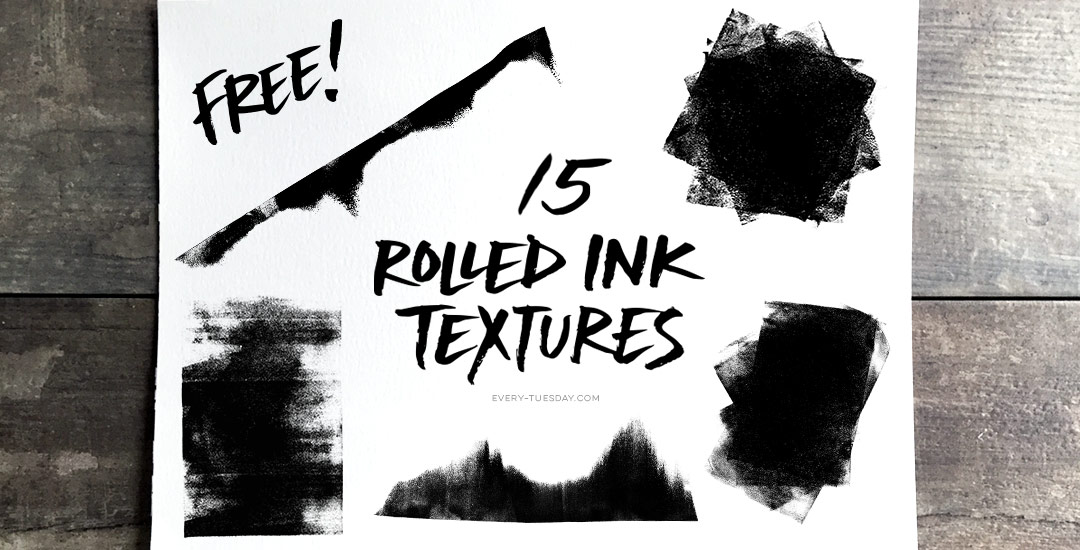
It’s been a little while since I shared a freebie texture, so today I’m sharing some ink textures! I started using these rolled ink textures in my artwork a while ago, the most recent example being this one to show off Tuesday Script. I’ve even masked these into typography using the same method as watercolor typography for some really nice textured type results. If nothing else, they are sooooo fun to play around with and add that little extra handmade feel to any kind of artwork. The best part? Every texture comes as a vector ai file for versions of Illustrator, CS3 or newer PLUS every texture comes as a transparent png, so it’s cake to use with any other kind of software 😉 Preview images + download link below!

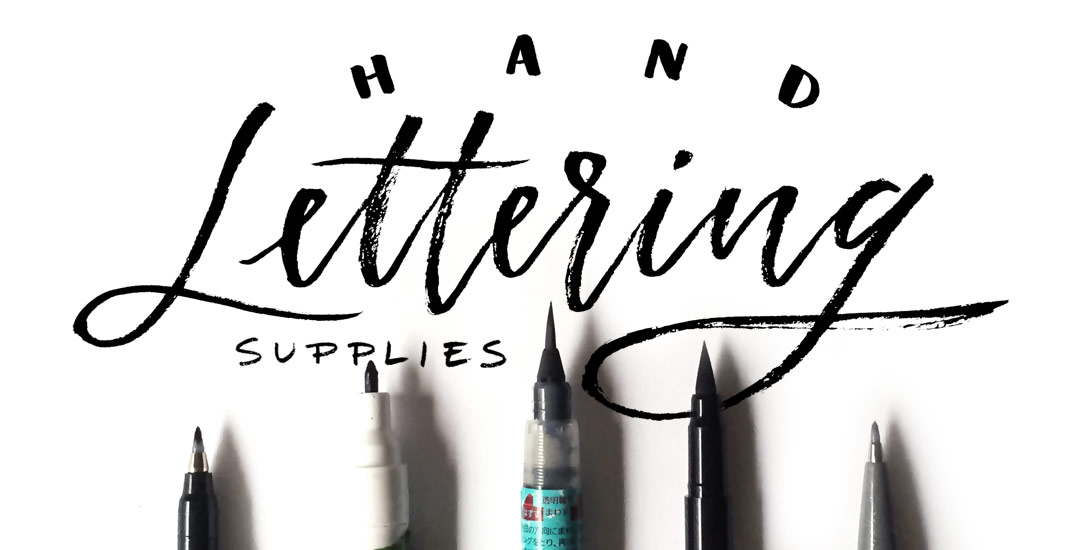
I experiment with new materials and supplies constantly for my (traditional) hand lettering. I would actually be scared to know how much time I’ve spent eyeing different hand lettering supplies (and reading their reviews) over on Amazon. I’ve invested in a lot of new ones this year and currently I have 5 favorites that I find myself always returning to and reordering. If you’re just starting out with lettering, or if you’re on the hunt for some new supplies but would like to read a real (almost every day) user review, here are my current top 5 favorite hand lettering supplies (totally unbiased, with no affiliation to any of em) 🙂

Happy Thursday! So, today I’m doing something a little different..a written craft tutorial 🙂 I created a Happy Birthday block print a few months back to save a little dough on birthday cards this year (plus, who doesn’t love a hand made card better anyway?!), and I took process photos as I carved. I came across the process shots the other night and thought they’d be fun to share. Lucky timing too, if anyone wants to block print some holiday cards this year (wink, wink). The process is super simple and the final outcome has such a crafty, love-injected feel that just looking through the photos again makes me want to break out my carving tools 🙂 Photos, instructions + links to the products used all listed below!

GDPR Icon

Your Privacy Matters

We use cookies to customize and create content that’s most important to you. We’ll never share the info we collect.

View Privacy Policy