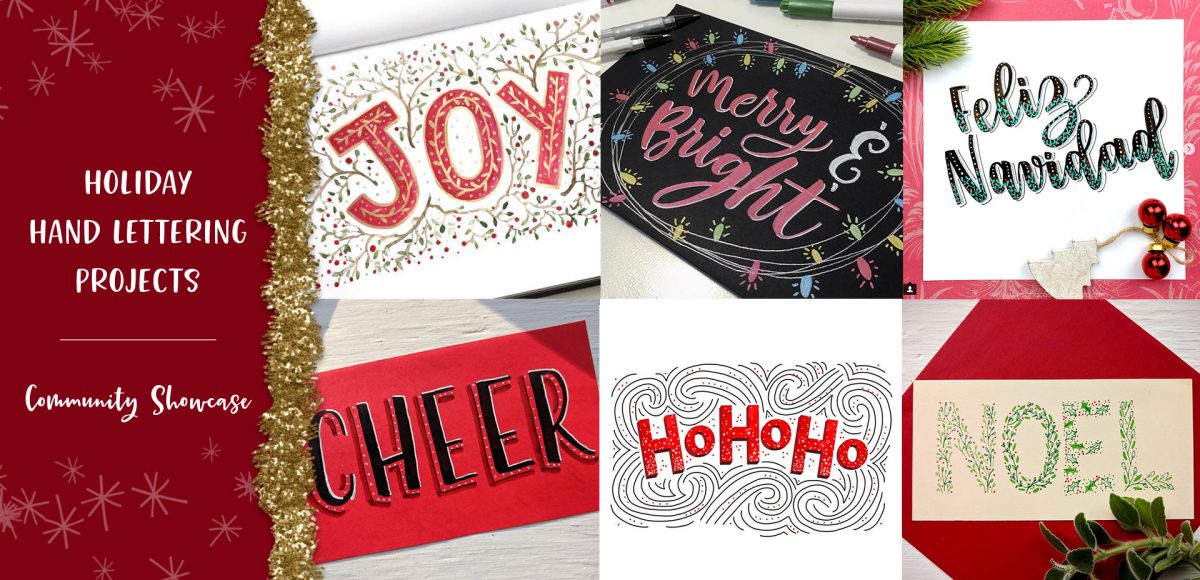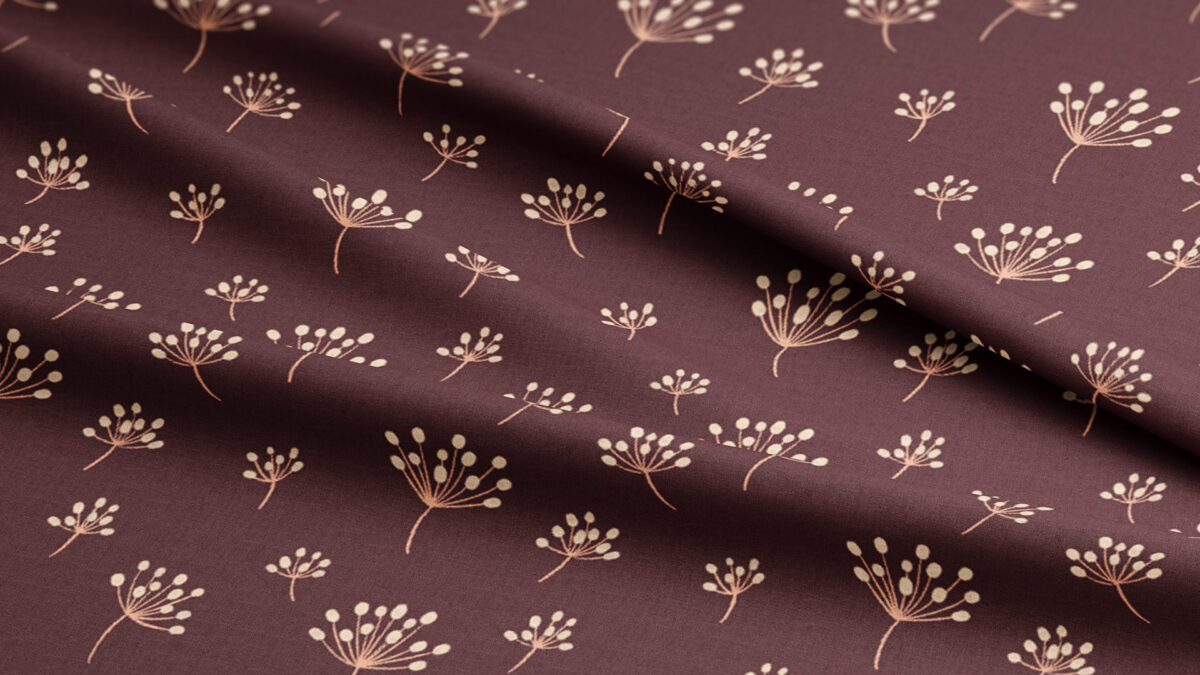
How to Create the 3 Most Popular Pattern Repeats
Interested in creating beautiful, stop-and-stare patterns that will captivate your viewer?
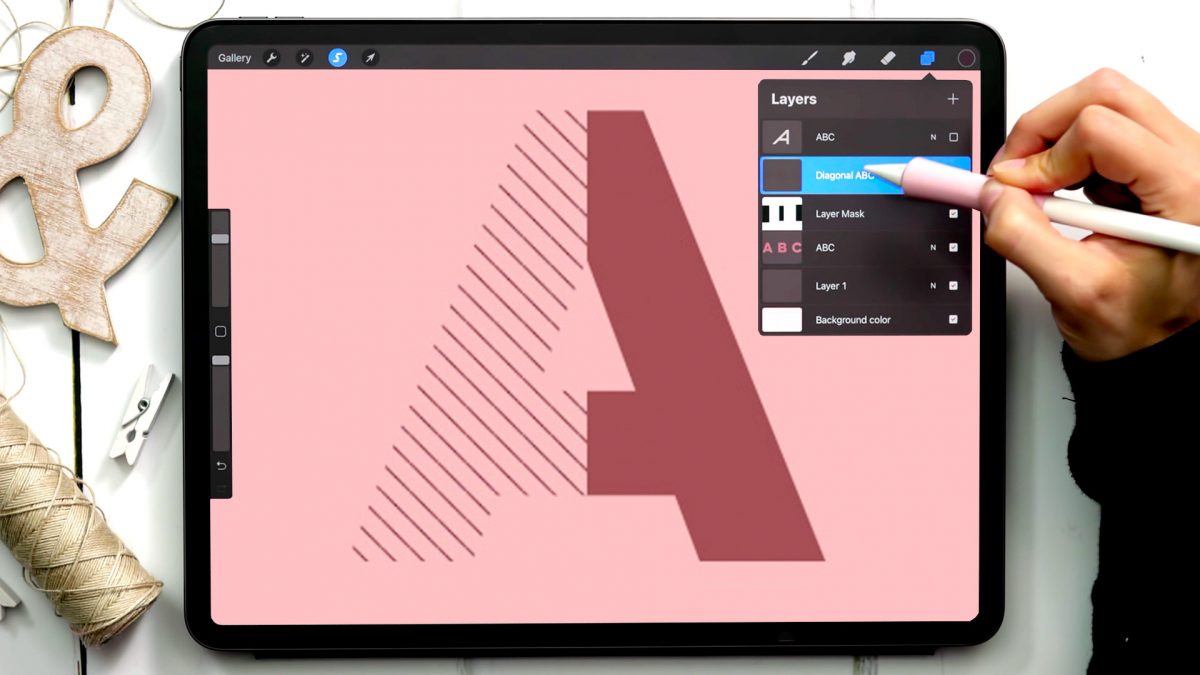
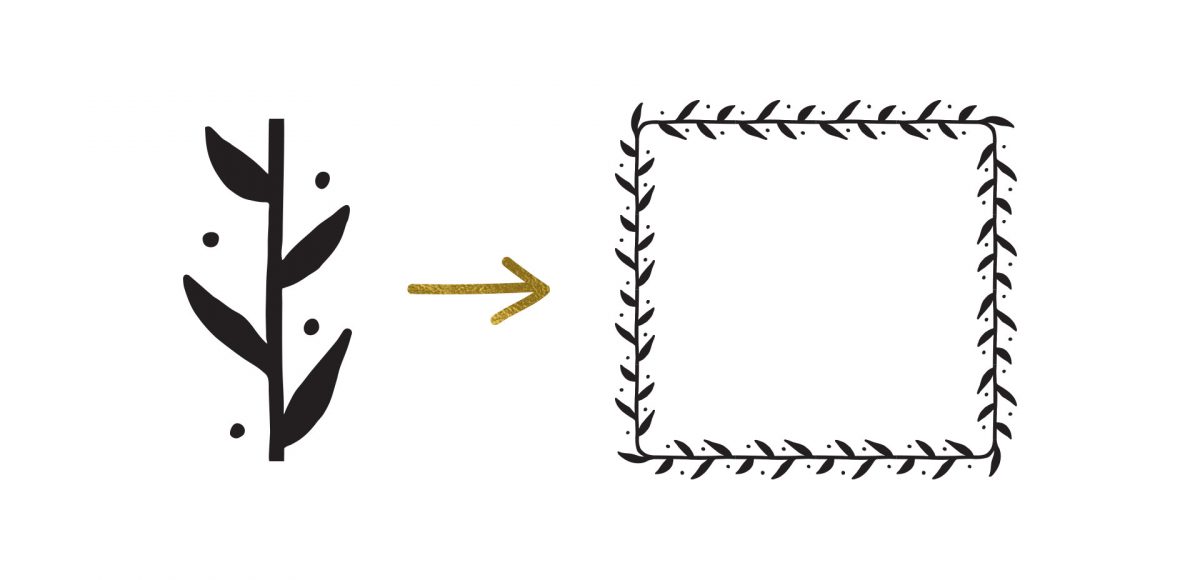
Understanding the different pattern repeats and how they work, then marrying them with pattern styles is a magical equation worth grabbing that [Apple] pencil for. No head scratchers here, though; I’ve got everything you need to start creating those eye candy patterns below!
2 Comments