HomePosts Tagged "photography"

photography Tag

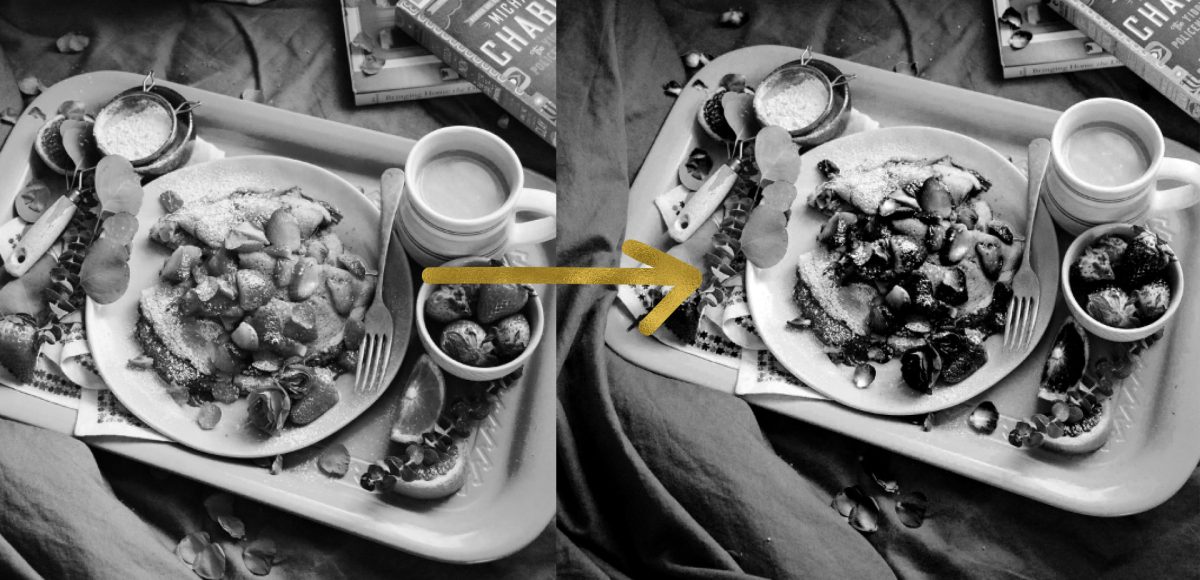
Happy Tuesday! I know we’ve been a little Illustrator crazy over here, but it’s hard not to love a program that has so many rescalable benefits! However! I definitely have not forgotten about Photoshop, so today I’ve got a video that I think will really help with your black and white photo enhancements. I’ve got two options for you this week: enhancing existing black and white photos, and best practices for converting a color photo into a black and white one. There are a few *really* simple steps you can take to bring them more to life, and this tutorial is perfect for beginners! Read on to get started with your own!

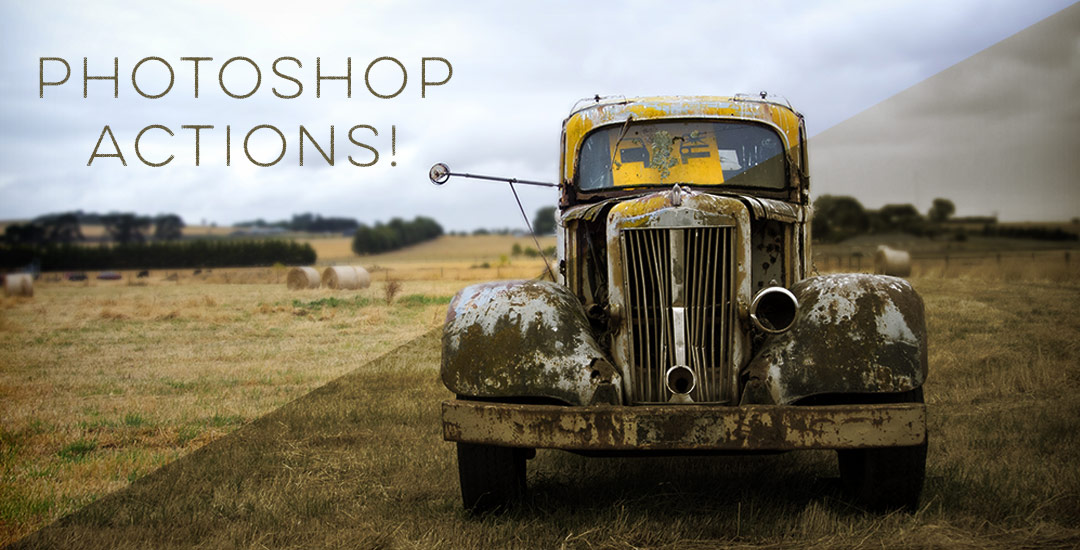
One of my favorite time saving tools when using Photoshop is Photoshop actions. I have used these for batch photo and file delivery to clients in a professional setting, and batch editing when putting together photos for family. Whenever you need to apply (the same) multiple settings to many files or photos at once, you create an action, then just run it for all of the others and you’re done in no time 🙂 It’s basically the closest thing to magic I’ve seen Photoshop do. In this week’s tutorial, we take 3 photos (this one, this one, and this one) and create a unique action for them that sets all of their widths to 1000px and also applies a sepia tone effect to the photos. We apply everything we need to one photo, then hit a single button to apply the same exact multiple steps to the others. It’s cool. You should definitely check out the video below to see!

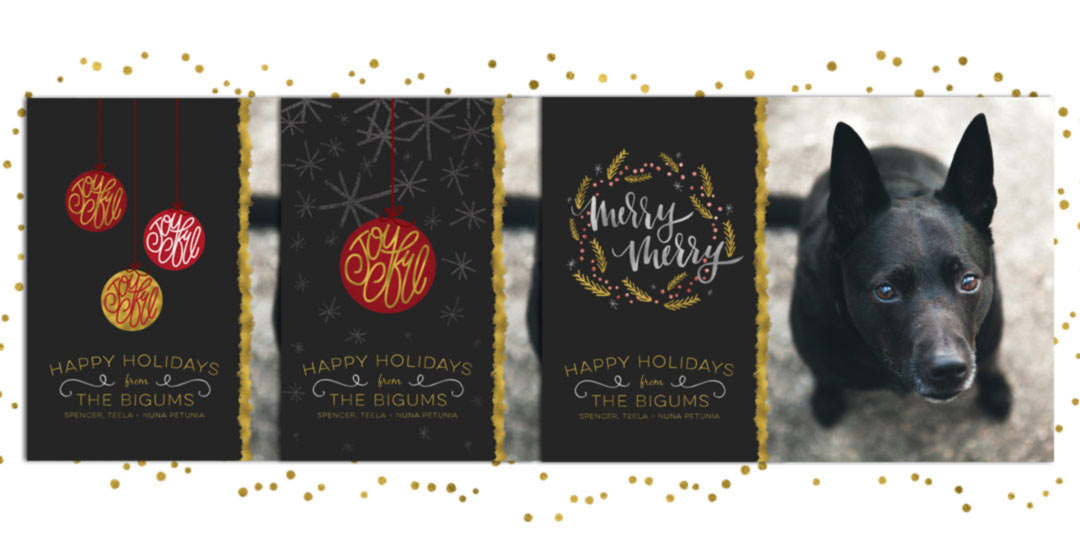
We are one week into December, which means we have one less week to send out holiday postcards! Since we created some nice holiday assets the last couple of weeks, I wanted to share how you could easily repurpose them for a holiday photo postcard, 3 ways. In this week’s tutorial, we’ll create a print ready holiday photo postcard in Photoshop with a little help from the Glitz + Glam Kit to quickly and easily get your holiday postcards off of your to do list 🙂 The final postcard is sized 7″x5″ and can fit snugly into any A7 sized envelope. Full tutorial, links to recommended online printers, fonts used and past tutorials all listed below!

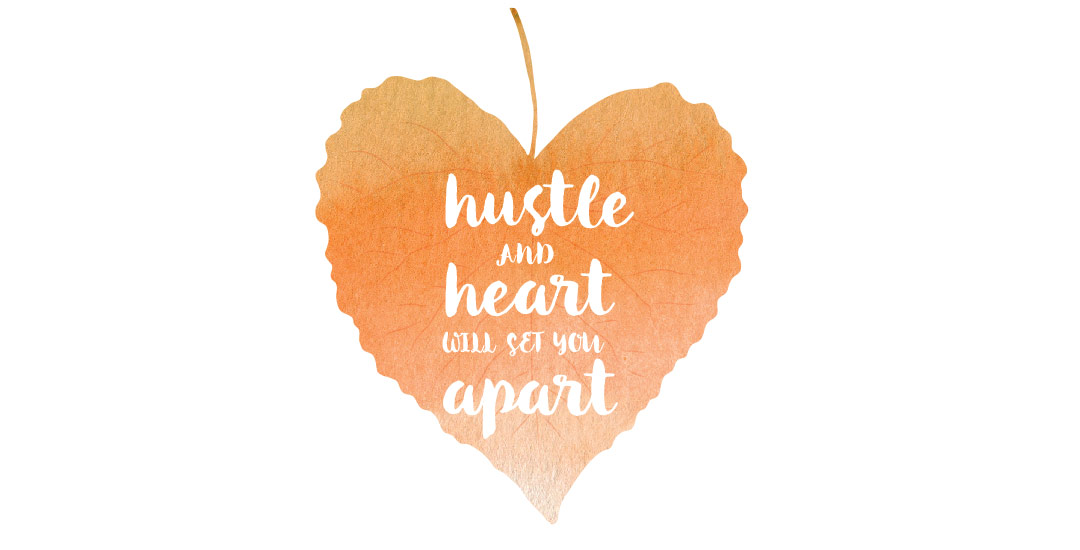
Have a photograph you love and wonder how to make it into an art print you could gift or sell? In this week’s tutorial (brought to you courtesy of Yasmin’s suggestion!), we’ll create an art print based on a photograph by taking a photo of an object and recreating portions of it in Illustrator. We’ll add some watercolor texture and even a nice quote using a beautiful brush script font. This is a quick way to practice your Illustrator skills and create something personal you could gift or sell at the same time! Start by picking out a photo of an object or use the same one as I am (link below) and let’s go!

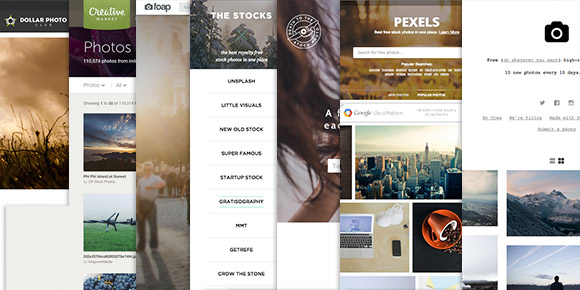
If you’ve ever found yourself working on a project searching for just the right image, but only finding overpriced stocky looking images instead, you are not alone. My frustrations peaked about 2 years ago when I was working on collateral for a law practice (do photos get stockier than that?) and, after going through shutterstock, istock and yes, even ridiculously priced getty, I’d had enough. I knew there had to be a site with photos priced for real people that weren’t so obviously staged. So, after searching the typical sites, I adjusted my google query, panned + mined, then struck gold. This week, I’m here to share the photo wealth 🙂 Read on for my go-to sites for the best in free + affordable photos.

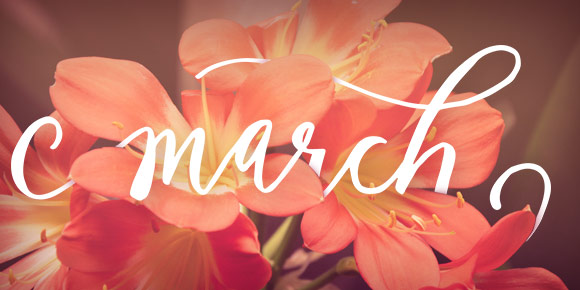
There are a lot of tutorials out there on how to create hand lettering, but far fewer on what you can do once you create your lettering. In this week’s tutorial, we’ll create a hand lettered photo composition using just photoshop. We’ll start with placing and coloring our lettering on a chosen photo, then go over the basics of masking and applying environmental shadows to give the final piece a polished look. As a bonus, I’m including the lettering used in the tutorial so you can follow along exactly if you’d like. Let’s get started!

Happy Tuesday! Hope you all had a great Thanksgiving! Spence, Nuna + I went low key + celebrated just the 3 of us together. After dinner, we spent the rest of the evening sipping blackberry rum fizzes, dipping italian herb bread in oil + vinegar we brought back from Sonoma + binge listening to Serial while Spence read coding tutorials + I doodled 🙂 ah, days off are the best!

But it’s back to the grind for now.. I’ve been thinking about fun holiday themed tutorials I could make this year and this was one of the first ones that came to mind. You can use it on greeting cards, e-cards, gift tags, wrapping paper – you name it! And you can use the same technique all year long. In this week’s tutorial, we’ll mask an image inside of text in Photoshop in a few quick and easy steps. Click on to get started!

GDPR Icon

Your Privacy Matters

We use cookies to customize and create content that’s most important to you. We’ll never share the info we collect.

View Privacy Policy