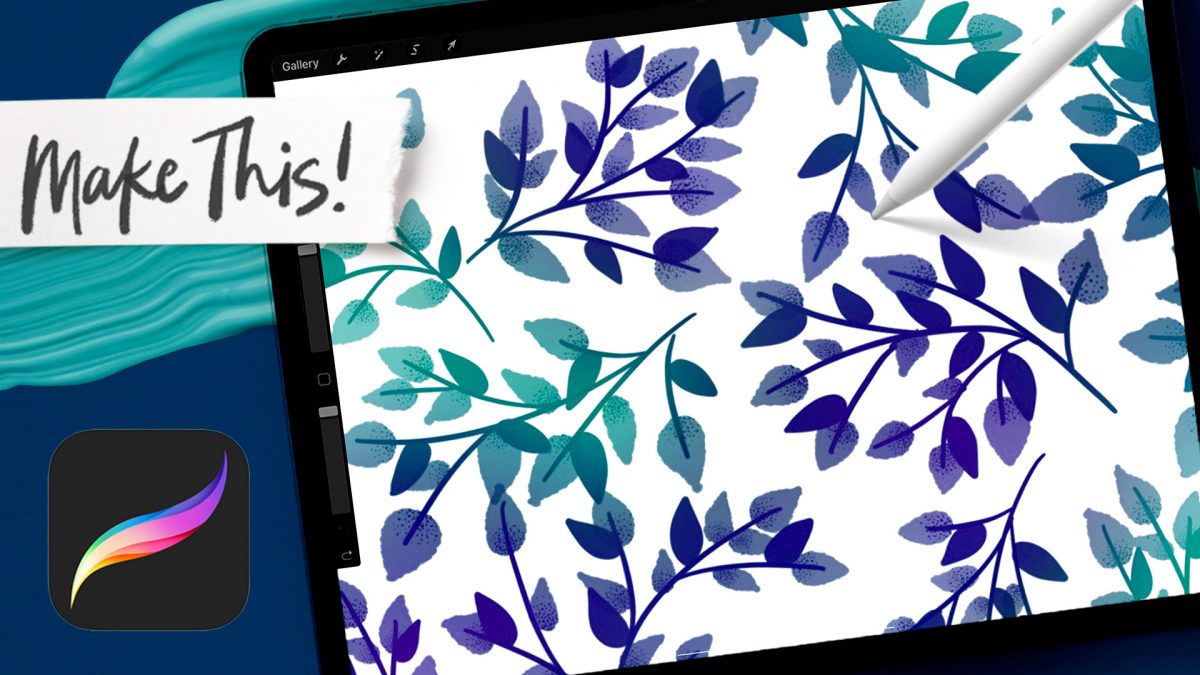
HomePosts Tagged "seamless"

seamless Tag

After the seamless pattern tutorial the other week and the free seamless pattern brushes last week, I wasn’t quite ready to stop this pattern train 🚂 So this week, I’m sharing how I make a seamless pattern brush in Procreate. But this is soooo much more than just a standard pattern brush tutorial. I’m also sharing how I add transparency and texture to those brushes, alllll of my pattern brush settings *and* how I use color dynamics to create soft gradients 🤩 There’s a TON of info packed into this one and the possibilities really are endless!

After I created this tutorial, I received a few questions about how to create pattern brushes with corners in Illustrator. If you ever need your pattern brush applied to a 90º angle, you’ll need to implement custom corners. Here’s the kicker, though; Illustrator CC makes corners super easy when the pattern brush is geometric. When your pattern brush is hand drawn, there are extra considerations to make, so we’re covering them all in this week’s tutorial. Read on to create hand drawn pattern brushes with corners!

Happy Thursday! Today I have an awesome gift to share with you! My friends at Vecteezy put together an incredible set of 8 seamless ink texture patterns just for Every-Tuesday readers! I got so excited after I received them that I started playing around with them right away (see below). This free set comes not only as ai files, but eps files, psd files, a photoshop pat file *and* png files. Instructions on how to use them + ideas for use are all below!

This past January, we created a foil stamp effect in Photoshop, and I’ve recently had a few requests on how to accomplish the same look in Illustrator. With the holidays fast approaching, now you’ll have plenty of time to use it in Illustrator, too! Not only can this look be applied to typography like in the example, but you can also export it as a graphic style. Exporting graphic styles allows the foil stamp effect in Illustrator to be applied to any vector element, as well. Pretty powerful stuff. At the end of the video, I share how to export those graphic styles to use them in new documents or share them with others. Read on to see it all!

I’ve been creating more patterns in the last year than I ever have before. Patterns are such a wonderful tool to add personality quickly to designs without a ton of effort, or overthinking. One of the best parts: they can be added to backgrounds, text and design elements with just a click of a button in both Photoshop and Illustrator. Say you have a Photoshop pattern, maybe a watercolor texture pattern, like we created in this tutorial. If you’d like to use it as a pattern swatch in Illustrator, how do you convert that Photoshop pattern file? In this tutorial, we go step by step on how to convert any Photoshop pattern into an Illustrator pattern swatch in a few quick steps. Read on for everything you need to know!

To finish up Photoshop month, this week I wanted to share one of my favorite ways to work with watercolors in Photoshop – turning them into seamless texture patterns! If you’ve taken my Watercolor Textures for Graphic Design class over on Skillshare, this week’s tutorial will be a refresher for you, but I’m also sharing how to take the pattern you create and convert it into an Illustrator pattern swatch (check out around 8:20 for that), so there’s something new for everyone 🙂 My newest watercolor texture kit (vol. 3) just went live today, so I’m excited to share textures from the new kit throughout the video – these are my most detailed and colorful ones to date! Click below to get yo’ pattern on!

Happy Tuesday! This week I’m excited to announce my newest Skillshare class, Watercolor Textures for Graphic Design. If you’ve ever wondered how watercolor textures like this and this are created, color enhanced and removed from their backgrounds, this class covers it all! We even finish the class creating seamless, repeatable watercolor texture patterns you’ll be able to apply to any of your Photoshop designs in just a couple of clicks 🙂 As a special gift to blog readers and youtube subscribers, this week I’m sharing the class trailer, as well as one of the videos from the class you wouldn’t otherwise get to see without enrolling. If you’ve never tried Skillshare before, you can watch the full class for free (and any other Skillshare classes for an entire month) using this link. Hope to see you in the class!

A few months ago, I shared how anyone with any version of Adobe Illustrator can create a seamless pattern. Once Adobe created CS6 a few years back, they included the pattern tool and it was a giant game changer for anyone who loves to create vector patterns. Not only did it make the entire pattern creation process faster, it eliminated Illustrator’s tendency to get glitchy with those white hairlines that would sometimes appear in our patterns.

In this week’s tutorial, we’ll go over everything the pattern tool can do, all the different pattern styles you can create using the same elements, and we’ll do it all by using the same menu. Head’s up, this tutorial only applies to CS6 or newer versions (CC) Illustrator users. Let’s make some patterns!

One of my favorite things is taking a doodle and reimagining it digitally. If you’ve been here before, you know that’s true! One thing I find myself doing a lot with my mini doodles lately is turning them into seamless pattern brushes so they can connect to make (any length) dividers, laurels – you name it. There’s a little trick to getting them seamless and once you do, they are so much fun to play with. In this week’s tutorial, we’ll take a mini doodle, vectorize it, make it seamless, then convert it into a multi-purpose, seamless pattern brush in Illustrator. Read on to see how easy it is!

Seamless patterns in Illustrator have been on my tutorial list for a while, so I’m very excited for this week! There’s something about the anticipation right before you test your pattern that I love. The total surprise when you see this pretty little square you made repeated a dozen times – suddenly the little square looks the same, but entirely new. And then go ahead and imagine it on your favorite throw pillow, mug, notebook, mousepad, comforter, wallpaper..it’s a great moment for a designer, even if they’re just daydreams 😉 My goal is to bring you one step closer to those daydreams this week with a method you can use to create seamless, repeatable patterns no matter which version of Illustrator you have. We’ll take a square with elements from the 100+ Vector Leaves and Flourishes pack and go step by step to achieve a fully usable pattern at the end – color palette included. Let’s go!

Do you guys get as sucked into a hand drawn repeat pattern as I do? When a great one catches my eye, I typically stare it down for at least 1-3 minutes. I’m not kidding. There’s something totally hypnotic about it that I can’t resist. I started a pattern inspiration board on pinterest a while ago and ever since, my stream has seriously toyed with my time. I get stuck there so long! This post is also taking me the longest to put together because I’m getting re-mesmerized with each delicious one. It’s a small sacrifice, but I think it’s worth it 🙂 Here’s a roundup of some of my recent favorites from pinterest, and some you can even own if you’re in the market. Enjoy!

GDPR Icon

Your Privacy Matters

We use cookies to customize and create content that’s most important to you. We’ll never share the info we collect.

View Privacy Policy