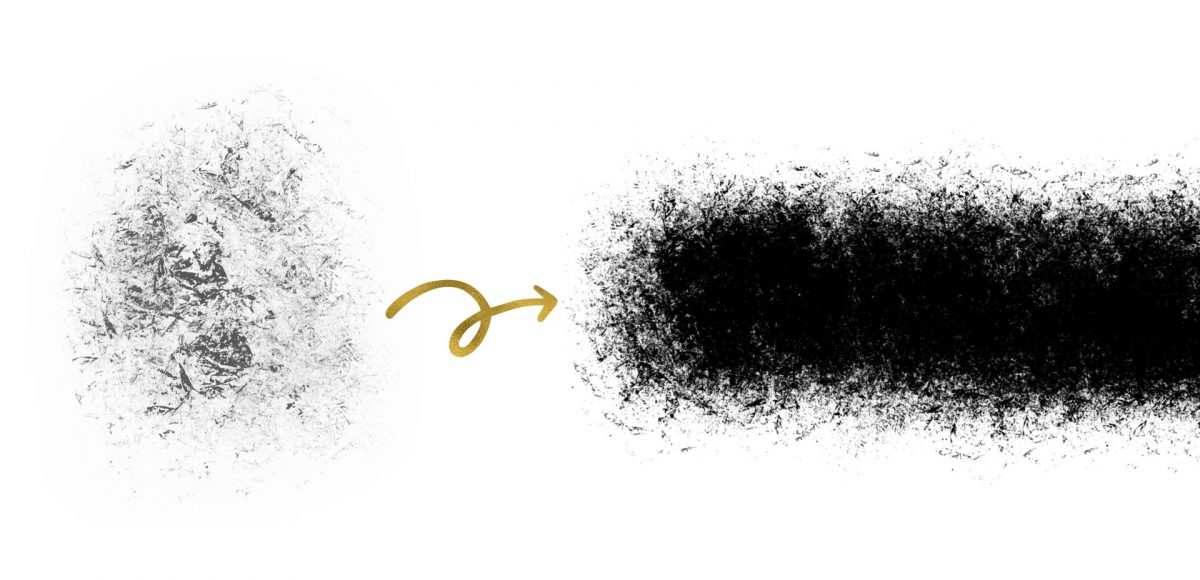
A couple weeks ago, I shared 3 tricks for creating unique grit textures. This week, I’m sharing how to create a gritty photoshop texture brush using a texture we created! This texture brush can be used for borders, backgrounds, illustrations and more (tutorial on those coming soon!). In the video, I share my scan settings and how I edit the texture before ever creating a brush with it. Once the texture is optimized, I share some of my favorite Photoshop texture brush settings. These are settings that you can easily implement into future texture brushes, too. This tutorial is perfect for beginners, so if you’re just getting started with Photoshop, be sure to read on to see it all!
Pin it for later!
Create a Gritty Photoshop Texture Brush
Mentioned in the video:

Here’s a quick overview of everything we did:
- Scan your textures as a black and white jpg at 300dpi.
- Open the jpg in Photoshop. Increase your contrast by utilizing the levels and brightness/contrast adjustments.
- Merge the adjustments with your jpg and magic wand and area of white. Go to select > all and then delete to remove all white from your jpg.
- Draw a selection around your texture then go edit > define brush preset.
- In the brush settings, apply a small spacing and be sure the angle is as desired. Next, go to shape dynamics. Apply a small jitter, minimum diameter of 100 and angle of 100. Apply a scattering of ~50% and check the box for ‘both axes’. If your texture is a bit sparse, add a count of 2. Be sure ‘smoothing’ is checked.
- These are base settings – feel free to adjust them as desired. If you’d like to take things further, try applying ‘transfer’ settings and ‘dual brush’ settings for additional variety.
- Once you’re happy with the results, hit the toggle down in the upper right corner of the palette. Choose ‘new brush preset’ and name your brush. This will keep the settings for this brush, even after you switch to using other brushes in your palette.
- Done!
Receive special offers on courses + products, a new design file every month plus instant access to the Resource Library!

Pick up over 50 design + lettering files as our gift to you when you join the Tuesday Tribe for free!
error
Congrats!
Please check your email to confirm.
You May Also Enjoy
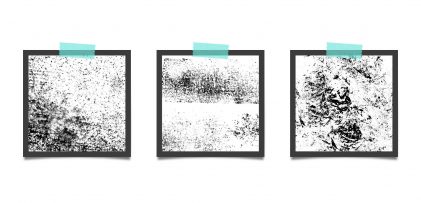 3 Simple Tricks for Unique Grit Textures Posted in Tutorials, Textures, Crafts, Beginner
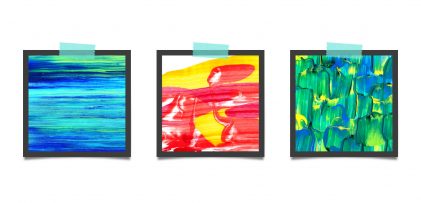 3 Simple Tricks for Unique Acrylic Textures Posted in Tutorials, Color, Textures, Crafts, Beginner
 3 Watercolor Texture Tricks Using Brush Pens Posted in Tutorials, Color, Textures, Beginner, Watercolor
 How to Create a Watercolor Photoshop Brush Posted in Tutorials, Photoshop, Color, Textures
Marie | October 24, 2017
|
Hi Teela,
I’m just curious why you didn’t scan the grit texture using the Scanner Pro app? Or was it just a matter of preference?
Thanks,
Marie
Fiona | January 4, 2018
|
Hi Teela, I followed along with your tutorial, thank you so much.
I found however that say I selected black for my brush colour, and I applied the brush, it would be a diluted strength colour, as in grey. If I brush over it a few times it becomes black.
Would you by any change have any idea where I went wrong? The image looks really black when I apply the brush preset.
Regards
Fiona
Fiona | January 4, 2018
|
Hi again,
Oops, just noticed that my brush opacity was only 42%, sorry about Teela.
Regards
Fiona
Teela | Author | January 5, 2018
|
No prob! Glad it was an easy fix 🙂