
Piggybacking off of last week’s tutorial, this week we’re creating a holiday postcard in Adobe Illustrator! We’ll be using the free vectors from the holiday vector pack, so be sure to grab those if you haven’t already. Today is extra exciting, because I just released my newest font Espresso Roast, which we’ll be using, as well. It’s a font trio, so you get an all caps version, a script version and a symbols font. It’s full of fun personality and was designed so all styles pair perfectly together 🙂 Read on to see how to create a complex wreath design quickly using a few easy tips!
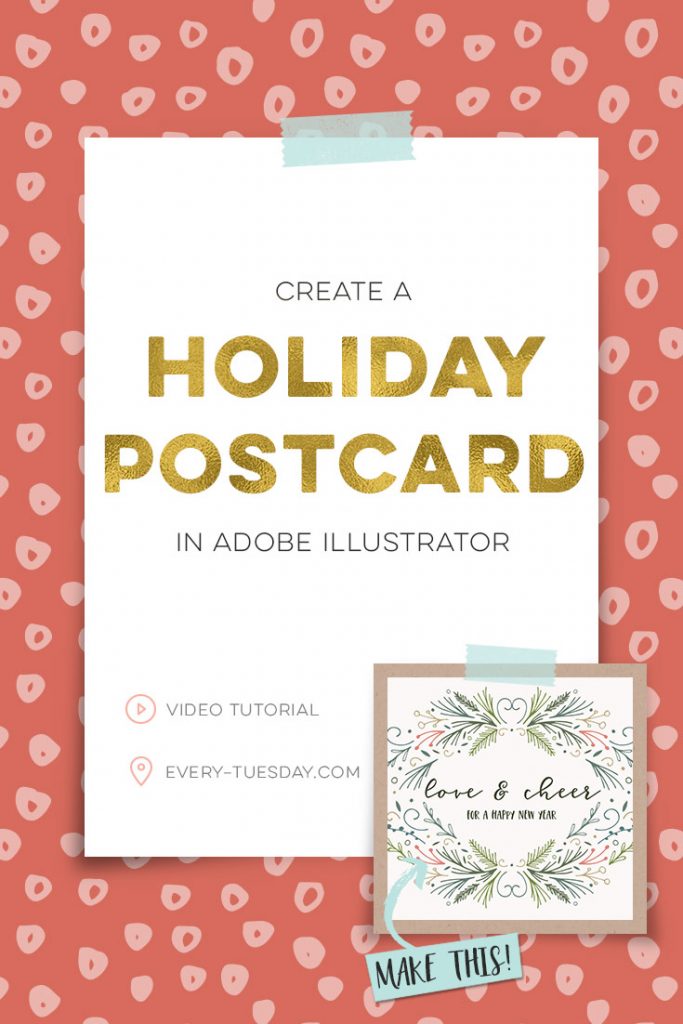
Create a Holiday Postcard in Adobe Illustrator
Mentioned in the video:
Here are the CMYK color builds for all of the colors used in the tutorial:
- background color: 2/2/3/0
- pink: 10/55/45/0
- tan: 27/30/55/0
- slate blue: 62/38/52/10
- forest green: 60/40/70/20
- light green: 55/30/90/10
- dark green: 65/50/80/50
The document we created is 7″ wide by 5″ high and has a .125″ bleed. The final postcard can fit into any A7 sized envelope.

Here are a few tips to keep in mind when you’re creating complex looking, symmetry-based artwork.
- Work in small clusters to avoid overwhelm of tucking all of the elements together.
- Once a cluster is finished, group all elements together.
- Utilize the reflect tool to easily create symmetry. Duplicate your cluster by holding alt, dragging, and while dragging, hold shift. Next, use keyboard shortcut ‘o’ and click once to define the point the artwork will reflect over. Click and drag the artwork over the point to complete the reflection.
- Create your next cluster and repeat the process.
- Once the artwork is finished, add in extra filler elements to disrupt some of the symmetry and alter colors if you’d like.
- Always save an illustrator version of your artwork, so you have the raw file to come back to.
- To save your artwork as a print-ready pdf, go file > save as and choose pdf for the format. In the dialog screen that appears, go to Marks and Bleeds. Check the box for ‘trim marks’ and be sure the box for “use document bleed settings” is checked. Hit “Save PDF.”
- Print your pdf and trim along the trim marks for a postcard with color going all the ways to the edge 🙂 Write your message on the back and send off in any A7 sized envelope.
Receive special offers on courses + products, a new design file every month plus instant access to the Resource Library!

Pick up over 50 design + lettering files as our gift to you when you join the Tuesday Tribe for free!
error
Congrats!
Please check your email to confirm.
You May Also Enjoy
 Create Seamless Pattern Wreaths in Adobe Illustrator Posted in Tutorials, Holiday, Illustrator, Patterns, vector
 Create Custom Holiday Gift Wrap in Adobe Illustrator Posted in Tutorials, Holiday, Illustrator, Patterns, vector
 Design Holiday Gift Tags in Adobe Illustrator Posted in Tutorials, Holiday, Hand Drawn, Printables, vector
 Freebie: Holiday Vector Pack Posted in Freebies, Holiday, Hand Drawn, vector
Savana | November 16, 2016
|
I love your work. Thank you so much for sharing!