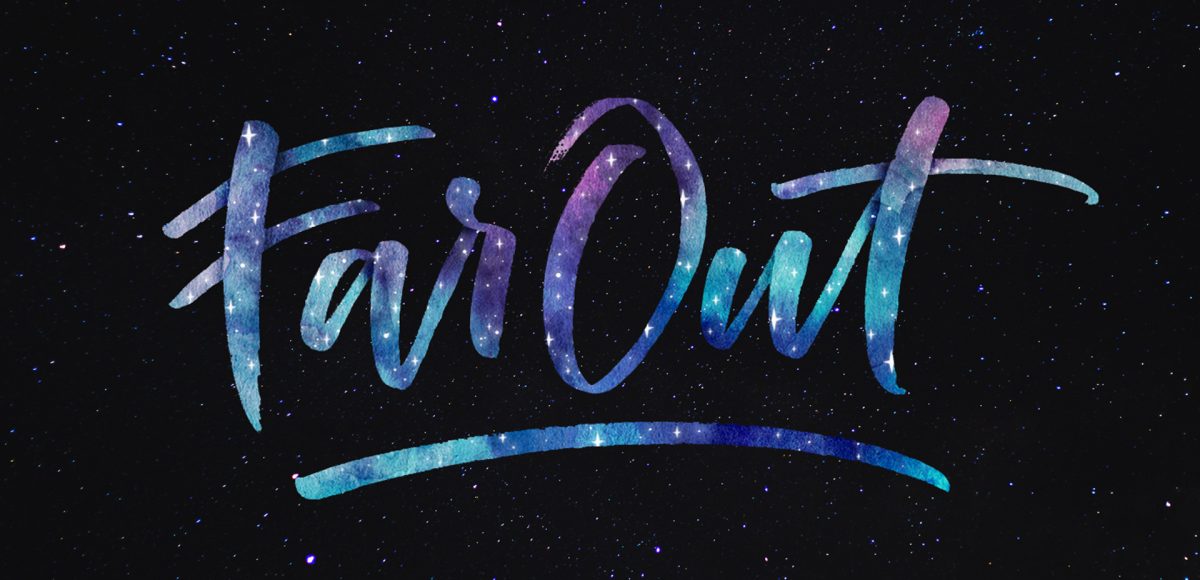
If you love lettering and watercolors, you’ve probably come across the watercolor galaxy effect. Whether just as a beautiful texture, or incorporated into lettering, it’s eye catching. Made from a variety of cloud-like colorful textures, it’s further detailed with doodled stars. There’s nothing like creating this traditionally with watercolors, but you can achieve this same look in Photoshop. In this tutorial, I take you through my process of creating and applying this watercolor galaxy effect to lettering, all within Photoshop. This is a bit of an advanced tutorial, so we’ll move through things quicker and with less detail than usual since there’s a lot to cover. Let’s dive into this galaxy!
Pin it for later!
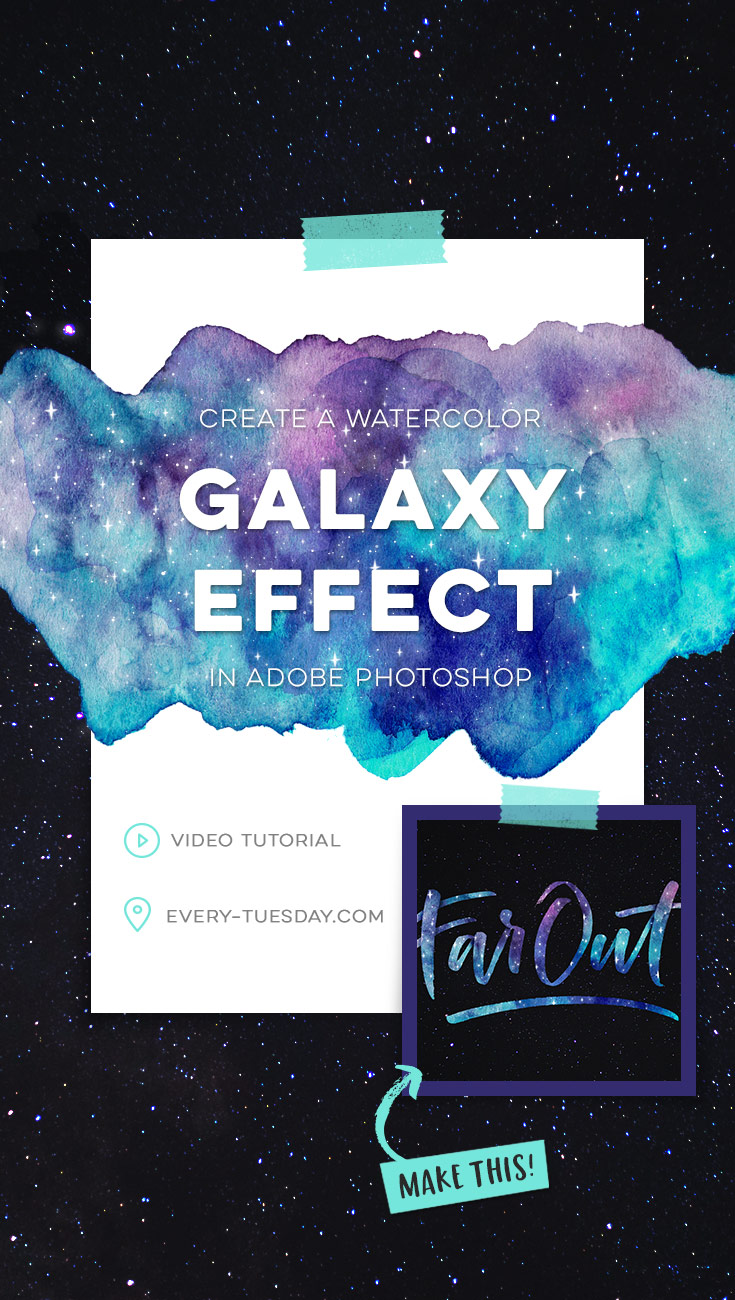
Create a Watercolor Galaxy Effect in Adobe Photoshop
Mentioned in this tutorial:
New to Photoshop? Other Photoshop tutorials are available here.

Here’s an overview of how we made a watercolor galaxy effect in written form:
- Scan your black lettering and remove any white by magic wanding > select > similar > delete.
- Place your first watercolor texture and keep it a normal blend mode. Be sure the texture covers the entire lettering and apply a clipping mask.
- Duplicate your texture, reposition and change the blend mode to ‘darken’.
- Apply a black background color to your document.
- Duplicate your black lettering layer and position it above both texture layers. Change the blend mode to ‘overlay’ at 60% opacity and apply a clipping mask.
- Bring in your splatter textures. Change the color overlay to white and apply an outer glow. Outer glow settings: blend mode of screen, opacity 50%, spread 15% and size 12px.
- Create multiple copies of your splatter textures, alter rotations, scale and opacities. Continue until you’re satisfied with their randomness within the lettering. Make sure all splatter layers also have a clipping mask applied.
- Create a new document, sized 200px by 200px, resolution of 300. Use the pen tool to create a star shape in black. With it selected go edit > define brush preset and save it as a brush.
- Create a new layer in your galaxy file and brush the newly made star, changing its size. Apply an outer glow layer style, similar to the splatter textures. Apply a clipping mask to your star layer.
- Add depth within the letters if desired.
- At the very bottom of your layers palette, create a new layer and place a galaxy stock photo just above your black background layer. Change its blend mode to ‘color dodge’ with an opacity of 50%.
- Done!
Receive special offers on courses + products, a new design file every month plus instant access to the Resource Library!

Pick up over 50 design + lettering files as our gift to you when you join the Tuesday Tribe for free!
error
Congrats!
Please check your email to confirm.
You May Also Enjoy
 Create a Watercolor Glitter Lettering Effect in Procreate Posted in Tutorials, Hand Lettering, Textures, iPad Lettering, Beginner, Watercolor
 Create a Watercolor Glitter Effect in Photoshop Posted in Tutorials, Typography, Photoshop, Hand Lettering, Textures, Watercolor
 Create a Paper Cut Out Effect in Procreate Posted in Tutorials, Typography, Hand Lettering, iPad Lettering, Advanced, Procreate
 3 Blending Effects using Metallic Watercolors Posted in Tutorials, Hand Lettering, Color, Crafts, Beginner, Watercolor
Porna Ajaykumar | January 24, 2018
|
Hi,
Teela u are really awesome. I am inspiring ur handlettering skill.
ANURA | March 10, 2018
|
HI, TEELA U ARE EXCELLENT.