I think it’s pretty fair to say that diy embossing is reallllly popular right now. It’s easy to see why; First, there’s watching colorful powder stick magically to invisible ink. Next, there’s witnessing it look completely different (especially metallics) once heat is applied. The results look like they came from a pro print shop! I haven’t come across many videos of a watercolor/embossing combo, so it was time for that to change 🙂 I recently started applying embossing designs to my watercolor lettering and it makes for some really tactile + impressive outcomes. This week I wanted to have some fun by sharing watercolor lettering with DIY embossing 3 ways. Everything used in the video listed with links below!
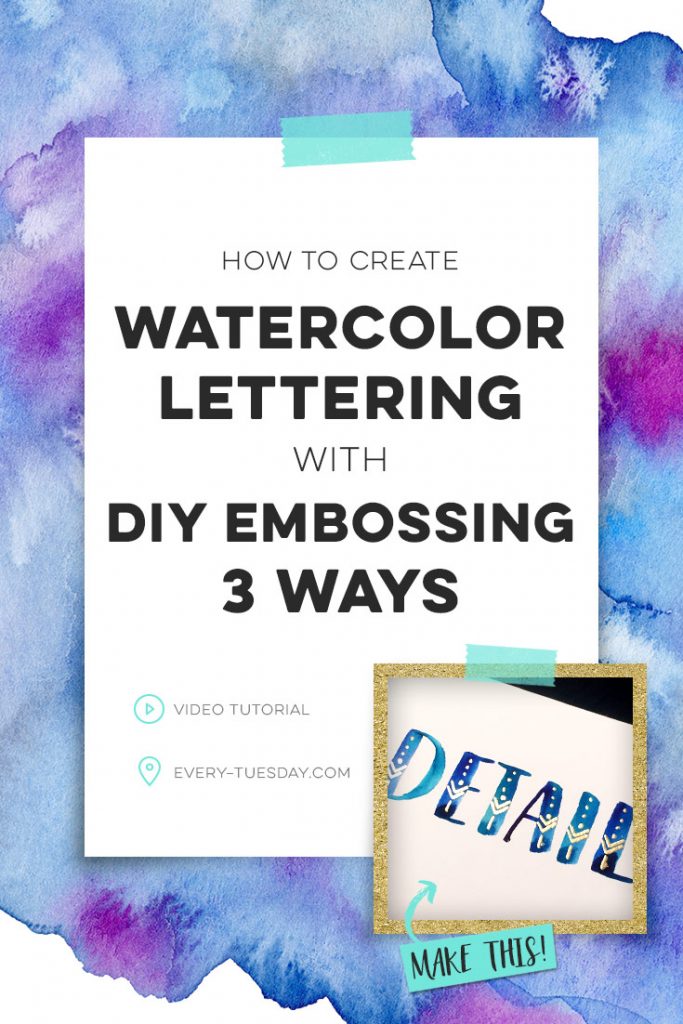
Create Watercolor Lettering with DIY Embossing 3 Ways
All materials mentioned in the video:
- Gold Embossing Powder
- Canson 140# cold press watercolor paper
- Dr. Ph. Martin’s Hydrus Concentrated Watercolors
- No. 2 Round Basic Watercolor Brush
- Winsor & Newton Series 7 No.0 Round Brush
- Martha Stewart brand Heat Tool
- Ranger Embossing Pen (black)
- Brush Tip Embossing Pen (double ended, clear)
What we created in this video:
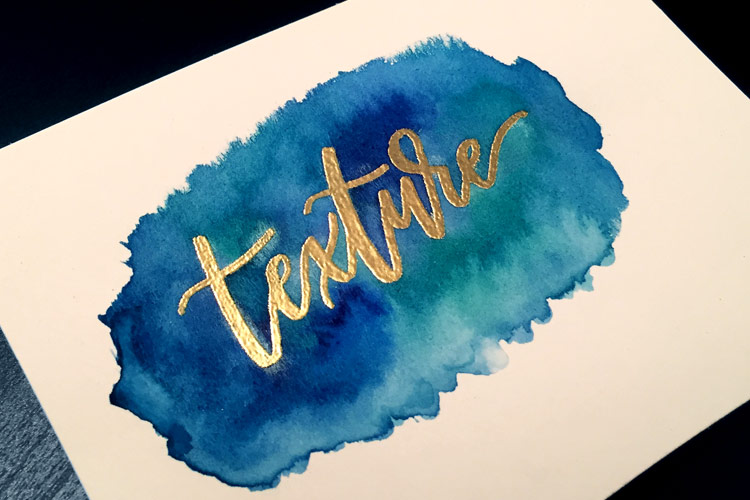
Gold embossed lettering with watercolor textured background
Create gold embossed lettering first, add watercolor second. Wipe away excess watercolor on top of the embossing.
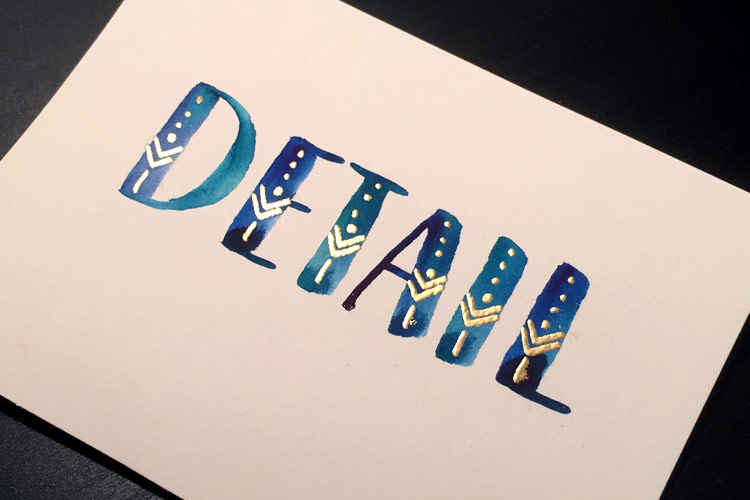
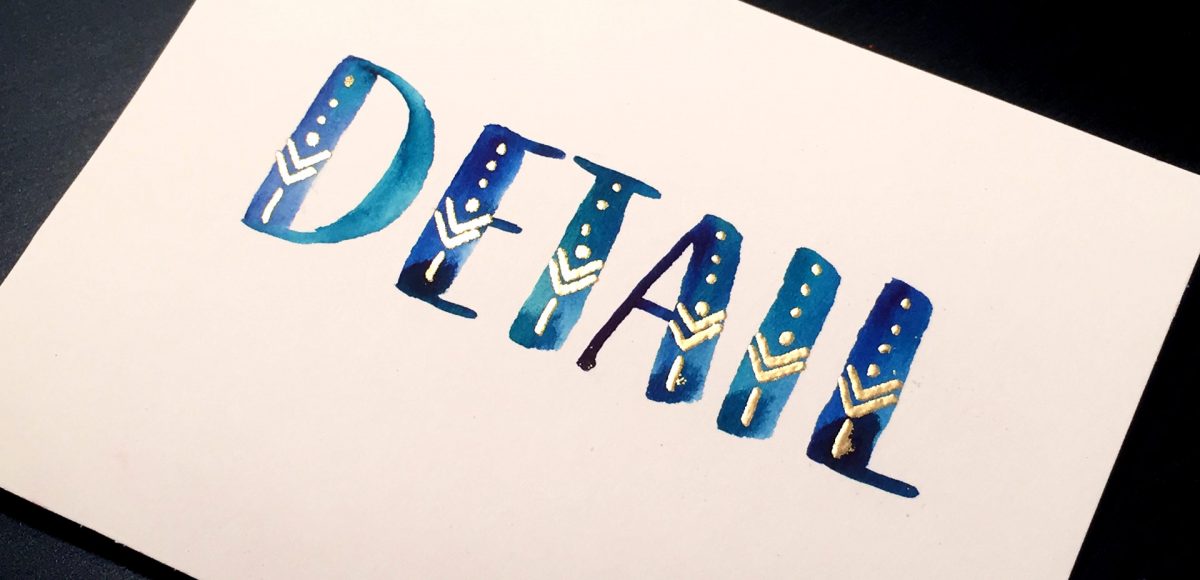
Watercolor lettering with gold embossing
Create watercolor lettering first, add gold embossed details second.
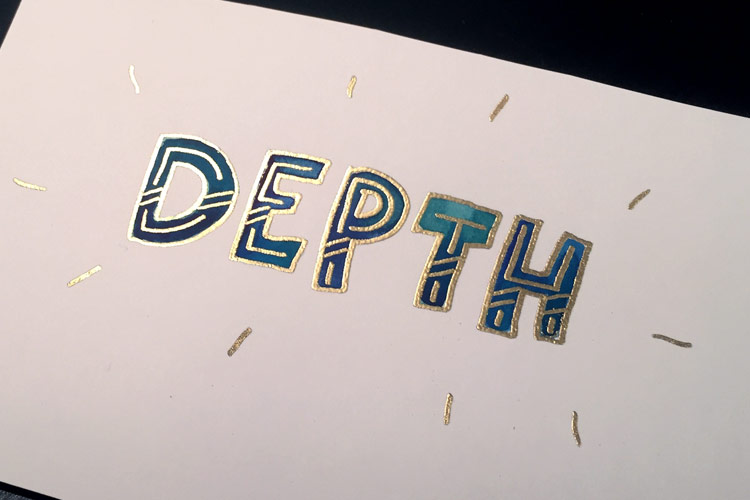
Gold embossed outlined lettering with watercolor inside;
gold embossed details added on top of the watercolor
Create outline first, add watercolor second, finish with embossed details on watercolor last.

Here are a few takeaway tips mentioned throughout the video:
- If you create your watercolor lettering first, a black emboss pen is best. This will prevent any colored residue building up on the clear emboss pen tips.
- Watercolor paper works best with watercolor + diy embossing. My favorite is Canson 140# cold press watercolor paper.
- To achieve a watercolor texture behind your gold embossing, create the embossing first. When the watercolor is dry, gently wipe the embossed lettering with a slightly damp paper towel or tissue. This will remove any excess watercolor that may have remained there.
- Speed up watercolor drying time using your heat tool 😉
- Make sure the embossing powder fully covers your embossing pen marks. If extra sticks elsewhere, use a small paintbrush to brush away. (I’ve heard wiping your paper with a dryer sheet before you begin works well to eliminate any static if the air is extra dry!)
- Always keep an extra sheet of paper beneath your artwork paper. Embossing powder is extremely messy and this will help with clean up.
Receive special offers on courses + products, a new design file every month plus instant access to the Resource Library!

Pick up over 50 design + lettering files as our gift to you when you join the Tuesday Tribe for free!
error
Congrats!
Please check your email to confirm.
You May Also Enjoy
 Create a Watercolor Glitter Lettering Effect in Procreate Posted in Tutorials, Hand Lettering, Textures, iPad Lettering, Beginner, Watercolor
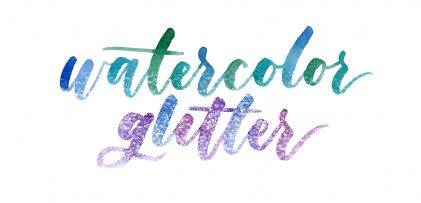 Create a Watercolor Glitter Effect in Photoshop Posted in Tutorials, Typography, Photoshop, Hand Lettering, Textures, Watercolor
 Create a Paper Cut Out Effect in Procreate Posted in Tutorials, Typography, Hand Lettering, iPad Lettering, Advanced, Procreate
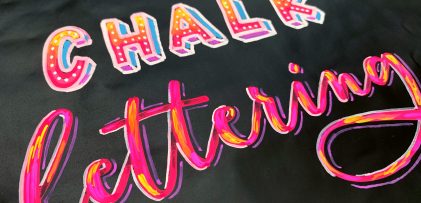 10 Chalk Marker Effects Anyone Can Do Posted in Tutorials, Typography, Hand Lettering, Illustration, Crafts, Beginner
Marie | September 13, 2016
|
Wow, Just wow.
Teela | Author | September 14, 2016
|
Thanks, Marie!
Naomi Van Sickel | September 19, 2016
|
Just ordered al the suppliesl isted and CAN’T WAIT to start making crafts with this technique! This is seriously genius.
Naomi Van Sickel | September 19, 2016
|
Sorry for all the misspelled words- I am that excited =]
Teela | Author | September 20, 2016
|
Yay! You’re going to LOVE it!