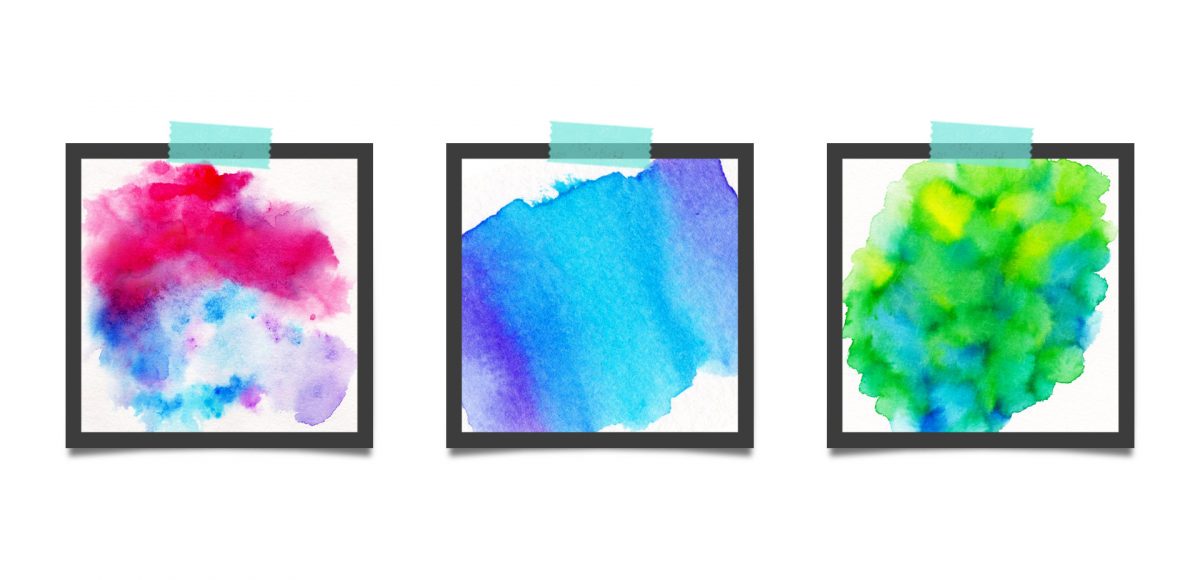
This week, we’re returning to one of my favorite topics: watercolor textures! Ever since I received these brush pens in the mail, I have been swooning over all of the cool textures I’m able to create – and quickly, too! These are the most vibrant watercolor-simulated outcomes I’ve been able to achieve with brush pens, which makes the creation process that much more fun. Use these as backgrounds for your lettering, or even scan them in and make a digital texture or repeat pattern out of them! Read on to see 3 different watercolor texture tricks using brush pens below.
Pin it for later!
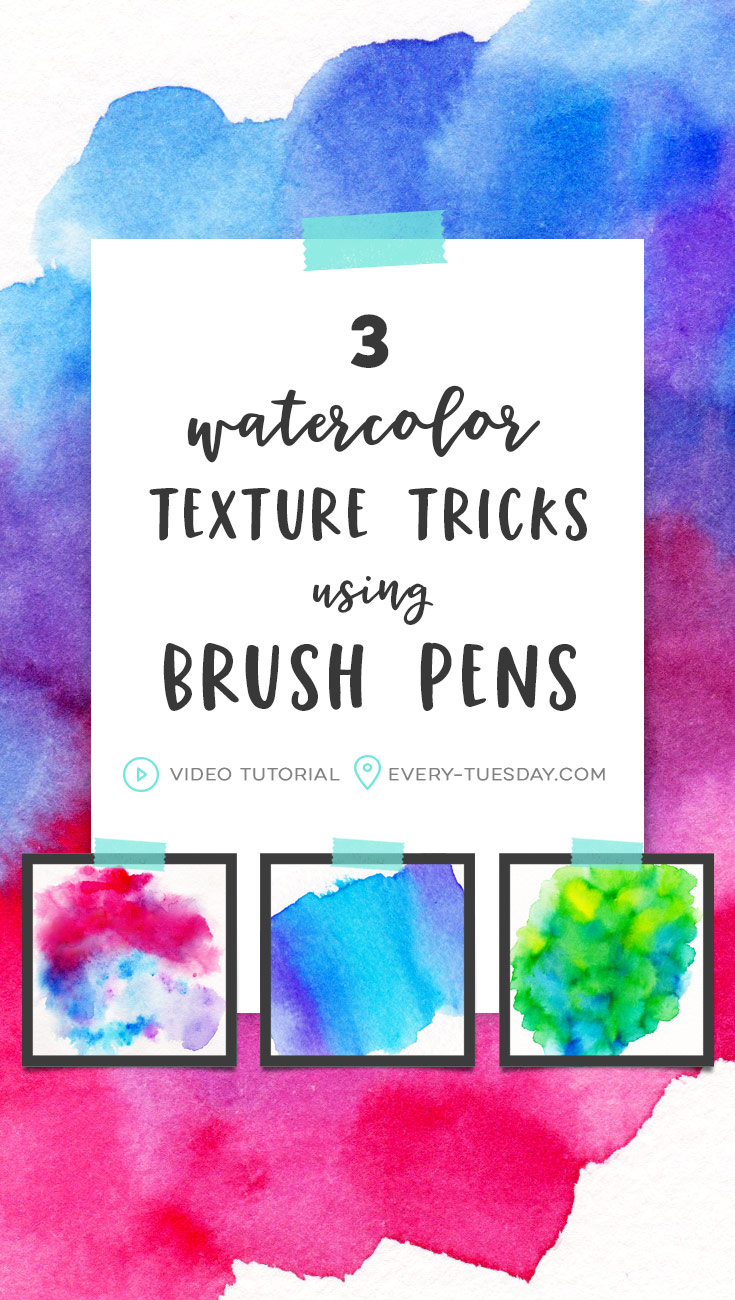
3 Watercolor Texture Tricks Using Brush Pens
Mentioned in the video:
- Stationery Island brush pen set (if shipping is an issue, these ones are also great!)
- Canson cold press 140# watercolor paper
Take it further!
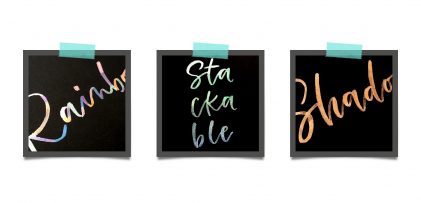
Use trick #3 and create a debossed style lettering following the process shown in this tutorial!
Here are the 3 tricks we followed:
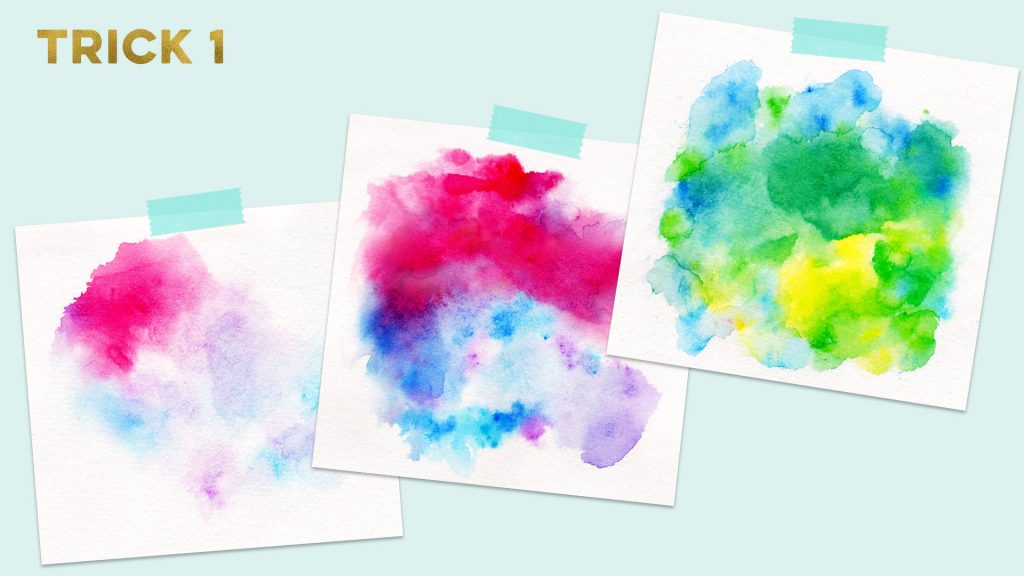
#1: Atmospheric
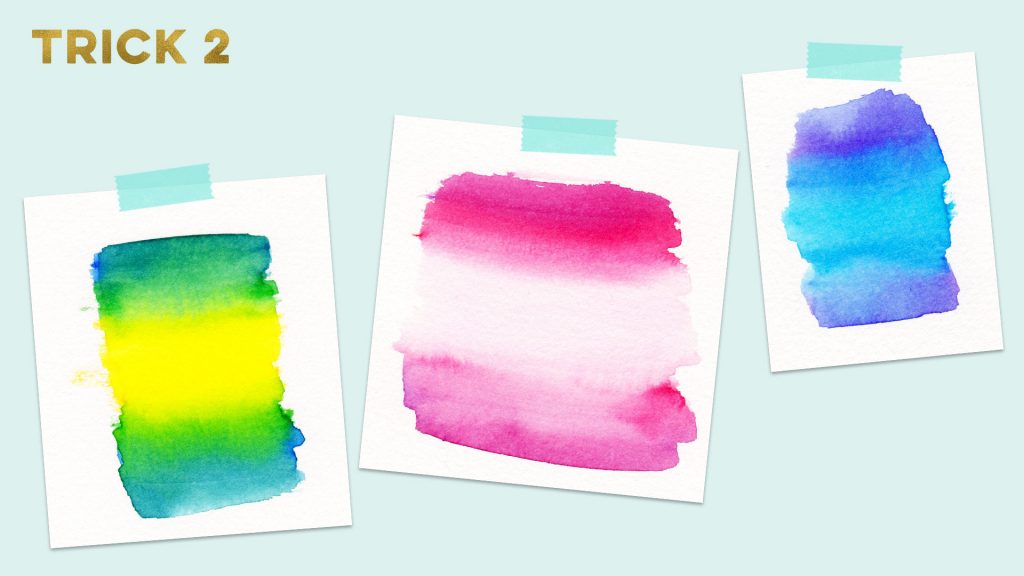
#2: Ombre
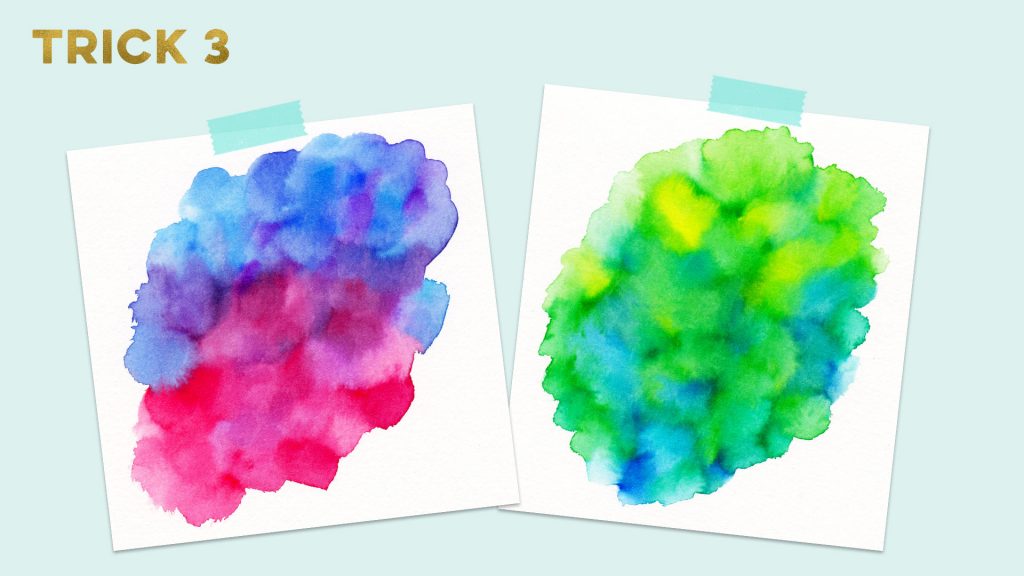
#3: Custom Painted Textures

Here’s a quick written overview of what we did to create our 3 watercolor texture tricks using brush pens:
Effect 1: Sandwich baggie
- On a sandwich baggie or any cellophane/saran wrap material, color small splotches using the brush pens.
- Using your waterbrush, paint water over the area you’d like the color to appear on your watercolor paper.
- Press the sandwich baggie, colored side down, on top of the wet watercolor paper, so the ink bleeds throughout. Smush as needed with your fingertips to spread the color.
- Pull the baggie up to reveal the texture.
Effect 2: Ombre/Gradient
- Use the brush pens to color in blocks, each color after the other in a line.
- Use the waterbrush to blend the colors together from one end to the other, so no brush pen textures are left and only smooth transitions appear.
Effect 3: Custom painted textures
- Use the brush pens to create different sized blocks of color. Keep colors that are similar together, so your blends don’t get muddy. Slightly touch the color blocks together for more colorful, seamless blends.
- Use the waterbrush to blend the colors. Move in small circles, removing color from the tip of the waterbrush frequently to keep a variety of color throughout. Done!
For the best watercolor texture results, always use watercolor paper! Using other paper will warp or bend once water is applied and that paper wrinkling will remain after your texture has dried. For those who have asked, Kuretake brush pens also work well for these tricks!
Receive special offers on courses + products, a new design file every month plus instant access to the Resource Library!

Pick up over 50 design + lettering files as our gift to you when you join the Tuesday Tribe for free!
error
Congrats!
Please check your email to confirm.
You May Also Enjoy
 3 Blending Effects using Metallic Watercolors Posted in Tutorials, Hand Lettering, Color, Crafts, Beginner, Watercolor
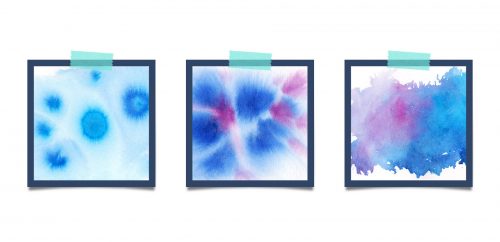 3 Simple Tricks for Unique Watercolor Textures Posted in Tutorials, Color, Textures, Crafts
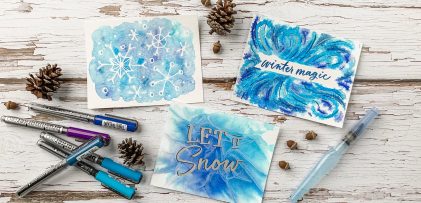 3 Winter Watercolor Texture Tricks Posted in Hand Lettering, Holiday, Crafts, Beginner, Watercolor
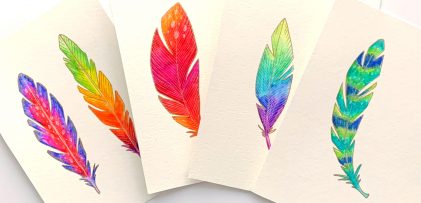 Paint Colorful Feathers using Watercolor Brush Pens Posted in Tutorials, Hand Drawn, Illustration, Crafts, Beginner, Watercolor
Clare | January 23, 2018
|
I love everything you do! With this tutorial, it reminds me of the look of the Easter eggs my mom decorates each year. Do you think these pens would work on eggshells and not rub off? Thanks!
Teela | Author | January 23, 2018
|
Hmm, good question – I’m not sure!
Jannah | Stationery Island | January 24, 2018
|
Really lovely post, Teela! These tricks are amazing!