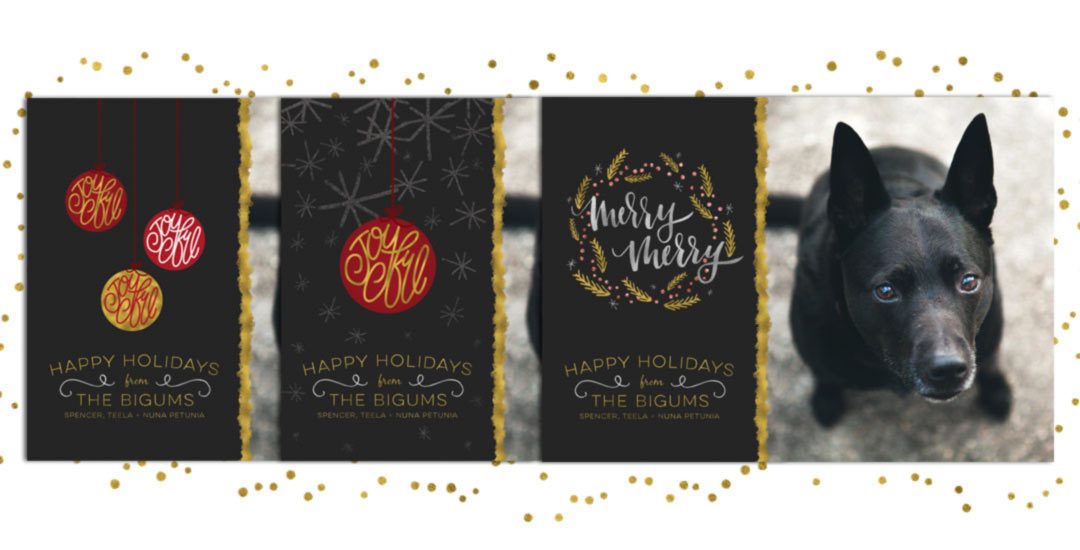
We are one week into December, which means we have one less week to send out holiday postcards! Since we created some nice holiday assets the last couple of weeks, I wanted to share how you could easily repurpose them for a holiday photo postcard, 3 ways. In this week’s tutorial, we’ll create a print ready holiday photo postcard in Photoshop with a little help from the Glitz + Glam Kit to quickly and easily get your holiday postcards off of your to do list 🙂 The final postcard is sized 7″x5″ and can fit snugly into any A7 sized envelope. Full tutorial, links to recommended online printers, fonts used and past tutorials all listed below!
How to Create a Holiday Photo Postcard
Links mentioned in the tutorial:
– Full Glitz + Glam Kit
– Online printers: Moo.com + Uprinting.com
– Eveleth Font
– Free BlackJack font
– Novecento (free alternative font to Eveleth)
– How to Create a Foil Accented Holiday Wreath in Photoshop tutorial
– How to Transform Typography into a Shape tutorial
– Envelopes.com (my favorite place to get colored envelopes)
Receive special offers on courses + products, a new design file every month plus instant access to the Resource Library!

Pick up over 50 design + lettering files as our gift to you when you join the Tuesday Tribe for free!
error
Congrats!
Please check your email to confirm.




Anna | December 9, 2015
|
Great tutorial. Thank you.
joelle | December 12, 2015
|
when you are toggling, what are you holding down while moving the objects with the arrows? and for the picture, if I wanted to add more than one pic, is it the same process? thank you! 🙂 great tutorial as always!