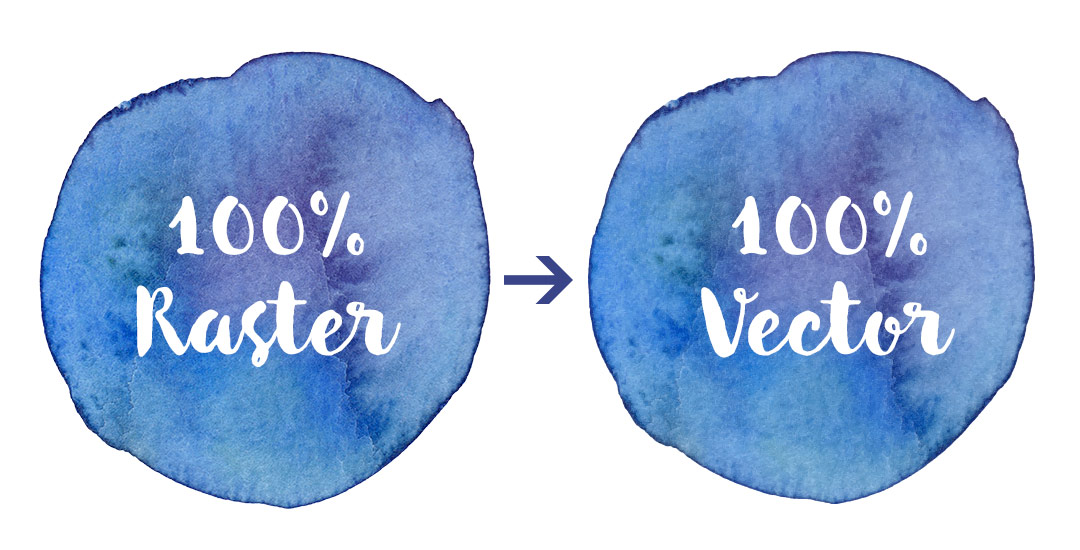
How to Vectorize Watercolor Textures
If you took my Watercolor Branding Skillshare class, you learned how to digitize watercolor textures – from scanning them in, to color adjustments, to removing the background correctly so they could be placed on anything. When a watercolor texture is scanned in, you’re limited by the greatest size and resolution your scanner is able to scan at. For large applications (think billboards, signage, posters), if a professional scanner wasn’t used, resolution is likely too small for the texture to reproduce as crisply as you might wish. Enter vectorized textures. Since vectors (which are point based instead of pixel based) can be rescaled infinitely without losing quality, they make a great alternative to finding a high res scanner and going through the process of color editing + removing the background again. Watercolor textures are super detailed, so finding a happy medium with file size and a similar outcome to the raster (pixel) based image is key when vectorizing. In this tutorial, I share my exact method on how to vectorize watercolor textures using two different textures. We’ll go over what to look for when you vectorize your own.


