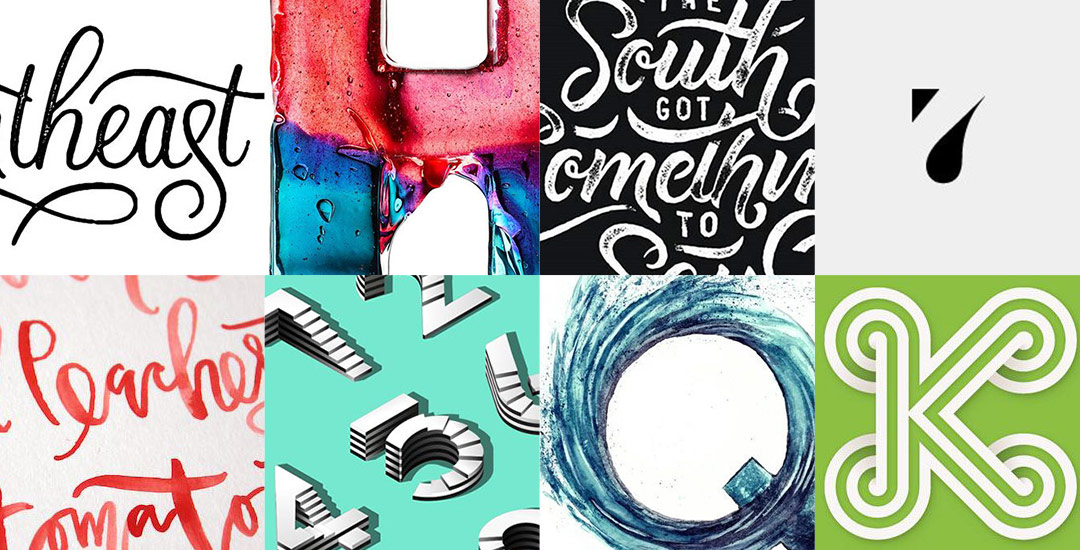
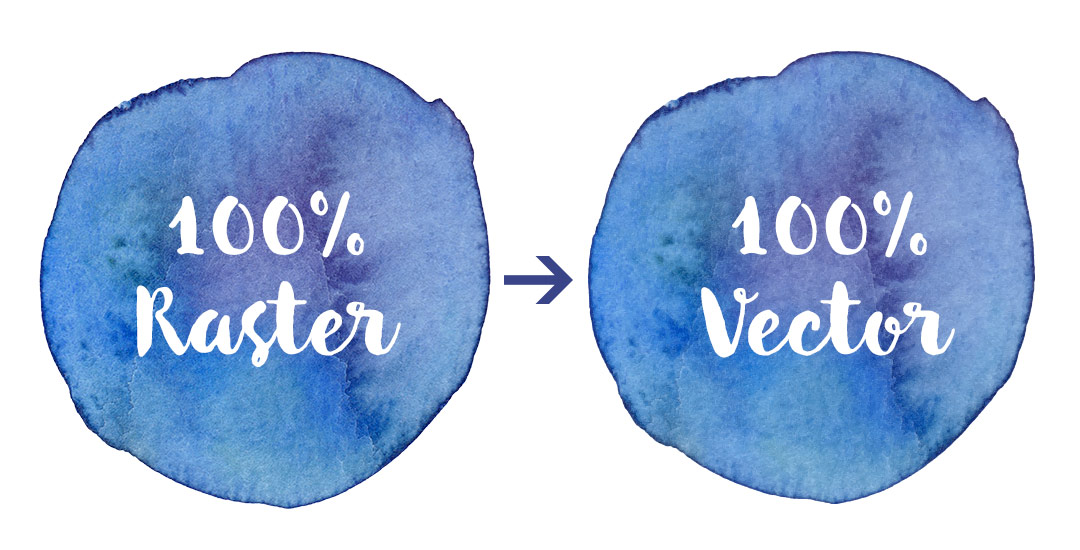
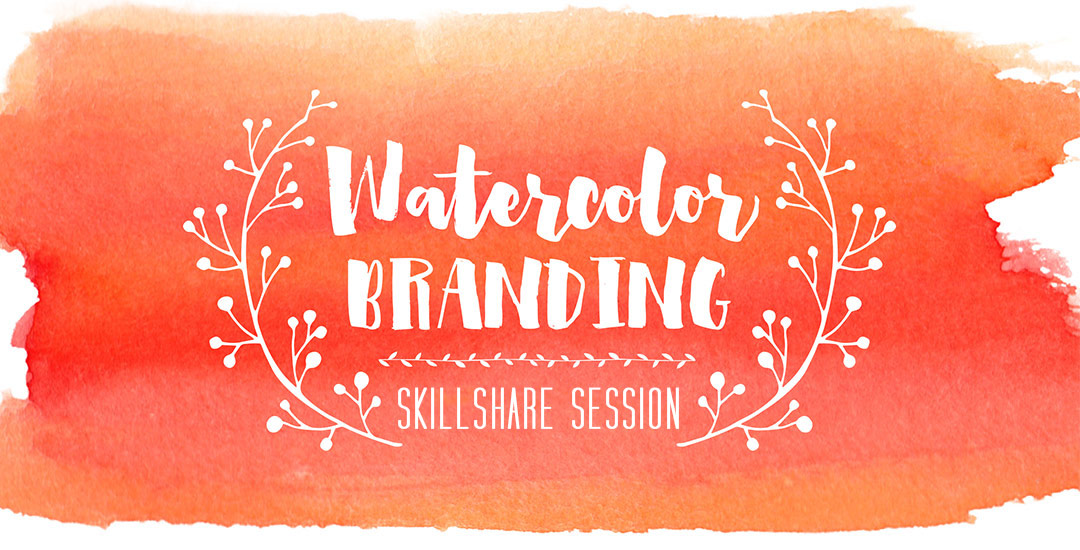
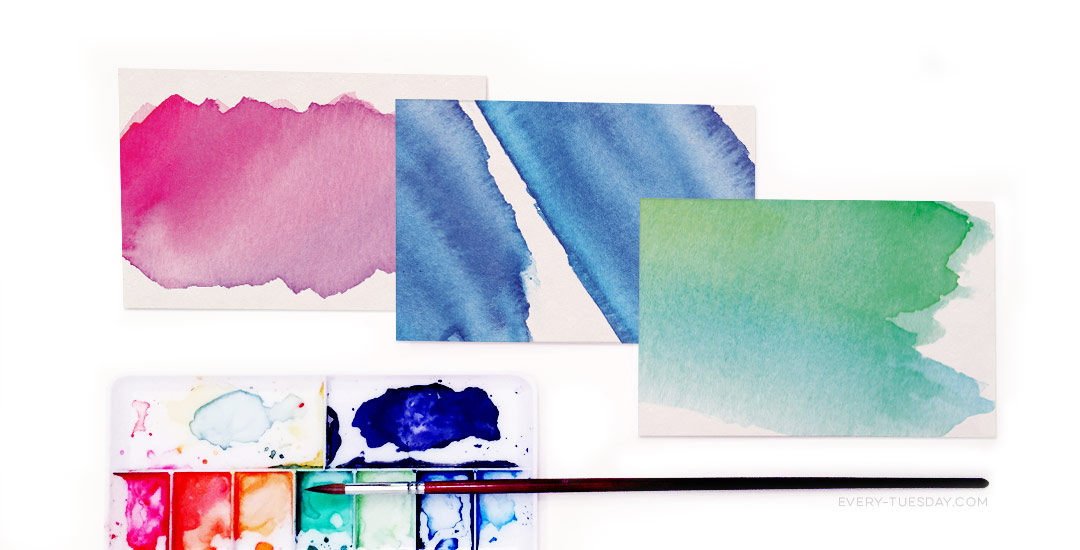
My new Skillshare class, “Watercolor Branding: Create Your Own Custom Watercolor Logo” is live! This class was close to a month in the making, and I’m so proud of how it came out! In the class, we go step by step in the logo making process, from establishing what our brand is, brainstorming brand attributes, then applying those attributes across the brand. We finish our logos off with a hand drawn vector element and some watercolor texture to bring our final logo to life. Because of how vibrant watercolor textures are, we finish the class with logos that will be definite attention grabbers on social media, blogs, online shops, stationery and so much more. As a bonus, everyone who enrolls gets a free mini watercolor kit so you can begin experimenting right away without feeling like you have to create a bunch of assets first 🙂 I also just released my second watercolor texture kit, so there’s even more fun to be had!
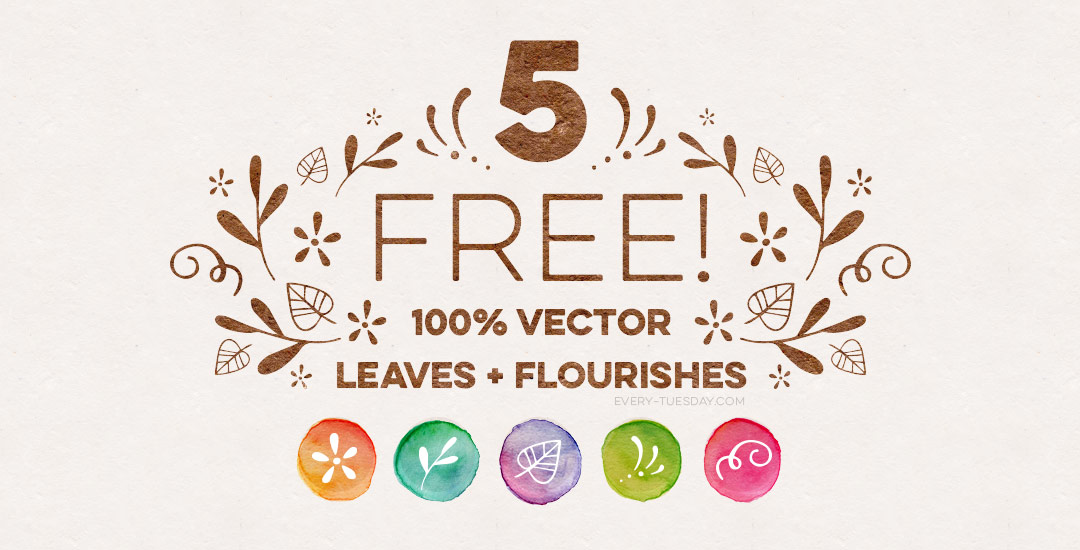
Enrollment in the class also gets you a resources pdf of all the fonts mentioned as well as a logo inspiration cheat sheet to get started in the right direction. For my youtube subscribers + blog readers this week, I’m giving that logo cheat sheet away for free!