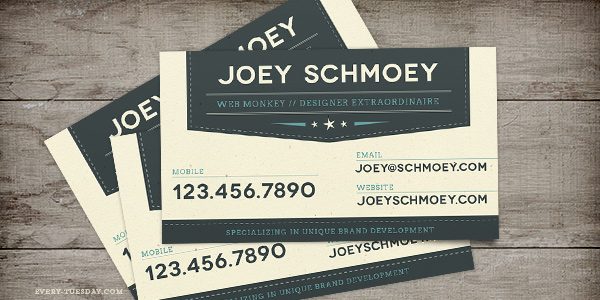
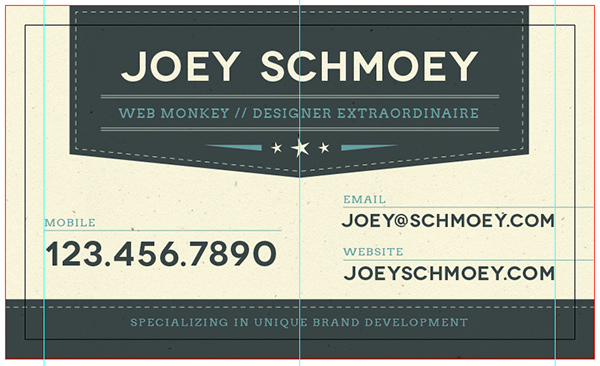
With the retro style in full swing these days, I thought I’d create a quick tutorial on how to make a print ready retro business card. We’ll be using the off white paper pattern freebie for this, so be sure to download it here before we begin! Let’s get started.
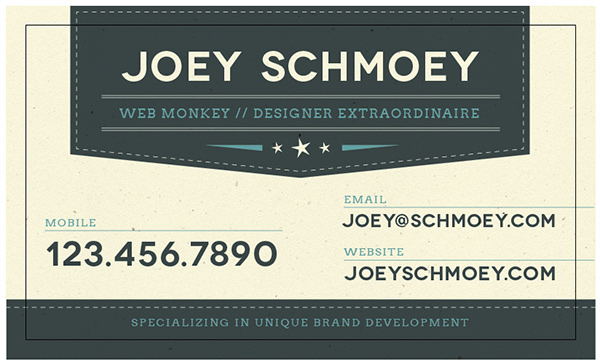
What We’ll Create:
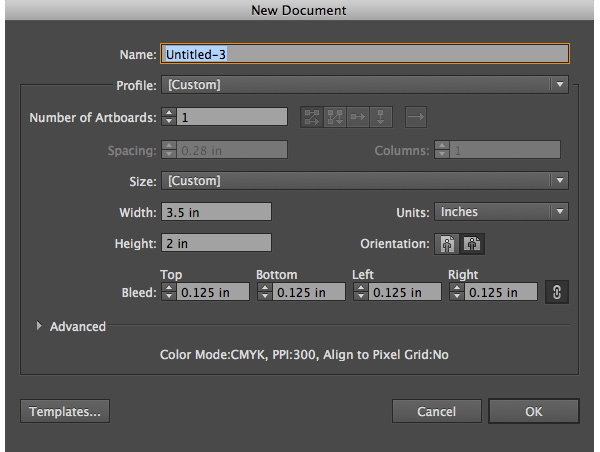
Step 1
In Illustrator, go to File > New and input the following measurements:
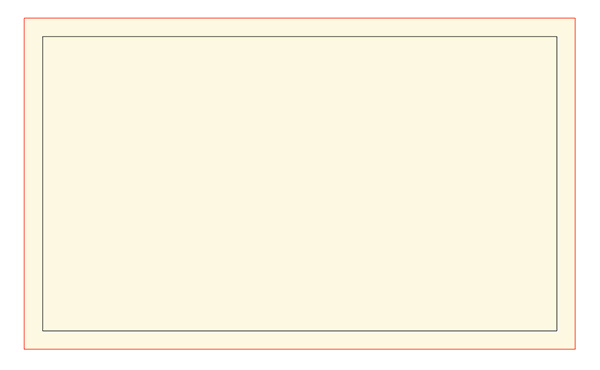
Step 2
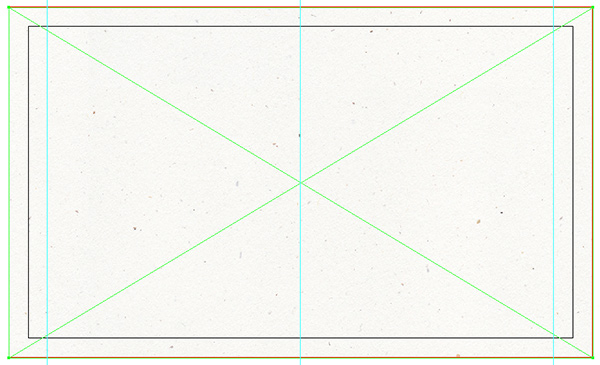
The first thing we’ll need to do is set a background color. Using your rectangle tool, fill the entire card, as well as the bleed area with this slightly off white color: C=0 M=0 Y=12 K=1. Next, in your layers panel, label that layer ‘Background Color’, lock the layer, then create a new layer.
Step 3
Next, turn on your rulers by going cmnd+r on a mac or ctrl+r on a pc. Drag a vertical guideline to the center of the card, at 1.75″. Now, using your rectangle tool, draw a rectangle, making sure the center point of the rectangle falls on the vertical guide we just dragged. Make the rectangle a slate color: C=18 M=0 Y=8 K=85.
![]()
Step 4
With the rectangle still selected, grab your add anchor point tool (keyboard shortcut +), you can also find it in your toolbox in the pen tool flyout menu. Click on the point where the vertical guide intersects with the rectangle at the bottom. Next grab your direct selection tool (keyboard shortcut a). Click on the point you just created, and then tap the arrow down key on your keyboard a couple of times until you are happy with how far the point extends.

Step 5
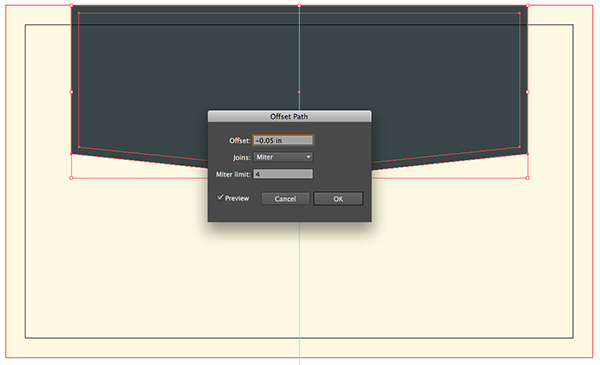
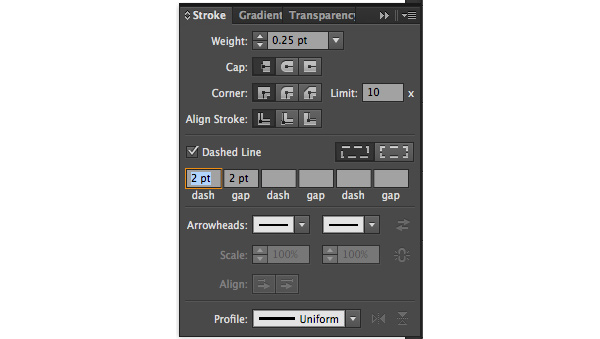
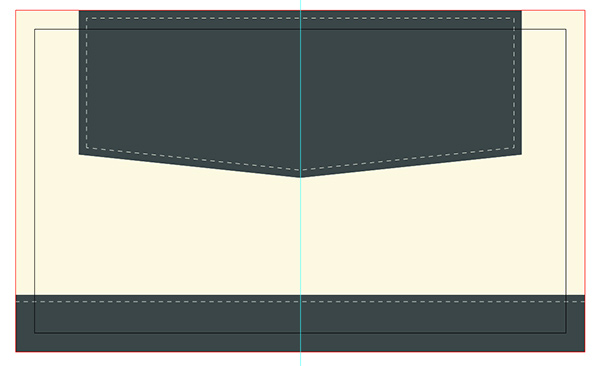
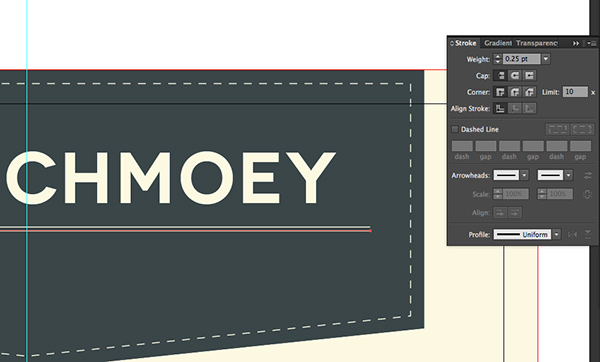
Now we need to create the inner stitching on the badge. With the badge selected, copy it (cmnd+c or ctrl+c), then paste it in front (cmnd+f or ctrl+f). Next, go to Object > Path > Offset Path and input -.05 in. Click Ok. Now we need to get rid of the fill on the new badge in the color palette, then apply a stroke in the same color as our background (C=0 M=0 Y=12 K=1). In your stroke panel (window > stroke), make the stroke .25pts, check the dashed line box, and give it a length and gap of 2pts.
![]()
Step 6
Let’s create our bottom border now. Using your rectangle tool, and the same slate color, draw a rectangle on the bottom of the card. Next, using your line tool (keyboard shortcut \) hold shift, and drag a line from the left bleed line to the right bleed line. With the line selected, grab your eyedropper tool (keyboard shortcut i), and click on the stitching we created for the badge to apply the same attributes to the new line.
Step 7
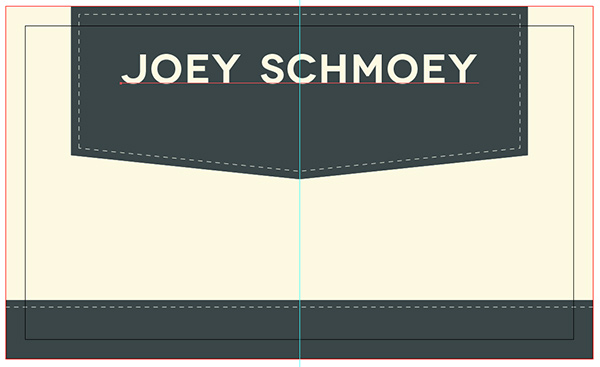
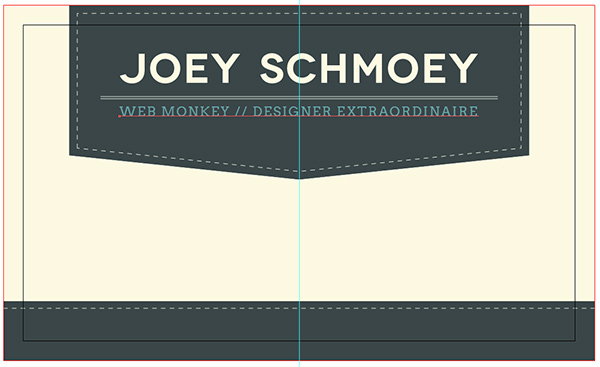
Now we can start inputting our text. For this card, we’ll be using two free fonts: Novecento Wide DemiBold and Arvo Regular. You can download Novecento for free here, and Arvo for free here. Let’s apply text to our main badge first. Using Novecento Wide DemiBold, grab your text tool (keyboard shortcut t) and type the name you’ll use. Set the color to the background color we’ve been using (C=0 M=0 Y=12 K=1) with a font size of 19pts and tracking set at 25.

Step 8
Now, to add a little separation between the name and the title, draw a line underneath the name (keyboard shortcut \), make sure to hold shift while dragging your line so it stays perfectly straight. Make the color the same as the background color (C=0 M=0 Y=12 K=1), and set the stroke’s thickness in the stroke panel (window > stroke) to .25pts. Next, with the line selected, hold the alt key on your keyboard, then hit the down arrow on your keyboard once. This will make a copy of the line just below the original.
![]()
Step 9
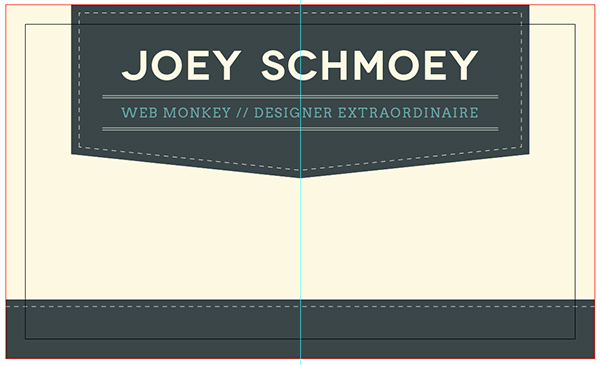
Now let’s input the title. We’ll use a teal color for this: C=48 M=0 Y=19 K=26, and set it in Arvo Regular with a size of 6pts and tracking of 100. Type the title you’ll use in all caps. Select both of the divider lines we created earlier above the title, and holding alt and shift on your keyboard, drag a copy just below the title you just typed.

Step 10
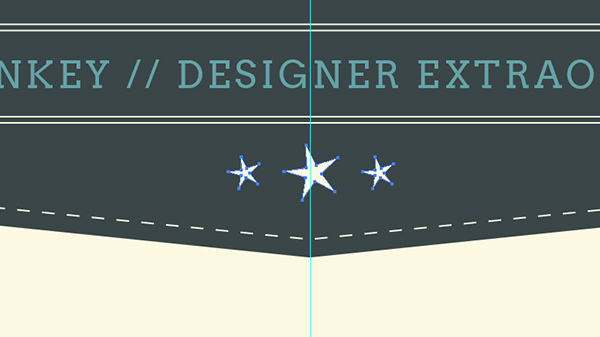
Let’s add a little something extra to the badge by creating some retro-inspired stars. Set the the color to your background color (C=0 M=0 Y=12 K=1), and grab the star tool. As you drag out the star, hold the cmnd key on a mac, or the ctrl key on a pc, and drag until you get a star like the ones shown below. Copy and paste the star you drew, and scale it down about 20%. Duplicate the smaller star and place on the other side of the larger one. With all 3 stars selected, go to your align panel (window > align). Click on the align horizontally button, then click on the distribute horizontally button. Now all three of our stars are the same distance apart and are perfectly aligned.

Step 11
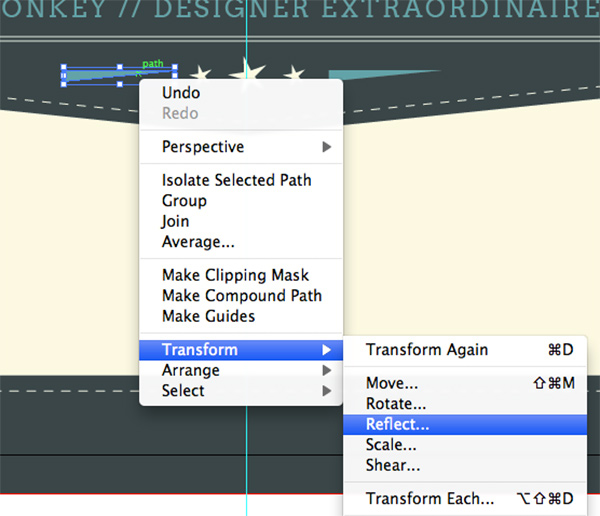
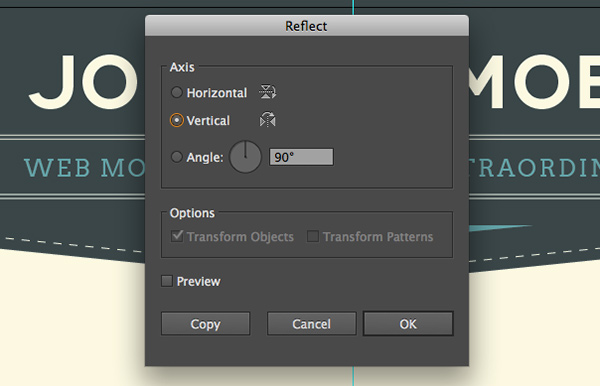
The last thing we’ll do with our badge is create a couple of lines on both sides of our group of stars. Essentially, we’ll be creating one very long triangle. For this shape, we’ll use the teal color (C=48 M=0 Y=19 K=26). Grab your pen tool and create your triangle. Copy and paste the triangle you created then right click and go Transform > Reflect and make sure Vertical is selected. Click Ok. Now we’re done with the badge!
![]()
Step 12
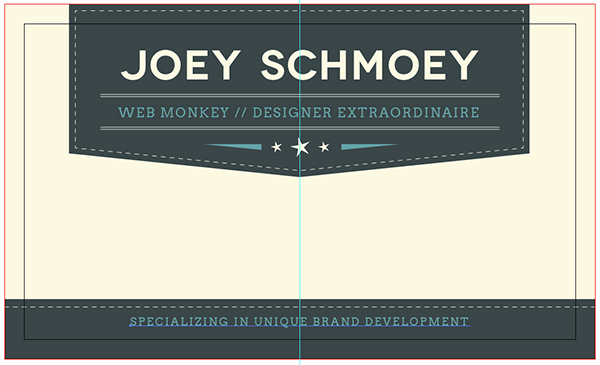
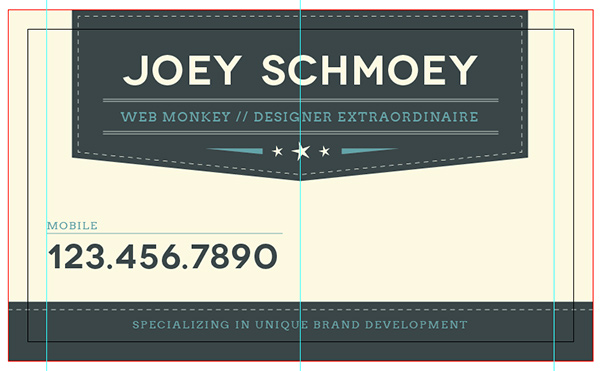
Now let’s take care of the text that will go in our footer. Set the text in Arvo Regular with a size of 5pts and tracking set at 150. Use the same teal color we’ve been using, C=48 M=0 Y=19 K=26, and type in all caps. Make sure it’s center aligned with the guideline we drew.

Step 13
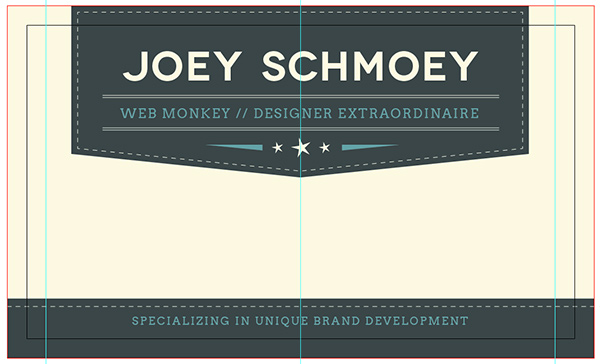
Now it’s time to fill in the rest of our information! We’ll need some side margins when we begin placing text, so let’s drag 2 vertical guidelines, each one 1/8″ inside the left and right sides of our business card. Next, we’re going to make the cell phone number the most important piece of information, so let’s complete that first. For the ‘mobile’ label, set the text to Arvo Regular with a size of 5pts and tracking set at 100. Apply the same teal color we’ve been using (C=48 M=0 Y=19 K=26), and type in all caps. Finally, using the line tool (keyboard shortcut \), hold shift and drag a line underneath MOBILE and set its stroke to a thickness of .25pts.

Step 14
Let’s set the the text for the phone number. We’ll use the slate color we used for the badge and the footer for the text (C=18 M=0 Y=8 K=85), and set it in Novecento Wide DemiBold with a size of 15.5pts and tracking set at 150.
Step 15
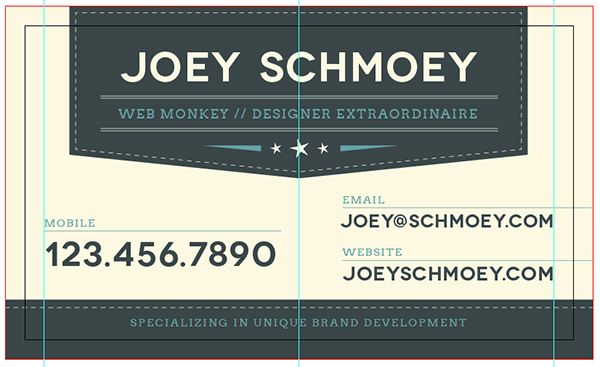
Time for the email address + website. For both of the labels use the following settings: Arvo Regular, size 5pts, tracking 100, teal (C=48 M=0 Y=19 K=26). Place a line beneath each label and set at .25pts. For the email address, use Novecento Wide DemiBold, size 8.5pts, tracking 25, slate (C=18 M=0 Y=8 K=85). For the website url, use Novecento Wide DemiBold, size 9pts, tracking 25, slate (C=18 M=0 Y=8 K=85).
Step 16
The last thing we need to do is apply our texture. We’ll create the texture we’ll be using in photoshop first, then bringing it into illustrator (If you don’t have Photoshop, you can download the correctly sized texture here). If you haven’t already, download the free paper patterns here. Install the speckled off white paper pattern (just double click the .pat file to install). Now go into photoshop and create a new document size 3.75″x2.25″, make sure it’s CMYK since our business card will be printed.

Step 17
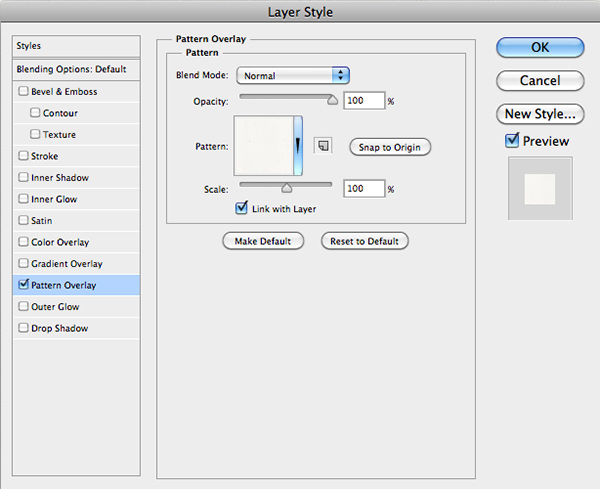
In your layers panel, double click on the background layer, then click ok. Now that the layer is unlocked, double click it again to bring up your layer styles menu. Click on Pattern Overlay on the right side and select the installed off white pattern. Click ok. Go to File > Save As and save this as “Business Card Texture” and choose jpg as your file format. Now, return back to Illustrator.

Step 18
In the layers panel in illustrator, create a new layer. Next go File > Place and choose the pattern we just created. Align on top of our artwork. In the transparency panel (Window > Transparency) Click on “Make Mask” and make sure “Clip” is unchecked. Set the layer mode to Multiply.


Congratulations! You’re Done!
If you’d like to preview your work without your guidelines showing, just go cmnd + ; on a mac or ctrl + ; on a pc. Save your file and give to a printer or print at home, it’s ready to go!
Receive special offers on courses + products, a new design file every month plus instant access to the Resource Library!

Pick up over 50 design + lettering files as our gift to you when you join the Tuesday Tribe for free!
error
Congrats!
Please check your email to confirm.
You May Also Enjoy
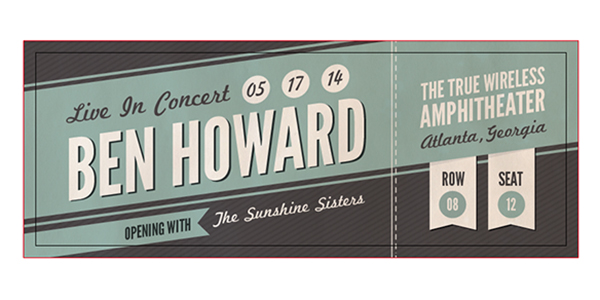 How to Create a Custom Concert Ticket in Adobe Illustrator Posted in Tutorials
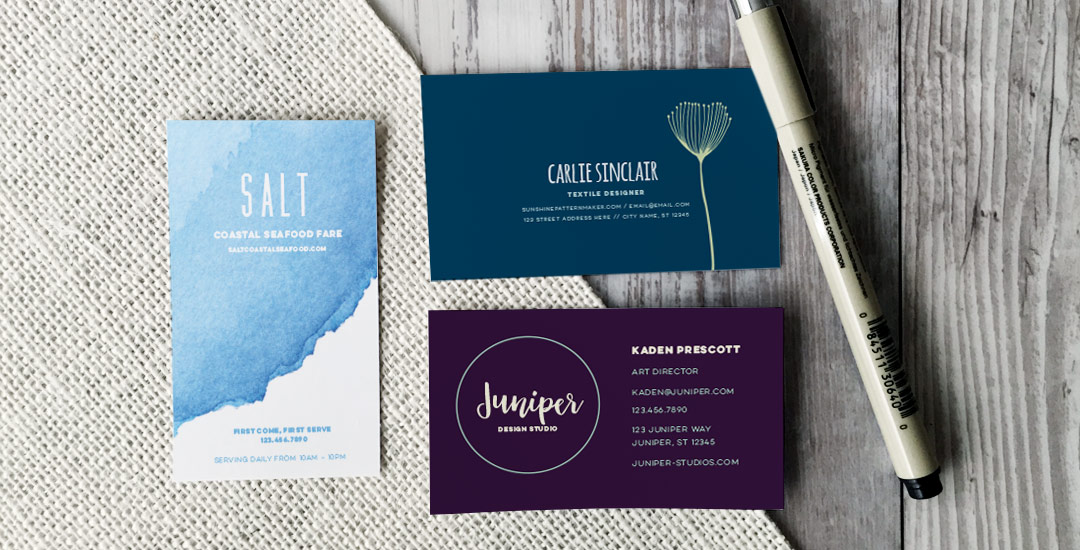 Create 3 Business Card Design Layouts in Illustrator Posted in Tutorials, Illustrator, Branding, Business
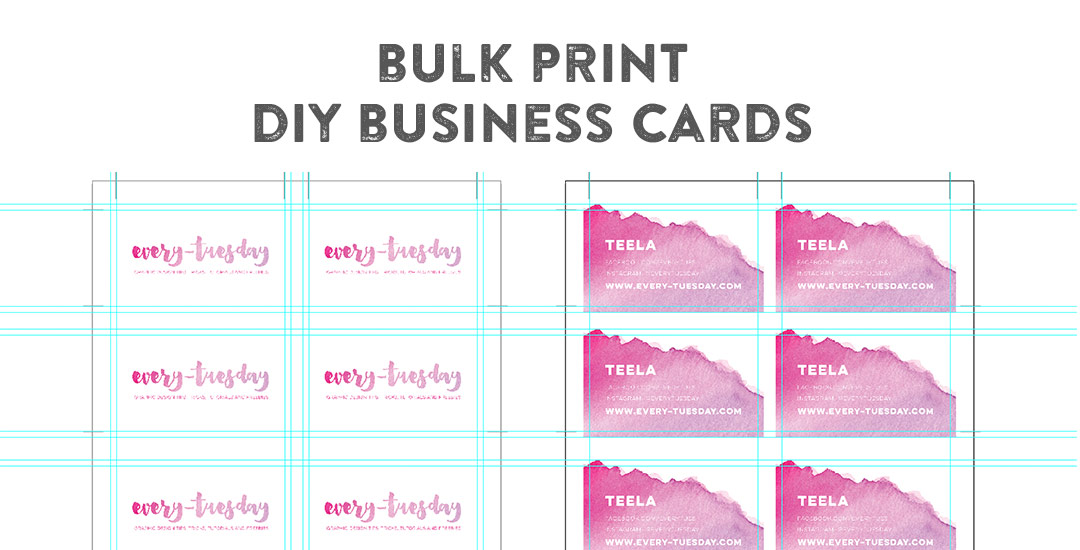 Bulk Print DIY Business Cards Using Illustrator Posted in Tutorials, Personal, Branding, Business
 Create a Hipster Logo in Adobe Illustrator Posted in Tutorials, Typography, Illustrator, Branding
No comments