
There’s something that feels soooo good about crossing off items on a to do list. Having a written list keeps me on track every day of the week. Most times, I grab a scrap sheet of paper and bullet my to-do’s out, but it’s never quite as satisfying as when they’re written on a custom design. In this week’s video tutorial, we’ll create our own designed to do list from scratch, perfectly prepared for printing in a few quick and easy steps, so you can start crossing items off to your heart’s desire 😉 All of the steps below!
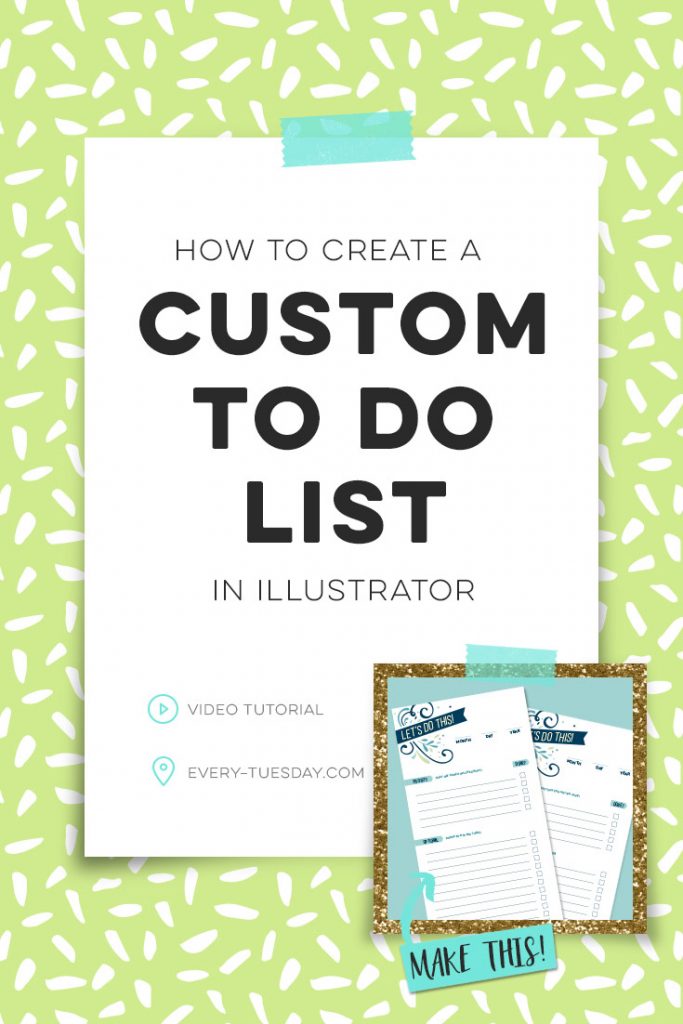
How to Create a To Do List in Illustrator
Mentioned in the video:
You can pick up the 100+ Vector Leaves and Flourishes pack here
Here are the cmyk color builds for the color palette used in the video:
green: 14/0/35/6
yellow: 0/3/24/1
light blue: 33/0/15/5
medium blue: 53/0/14/23
dark blue: 88/19/0/74
Here are the free fonts used:
Bebas Neue (book)
Raleway (SemiBold)
Here’s the How to Print Multiple Layouts on a Page tutorial that was also referenced in the video.
Short on time? Grab this to do list as a free printable here or check out a second design here!

There’s often a debate on when to use InDesign vs. when to use Illustrator. If you’re ever unsure about which is best for your project, here are a few tips so you’ll know what’s right immediately:
Use Illustrator when:
– You need 5 artboards or less and have a limited amount of copy (text) on those pages
– You need to manipulate/edit the actual artwork on your project
– You are doing more art making than text setting
Use InDesign when:
– You have a large amount of text in your document
– You only need to place images into your document
– You have a larger number of pages with text
Remember! If you have a large amount of text, create your artwork in Illustrator or Photoshop, then file > place that artwork into InDesign. InDesign should be used as a text setter and editor above all else, not a raw artwork-creator 😉 InDesign has a print (cmyk) color setting by default since it’s most often used for print. If you’re placing images from Photoshop into InDesign which need to be printed, be sure you’ve changed those images to CMYK in Photoshop (image > mode > cmyk) so you’ll avoid any color issues when your InDesign file goes to print.
Receive special offers on courses + products, a new design file every month plus instant access to the Resource Library!

Pick up over 50 design + lettering files as our gift to you when you join the Tuesday Tribe for free!
error
Congrats!
Please check your email to confirm.
You May Also Enjoy
 How to Vectorize Hand Drawn Doodles Posted in Tutorials, Illustrator, Hand Drawn
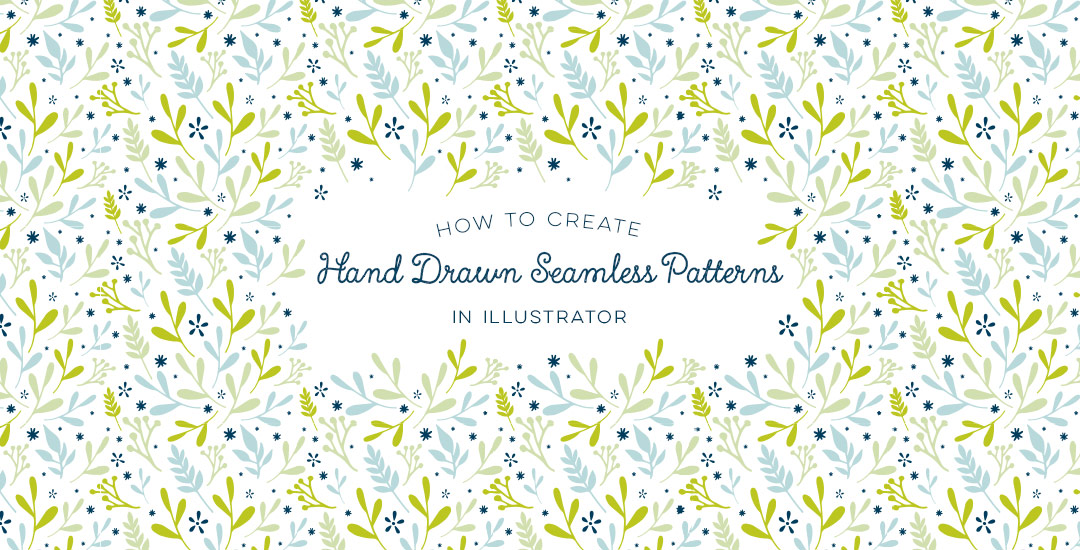 How to Create Hand Drawn Seamless Patterns in Illustrator Posted in Tutorials, Illustrator, Hand Drawn, Patterns, Illustration
 Cheers! Create Flat Style Cocktail Glasses in Adobe Illustrator Posted in Tutorials, Holiday, Illustrator, Illustration, vector
 Create a Pair of Cute Winter Mittens in Illustrator Posted in Tutorials, Holiday, Illustrator, Illustration, vector
Jannia | July 19, 2016
|
Hi Tesla,
I love your work and your classes because you make easy things that looks complicated. I’m curious to know how do you created the main graphic in this post with other little graphics inside like a square post it. Would you be making a tutorial?
Thanks in advance,
Jannia
Teela | Author | July 19, 2016
|
Hey Jannia! Check out this tutorial for that 🙂
Liily | July 19, 2016
|
Awesome tutorial! I already use Indesign and Illustrator as a layout artist for work, but I just love learning new techniques! 😀
Teela | Author | July 19, 2016
|
Thanks so much for checking it out!
Ursa | July 19, 2016
|
Hi Teela,
thank you for this tutorial, it was very helpful. Loved all the AI tricks I didn’t know about before too :).
Teela | Author | July 19, 2016
|
I’m so glad! Thanks for watching!
Desiree Ferdig | July 19, 2016
|
I know Illustrator pretty dang well, but I will continually watch what you create because I’m guaranteed to learn something new from watching you work. Thank you for taking the time you do to share what you know! This was an excellent tutorial.
Teela | Author | July 19, 2016
|
Thanks so much, Desiree! That means a lot! <3
Elpida | July 19, 2016
|
Teela thanks for everything! Your helpful and kind work is appreciated, much appreciated! Best!
Teela | Author | July 20, 2016
|
Thanks Elpida!
Abby | July 19, 2016
|
Thanks for the keyboard shortcut displays in the video; I think they are very helpful! 🙂
Teela | Author | July 20, 2016
|
Yay! I’m so glad – thanks for the feedback!
Simeen | July 19, 2016
|
You’re awesome. Love all your videos 🙂
Just wondering what app did you use that shows you the commands you use on your keyboard? I’m planning on making some of my own videos in the near future, and wondered whether you’re able to advise on what app to use?
Thank you 🙂
Teela | Author | July 20, 2016
|
Hey Simeen, the app is called mousepose 🙂
Jenessa | July 20, 2016
|
I loved this tutorial! I’m currently a graphic design student and am learning more from you than from anywhere or anybody else! Each of your little tips and tricks are gold! Thank you so much for putting your knowledge out there to help us!:)
Teela | Author | July 20, 2016
|
Thanks so much Jenessa! Means a lot to hear that 🙂
Annie | July 21, 2016
|
Hi Teela!
I love the tutorials! My favorite new feature is that you included the swatches in the post so that I know what they are before I begin to watch the video. The keystrokes are great too! The washi tape and glitter included in the graphic are amazing! I’ve watched your glitter tutorials, do you have one with the washi tape, pretty sure I can do it but, would love to see your technique. Thanks for the clarification on InDesign and Illustrator uses as well.
Teela | Author | July 21, 2016
|
Thanks, Annie! I’m so glad they’re helpful! So, the washi tape was a main component in this class I made for Brit + Co and I’m not sure I can independently create a vid for it because of my contract with them. Check out this promo vid they did though, hopefully it helps!
Cas | August 22, 2016
|
I know I’m a little late to comment on this, but I just wanted to say thank you for an amazing tutorial. You explained everything so clearly and I found it really easy to follow.
Teela | Author | August 23, 2016
|
Thanks so much for checking it out – glad it was helpful! 🙂