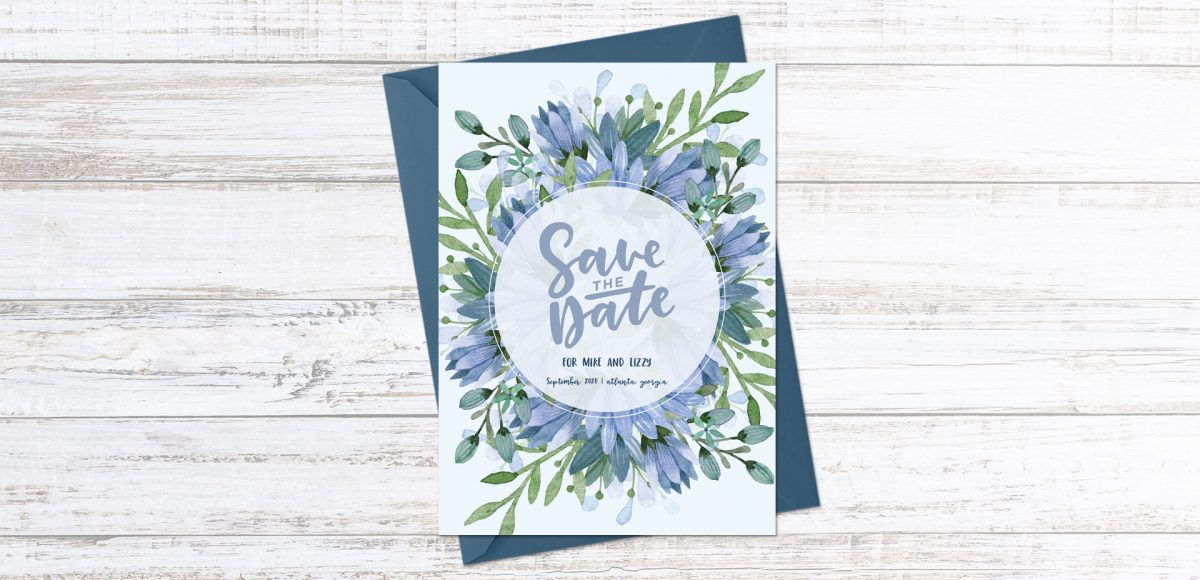
A few years ago (ok, more like 8) when I started creating templates for others to use online, wedding templates were one of the first kinds I made. I loved putting together a stationery set that felt like it belonged together, but altering each piece slightly to still feel special. I realized – here we are in May, and it has been since 2014 since I created a wedding stationery tutorial. With my new watercolor leaves and florals kit now available, it makes wedding stationery that much easier and quicker to put together (grab a free mini kit below!). In this week’s tutorial, we’ll create a save the date postcard together in Illustrator which will be all ready to print at home, or send off for printing when we’re finished. Read on for all the details!
Pin it for later!
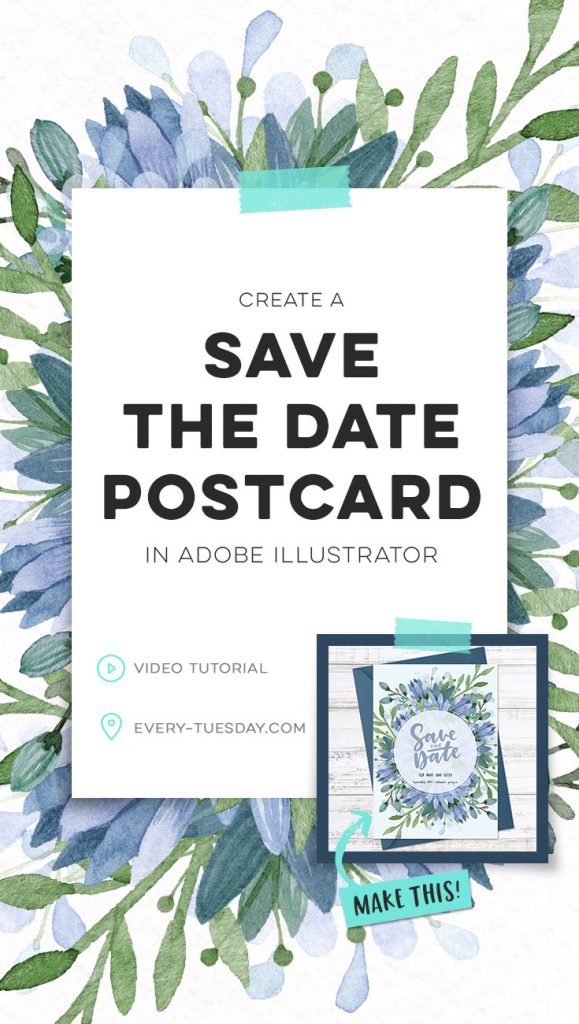
Create a Save the Date Postcard in Adobe Illustrator
Mentioned in the video:
Color palette (CMYK):
- Light blue: 5/0/0/1
- Medium blue: 35/20/5/15
- Dark blue: 90/70/40/20
Pick up the free ‘Save the Date’ vector text here:
Save the Date
vector lettering
- File type: zip file: ai, eps
- Size: 213 kb
- Minimum software version: CS3
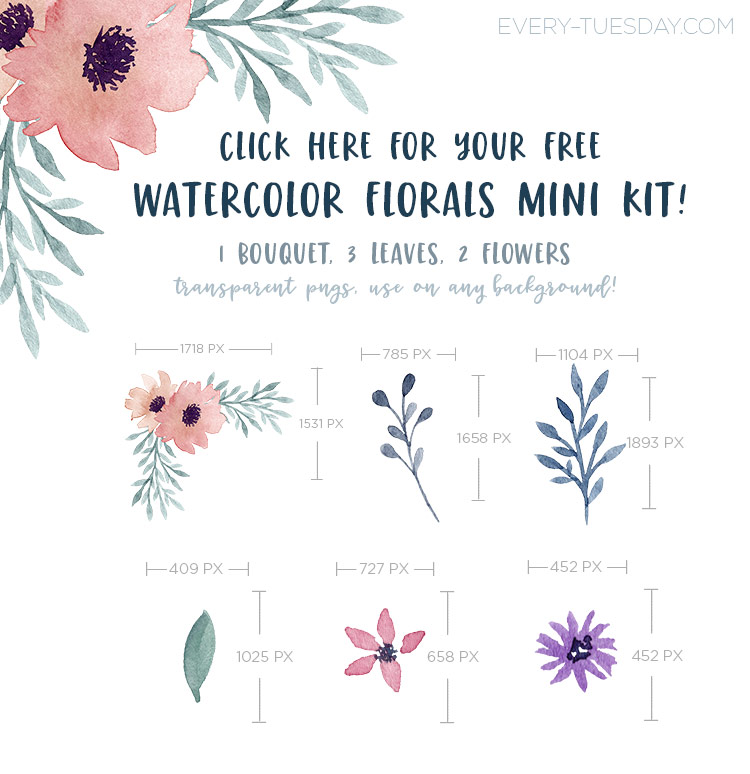
And grab your free watercolor florals mini kit here (if you’re already an Every-Tuesday subscriber, you can pick it up in the resource library):

Here’s the written version of the tutorial, in case it helps!
- Create a new document, sized 5″ wide by 7″ high with a bleed of .125″ on all sides. Choose a color mode of CMYK if you’re using your home printer; choose RGB if you have a newer printer that recommends RGB, or, if you’re sending these off to be printed, check with the printer for the color mode they prefer. The postcard will fit in any A7 sized envelope.
- File > place your floral elements (we used bouquet #3 in blue green from the watercolor leaves and florals kit). Copy and rotate around so you have 4 copies, one on each side.
- Create a rectangle that extends to the red bleed line on all sides and send it to the back. Recolor to your preference.
- Use your ellipse tool to create a circle in the center and reduce its opacity to 90%, then create a copy of that circle on top (opacity 100%). Scale the copy up slightly, remove the fill and apply a 1pt stroke the same color as the inner circle.
- Place/paste in the save the date vector lettering (free download above).
- Typeset the rest of your card’s info (the Miss Magnolia font was used here).
- If printing at home, save your illustrator file, then save a pdf with trim marks applied and be sure the box for ‘include bleed settings’ is checked. If sending to a printer, check with them for their file delivery preference.
- Done!
Download your free watercolor florals mini-kit!
Where should we send your watercolor florals kit?
Receive special offers on courses + products, a new design file every month plus instant access to the Resource Library!

Pick up over 50 design + lettering files as our gift to you when you join the Tuesday Tribe for free!
error
Congrats!
Please check your email to confirm.



Jeanne Sullivan | May 30, 2017
|
Such a beautiful card, Teela! Thanks for the detailed tutorial. So happy for access to your Watercolor Leaves and Florals Kit. I just HAD to have it!
Teela | Author | May 31, 2017
|
Aww yay! Thanks Jeanne! ❤️
Wendy L. | May 30, 2017
|
As always, thank you. And so lovely, Teela. You are the best!!
Teela | Author | May 31, 2017
|
so glad you like it! ❤️
Marie | May 31, 2017
|
Hi Teela,
Thanks for the wonderful tutorial. I have a question though. Most of my files will be printed at home, so I’ll do them in CMYK. However, if I made files for download or down the road I want to send it to a commercial printer, would I need to make a separate file in RGB? Or is it just a matter of saving the file as RGB mode? I’m so confused, lol.
Thanks.
Teela | Author | May 31, 2017
|
Hey Marie! Great question! If you might ever have a need for it as RGB (for on screen use or otherwise), it’s best to create it in RGB first (and save it as an RGB file so you always have that version), since more color information is stored in RGB files vs. CMYK ones. You can always go RGB to CMYK (just go file > document color mode in Illustrator) – you’ll typically notice your colors get a little less vibrant since traditional CMYK inks can only accomplish so much range. When you go CMYK to RGB, it will look the same (so you’ll lose the opportunity to get vibrancy you could have otherwise had with an RGB file for onscreen or pro-printer capabilities). Does that make sense? If you only ever plan to print at home, though, CMYK will give you a more reliable expectation of how your home print out will look as you work.
J Linu | June 3, 2017
|
Hi
Your blogs have really been helping me a lot. And thank you so much for that.
I just want to know how to vectorize the watercolor textures and floral or anything related to watercolors in Adobe Photoshop. Can you make a tutorial on it? Thank you and hoping for it.
Teela | Author | June 11, 2017
|
Illustrator is vector-based, whereas Photoshop is pixel-based, so the only way to vectorize artwork is by using Illustrator, not Photoshop 🙂
Hack | September 12, 2018
|
writing “save the date” using what font?, Mrs.TEELA
Teela | Author | September 20, 2018
|
No font – just my handwriting that’s been vectorized 😉
Lavoris Carter | December 20, 2019
|
Thank you!! Your YouTubes are awesome and have help me improve my Adobe Illustrator skills tremendously.