
Can you believe Valentine’s Day is next week?! If you’d like to DIY this year, this watercolor florals Valentine’s Day card in Adobe Illustrator can be created on a lunch break 😉 In this week’s tutorial, we create a quick and simple vector heart, then surround it with watercolor florals and a radial gradient background. It’s a print ready file, so you’ll be good to go for printing at home from start to finish. If you’re new to working with digital watercolor florals, there’s a free mini kit below to get you started!
Pin it for later!
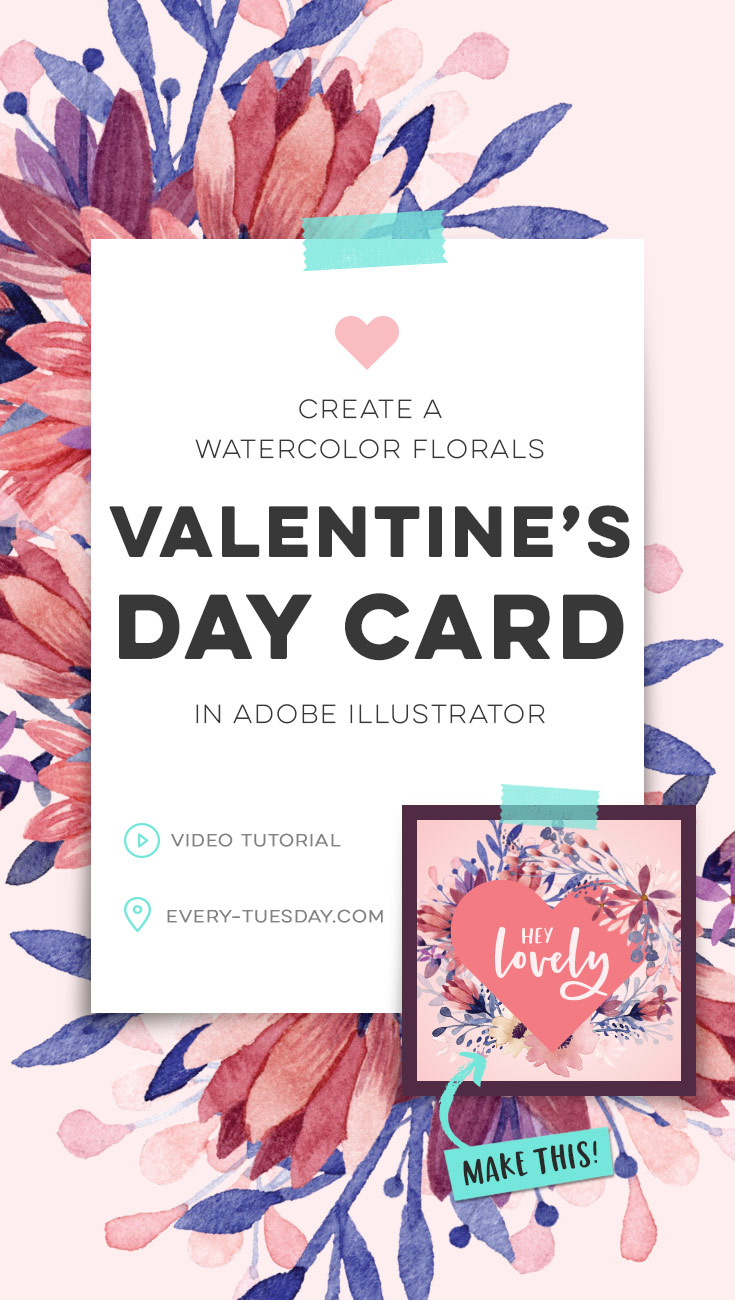
Create a Watercolor Florals Valentine’s Day Card in Adobe Illustrator
Mentioned in the video:
Colors used in this tutorial (CMYK)
- Light pink: 0/7/2/0
- Medium pink: 0/33/15/0
- Dark pink: 0/65/35/0
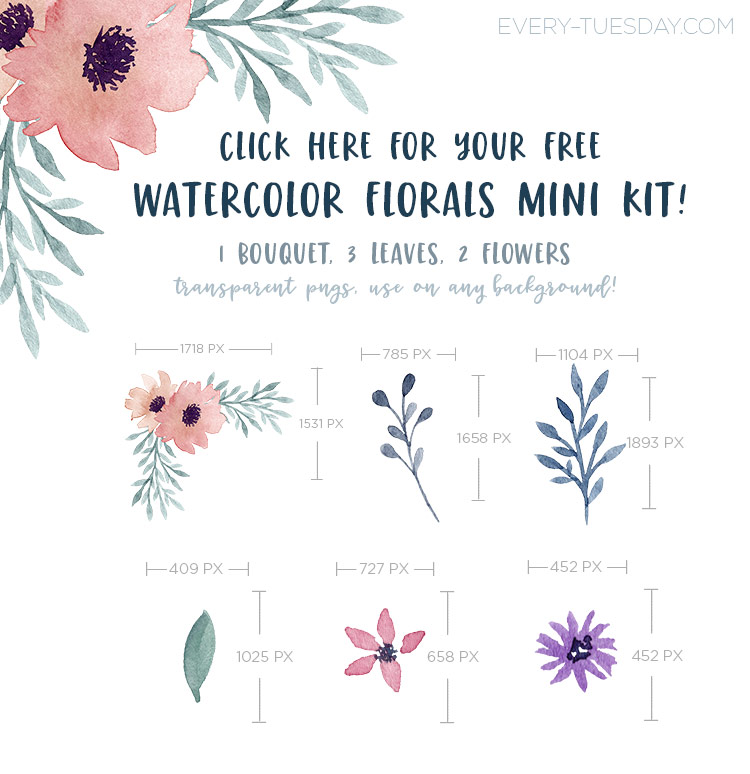
Grab your free watercolor florals mini kit here (if you’re already an Every-Tuesday subscriber, you can pick it up in the resource library):
Here’s the final outcome of this tutorial as a printed card!


Here’s a quick written overview of how we created our watercolor florals Valentine’s Day card:
To create your document:
- Create a document that’s 10″ wide by 7″ tall with a .125″ bleed on all sides. Keep your color mode CMYK if you’re printing this out at home (here are my printer + paper recommendations)
- Pull a guideline to the center of the document (at 5″). Create two filled rectangles, one for each side. On the right side rectangle, add a radial gradient, from white to medium pink.
To create the heart:
- Lock the background layer and create a new layer.
- Create a long (vertical) rectangle. Pull in its corners so they’re fully curved (if on an older version of illustrator, go effect > stylize > round corners).
- Rotate it 45*, duplicate and reflect over the y axis. Align until you get the desired heart shape. Use the pathfinder to cut away excess pieces, then unite remaining ones.
- Briefly unlock the background layer to center align the heart with the background. Re-lock the background layer.
To add florals:
- File > place in your florals, one at a time. Rescale, rotate and position behind the heart. Bring the top right florals to the front of all of your objects.
- Lock your heart + florals layer and create a new layer above it.
To add typography:
- On a new layer, set your typography. Because your other layers are locked, it’ll be easy to scale and adjust your typography without accidentally moving other objects.
- Design done!
To print:
- First, save your file as an Illustrator (.ai) file so you can edit it later on if you’d like to adjust anything.
- Next, file > save as and choose pdf. Uncheck ‘preserve illustrator editing capabilities’ for a smaller file size.
- Under the ‘marks and bleeds’ category, check ‘trim marks’ and ‘use document bleed settings’. Hit ‘save pdf’.
- Open the pdf and you’ll see your trim marks to cut your card down to size once printed. Done!
Download your free watercolor florals mini-kit!

Where should we send your watercolor florals kit?
Receive special offers on courses + products, a new design file every month plus instant access to the Resource Library!

Pick up over 50 design + lettering files as our gift to you when you join the Tuesday Tribe for free!
error
Congrats!
Please check your email to confirm.
You May Also Enjoy
 Design a Watercolor Floral RSVP Card in Adobe Illustrator Posted in Freebies, Tutorials, Holiday, Illustrator, Beginner, Watercolor
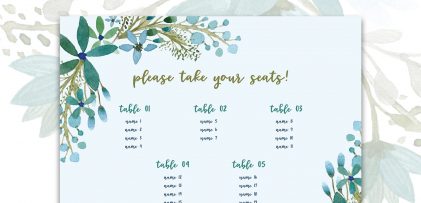 Create a Wedding Seating Chart using Data Merge in InDesign Posted in Tutorials, Holiday, InDesign
 Create a Save the Date Postcard in Adobe Illustrator Posted in Tutorials, Holiday, Illustrator, Watercolor
 Create a Watercolor Florals Mother’s Day Card Posted in Freebies, Tutorials, Holiday, Illustrator, Products, Crafts, Beginner, Watercolor
peaches | February 8, 2018
|
Beautifully demonstrated 🙂
Miuna LIRA | February 10, 2018
|
thank you so much for this free floral kit and for wonderful video
Mary Thomas | February 12, 2018
|
Great Tutorial. Very well presented in concise, but understandable terms. I have been using Adobe Illustrator for about a year and I learned several tricks I did not already know from this video. Thank you for posting. I am a new Every Tuesday Subscriber.
Teela | Author | February 17, 2018
|
Yay! So happy to hear it was helpful and so glad you’re here!
Jessica | February 12, 2018
|
I love this! So cute.
I have an Illustrator question for you–I’ve created an image and the strokes are all different sizes, but when I go to make the overall image smaller then the strokes don’t decrease, so then it becomes a big mess if I get much smaller. Overlapping and out of proportion. Any guesses of what I’m doing wrong? Or do I just need to create my images smaller to begin with? THANKS for all you do!
Teela | Author | February 17, 2018
|
Hey Jessica! If you go into your Illustrator preferences > general > then check ‘scale strokes and effects’ everything will rescale as you’d like 🙂
Wendy | February 15, 2018
|
Hey Teela! May I ask if you hand paint your watercolor florals, then upload them into Illustrator, or do you create them digitally?
Teela | Author | February 17, 2018
|
Hey Wendy!
I hand paint them, scan them, then enhance/edit them in Photoshop 🙂
Meg | February 20, 2018
|
Thank you for this video, this card is beautiful…
Wendy | February 20, 2018
|
Thank you so much!! I appreciate it!! <3