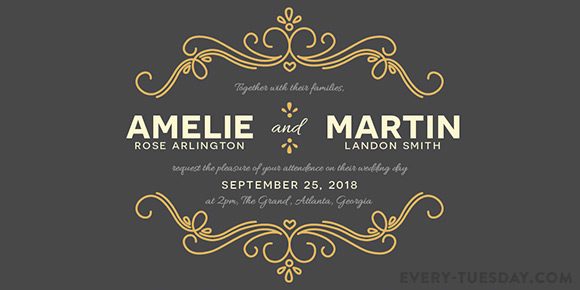
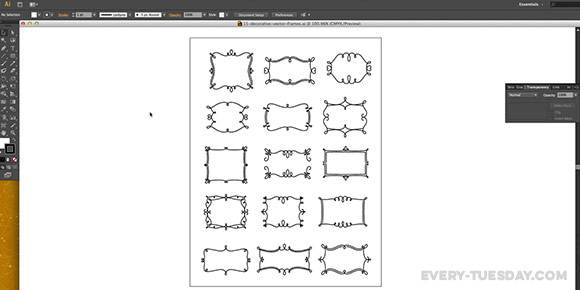
Now that we’re in wedding season, it felt fitting to make a wedding themed tutorial! So! In this week’s tutorial, we’ll create a fairytale themed wedding invitation from scratch using Illustrator. We’ll create the decorative flourishes using a wacom tablet, then typeset and organize our final, print ready file. Let’s get started!
If you’d like to pick up the full fairytale wedding pack, you can get it here.
The following free fonts were used in this tutorial:
Allura, Novecento Sans Wide DemiBold, Novecento Sans Wide Normal (you’ll have to create a free myfonts.com account to download the Novecento typefaces)
Also – here’s the wacom tablet used in the tutorial, I’ve had it a little more than a year and I still love it. For a list of my top 5 affordable Wacom tablets, check out this post to find one that best fits you!
Receive special offers on courses + products, a new design file every month plus instant access to the Resource Library!

Pick up over 50 design + lettering files as our gift to you when you join the Tuesday Tribe for free!
error
Congrats!
Please check your email to confirm.


Mario | July 1, 2015
|
I learn so much from these tutorials. Thanks for sharing!
If I may recommend, you should use the reflect tool more often! Shortcut is “o” and its plain awesome.
You might benefit from it 🙂
Teela | Author | July 1, 2015
|
Hey Mario! Thanks for checking them out! And oh yes! I use the reflect tool alllll the time + agree! Don’t want to overwhelm new viewers with too many shortcuts since it is a beginner style tut 😉 Thanks for watching!
Maria Verllen | May 14, 2016
|
i love your tutorial very much! 🙂 I’m learning a lot