We’re continuing the winter watercolor stationery theme this week with another holiday tutorial! If you missed the holiday postcard a couple weeks ago, be sure to check out this post! This week, we’re creating winter watercolor gift tags in Illustrator and we’ll once again be using watercolor elements from the free mini kit (download it below!) as well as the full kit. If you’re looking for more Illustrator gift tags tutorials, I’ve got you covered here, too 😉 Read on for how we create these winter watercolor ones!
Pin it for later!
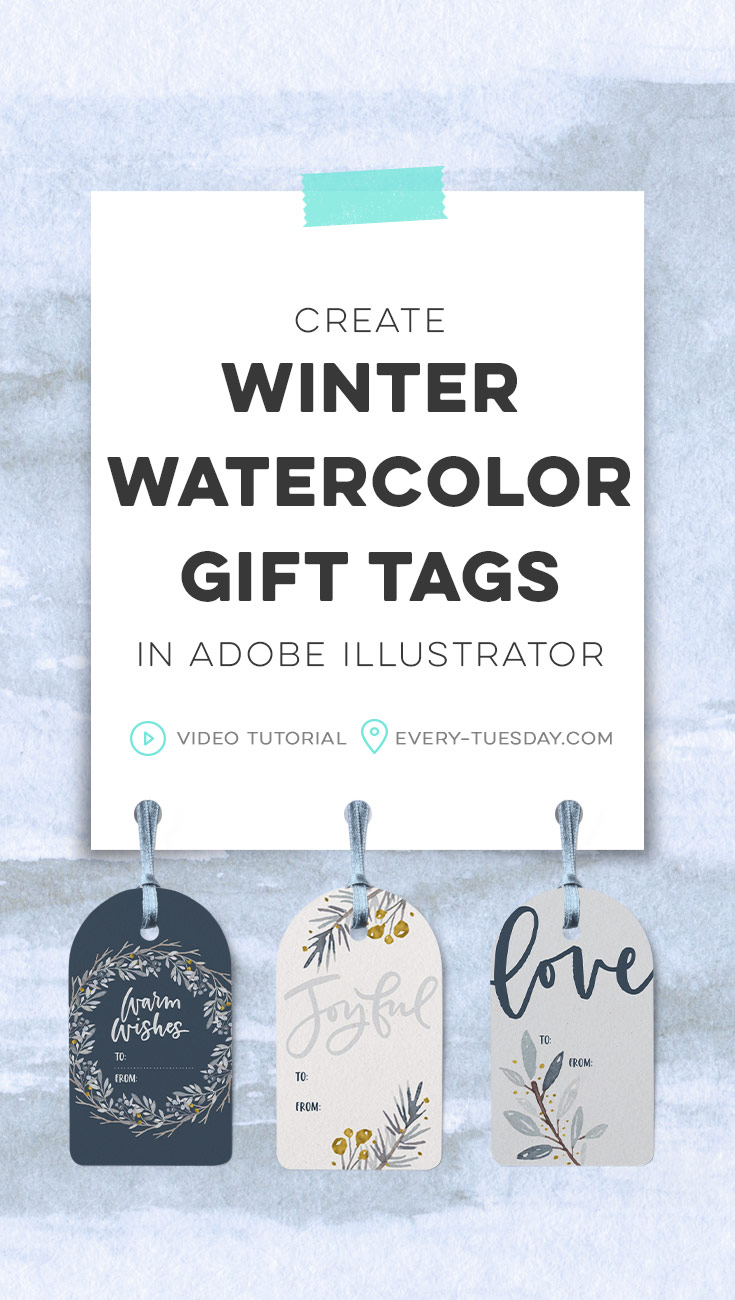
Create Winter Watercolor Gift Tags in Illustrator
Mentioned in this tutorial:
Colors used (RGB):
- Light blue: 226/230/234
- Dark blue: 62/79/96
Want to use the Illustrator gift tags template shown in the video? Download below! (works with Adobe Illustrator, CS3 or newer – tags are sized 3.5″x2″)
Free Gift Tags Template
6 tags, sized 3.5"x2"
- File type: ai + eps
- Size: 755kb
- Minimum software version: Adobe Illustrator CS3
I also mentioned the free Winter Watercolor Mini Kit! Click the image below to download; Every-Tuesday subscribers can pick it up right now in the Resource Library 😉
Usage rights for this mini kit: you may use on any personal projects or for any non-profit purposes. If you plan to use these in logos/for-profit business purposes or commercial usages (making items with the mini kit you plan to sell), you’ll need to pick up the extended license of the full kit here.

Here’s the written version of this tutorial on creating winter watercolor gift tags in Illustrator!
- First, make sure you have watercolor graphics + tag shapes to use! Download the free winter watercolors mini kit (above) or pick up the full kit here. Create your own tag shapes (as shown in the video) or download the template (above) and open it in Adobe Illustrator.
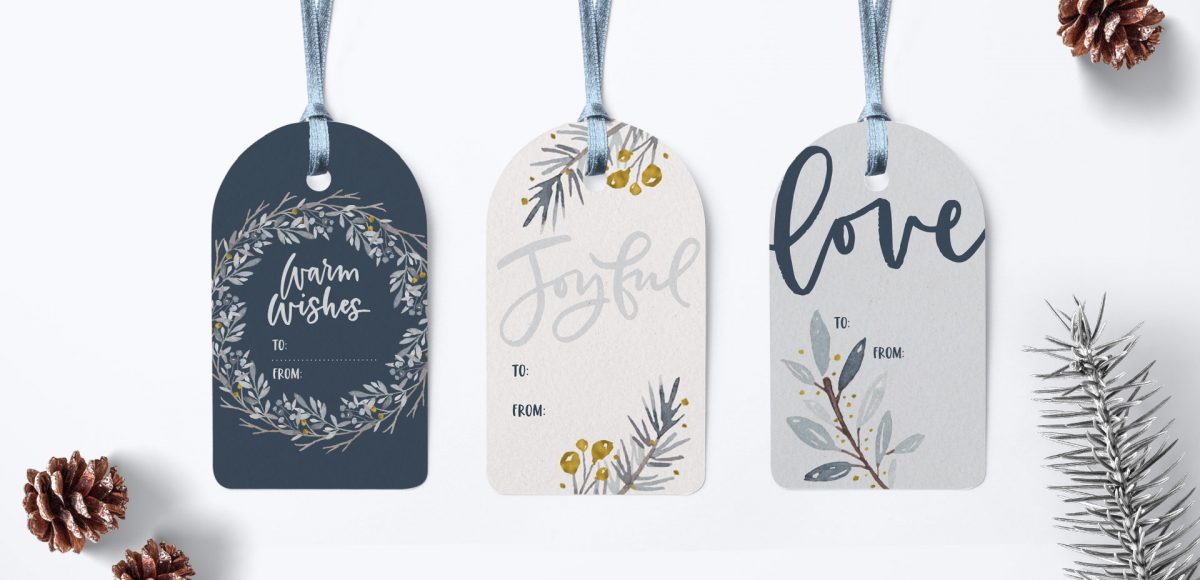
Winter Watercolor Gift Tags: Love
- Color your tag and place the lettering and watercolor element onto the tag at the desired scale and position.
- Group your lettering and watercolor element together. Duplicate the tag shape and place the copy on top. Select the tag shape + grouped elements > right click > create clipping mask.
- Place your ‘to’ and ‘from’ text onto the tag (Miss Magnolia font set in all caps is used in the video).
- Group all elements together + done!
Winter Watercolor Gift Tags: Warm Wishes
- Color your tag and place your watercolor wreath element on top. Scale it and position it so the inner edges of the wreath are still on the tag, even if the outside edges get cropped off.
- Grab your lettering, recolor as desired and position towards the top of your wreath.
- Apply your ‘to’ and ‘from’ text, left aligned with generous leading (line spacing).
- Place a .75pt stroked line between ‘to’ and ‘from.’ Using the stroke palette (window > stroke), apply a rounded cap, rounded corner, check the box for ‘dashed line’ and apply a 0pt dash and 3pt gap so it appears dotted.
- Copy your tag shape and paste the copy on the top. Select the tag shape copy and wreath > right click > create clipping mask. Group all elements together + done!
Winter Watercolor Gift Tags: Joyful
- Grab the lettering you’d like to use, color it and place it in the top half of your tag shape.
- Bring in the watercolor elements you’d like to use, arranging them as desired. Group together, copy, rotate and place on the other side of the tag. Group your two groups together.
- Make a copy of your tag shape and paste it on top. Select the tag shape copy and the group of watercolor elements > right click > make clipping mask. If you don’t see the option to make a clipping mask when you right click, you can also go object > clipping mask > make.
- Place your ‘to’ and ‘from’ text on the tag and group all elements together. Done!
Download your free Winter Watercolors Mini Kit!

Where should we send your Winter Watercolors Mini Kit?
Receive special offers on courses + products, a new design file every month plus instant access to the Resource Library!

Pick up over 50 design + lettering files as our gift to you when you join the Tuesday Tribe for free!
error
Congrats!
Please check your email to confirm.



No comments