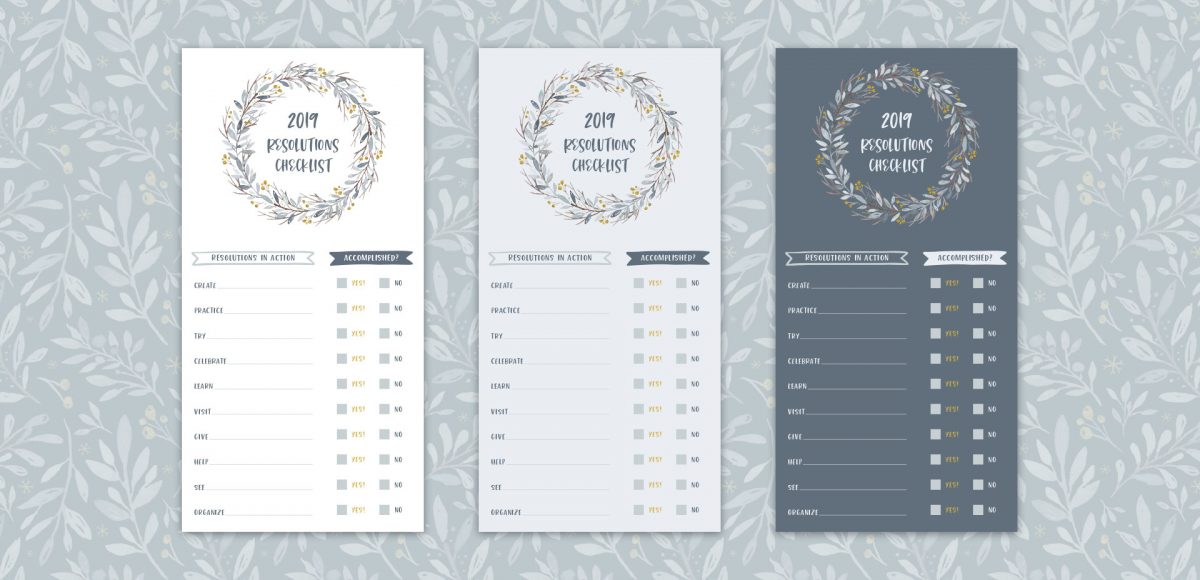
Happy New Year! To celebrate 2019, I thought it’d be fun to ring in the new year with a resolutions checklist in Illustrator, but with a little spin to it 🙂 Instead of just a list of goals – or a list of empty lines staring you down – this one is all about action! Feel free to customize with your favorite verbs, but I’ve got 10 to get you started. Read on to make your own! Or if you are ready to take this digital, check out my tutorial here!
Pin it for later!
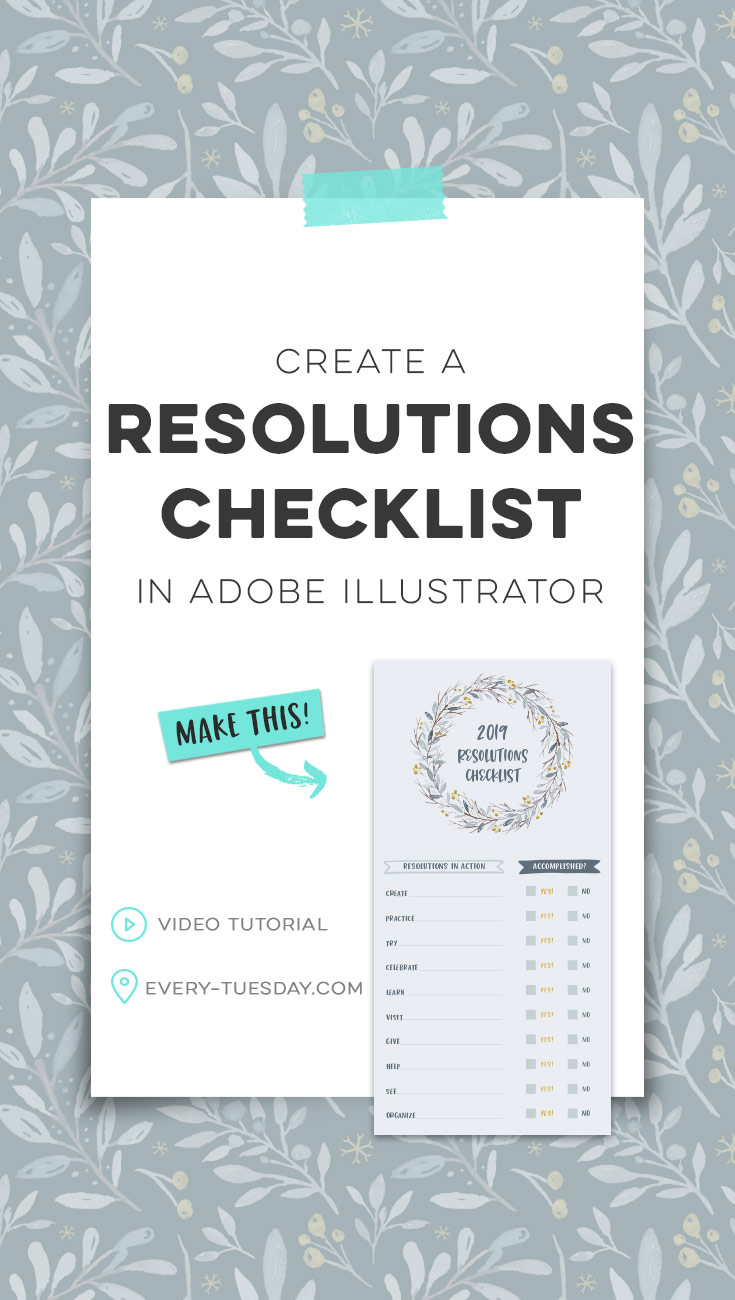
Create a Resolutions Checklist in Illustrator
Mentioned in this tutorial:
Colors used in this video (RGB):
- Light blue: 234/238/243
- Medium Blue: 199/208/211
- Dark blue: 97/111/124
- Gold: 211/177/74
Pick up your free Winter Watercolors Mini Kit by clicking the image below! Every-Tuesday subscribers can pick it up right now in the Resource Library 😉
Usage rights for this mini kit: you may use on any personal projects or for any non-profit purposes. If you plan to use these in logos/for-profit business purposes or commercial usages (making items with the mini kit you plan to sell), you’ll need to pick up the extended license of the full kit here.

Here’s the written version of how to create a resolutions checklist in Illustrator!
Base template + verb list
- First, grab your favorite watercolor graphics (a wreath or arrangement work great for this) – pick up the free mini kit above + use the included arrangement if needed!
- Create a new document, sized 4″x8″. If using a background color, apply a 1/8″ (.125″) bleed and keep your file RGB unless you have an older printer that would work better with CMYK.
- If using a background color, place it on its own layer and lock it. Create an ‘artwork’ layer above it and place your wreath and resolution checklist text within it.
- Create your own banners or grab the ones from the Skinny Jeans font for your column headlines. List out all of your resolution verbs with generous leading.
- Create a top line and repeat it on the bottom. Blend together to keep your lines evenly spaced. Next, separate them by expanding them (object > expand) and then ungroup (object > ungroup).
- Use your direct select tool (keyboard shortcut ‘a’) to move the left anchor point of each line to the right to increase readability.
Checklist
- Create your checkboxes using the rectangle tool.
- Set your ‘yes’ and ‘no’ text and group with your checkboxes.
- Position in the middle of your banner headline and duplicate the group, repositioning it on the bottom.
- Use your blend tool once more to repeat the other 8 and position perfectly.
- Done!
Download your free Winter Watercolors Mini Kit!

Where should we send your Winter Watercolors Mini Kit?
Receive special offers on courses + products, a new design file every month plus instant access to the Resource Library!

Pick up over 50 design + lettering files as our gift to you when you join the Tuesday Tribe for free!
error
Congrats!
Please check your email to confirm.
You May Also Enjoy
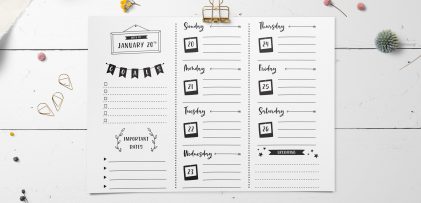 Create a Bullet Journal Weekly Planner Design in Illustrator Posted in Freebies, Tutorials, Illustrator, Resources, Hand Drawn, Beginner
 Create Winter Watercolor Gift Tags in Illustrator Posted in Freebies, Tutorials, Holiday, Illustrator, Crafts, Beginner, Watercolor
 Create a Winter Watercolor Holiday Postcard Posted in Freebies, Tutorials, Holiday, Beginner, Watercolor
 Create Seamless Pattern Wreaths in Adobe Illustrator Posted in Tutorials, Holiday, Illustrator, Patterns, vector
No comments