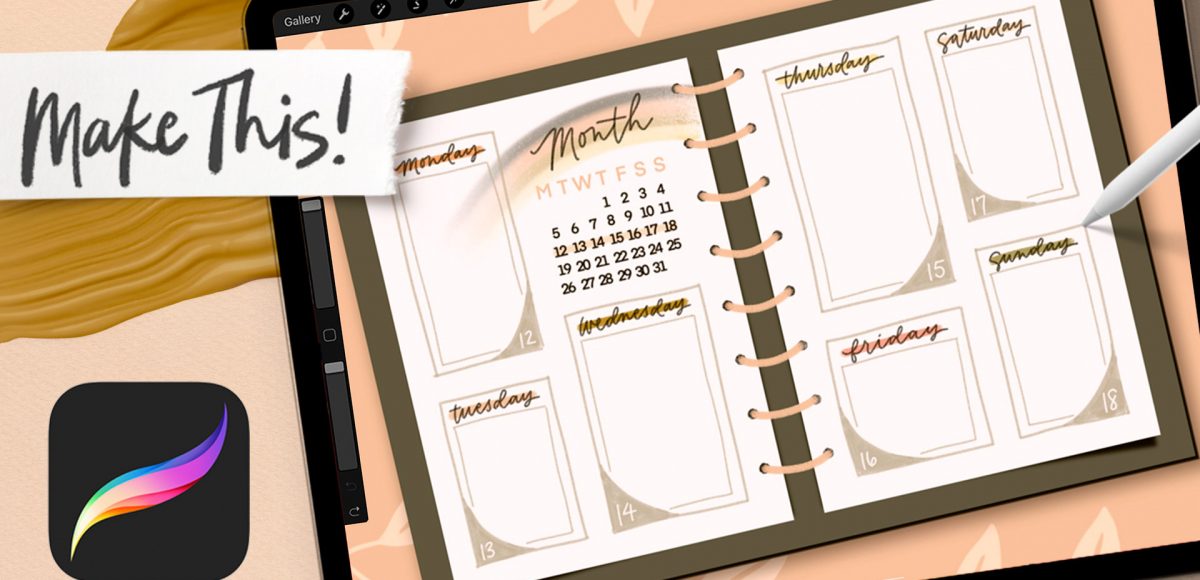
My friends from Archer & Olive got in touch recently to tell me about their line of Procreate assets! Once I saw their calendar stamps, I knew I had to add them to a design, so this week, we’re creating a digital weekly planner, all in Procreate. We’re even putting it into a spiral bound notebook we’ll make from scratch, too!
Pin it for later!
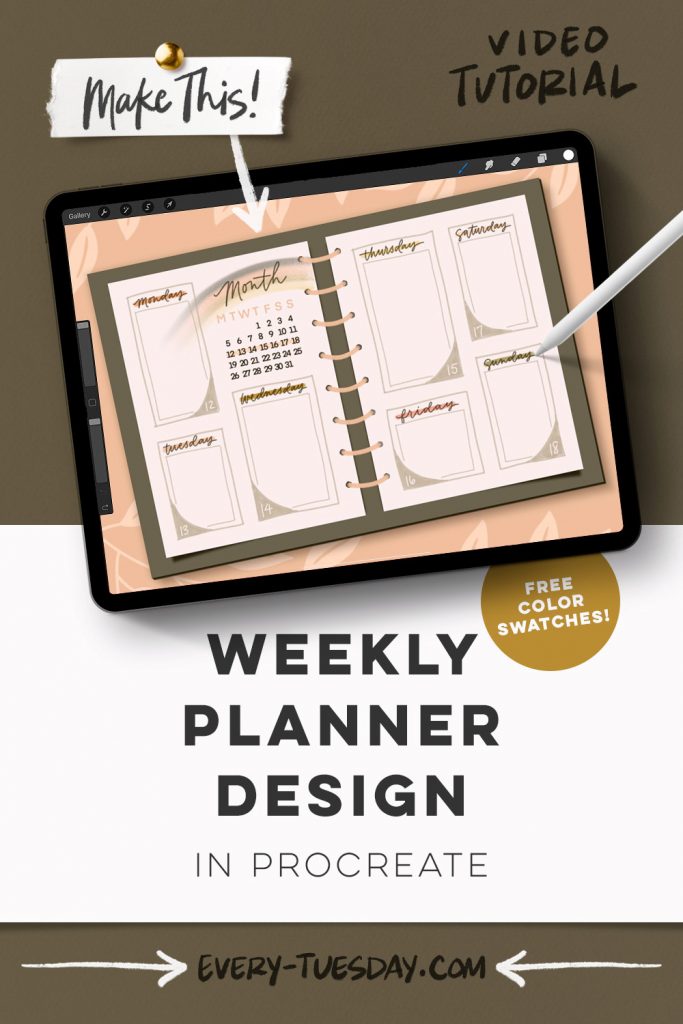
Weekly Planner Design in Procreate
Mentioned in this video:
- Acrylograhttps://www.archerandolive.com/products/procreate-brush-acrylographph brushes (or any favorite monoweight brush)
- Calendar Stamps
- Floral https://www.archerandolive.com/products/procreate-stamp-original-floral-stampsstamps
- Color Palette (free)

Here’s a written overview of how to make a weekly planner design in Procreate:
- Set your background color and create the base of the planner by turning on the drawing guide. Next, use the rectangle selection tool and fill with your desired color. Create a copy of this layer with a darker color and drag it underneath the original layer. Apply a motion blur and drag it down and to the right.
- Add in the pages by finding the center of the planner. Draw in two rectangles for the pages of the planner. Fill a duplicated layer with a dark color and drag it under the white page layer. Warp the corners to make it look more realistic. Apply a small gaussian blur to this shadow layer.
- Add in the spiral binding with the 3mm acrylograph brush.
- Start by adding in a calendar. Select the Monday stamp brush and move it into place. Choose the calendar brush that fits whatever format you want to work with. Switch to the acrylograph brush to write the name of the month. If you prefer typeable text, that is an option too.
- To create a rainbow, paint in a few different chunks of color on the same layer. Grab your smudge brush and the 3mm acrylograph brush and smudge it in a rainbow motion.
- Draw in blocks for the individual days and checklists that you want to have in your planner.
- Create a corner element and paint in scooping triangles to put the dates on the blocks.
- Add in the days of the weeks to the top of the blocks. Draw in a highlight color behind each day of the week. Then, write in the numbers of the weeks to the corners.
- Create a shadow underneath the entire planner.
- The last detail is to add in some decoration to the background. Grab the thick leaves 02 brush from Archer & Olive and stamp them around the border.
- Done!
Receive special offers on courses + products, a new design file every month plus instant access to the Resource Library!

Pick up over 50 design + lettering files as our gift to you when you join the Tuesday Tribe for free!
error
Congrats!
Please check your email to confirm.
You May Also Enjoy
 Paint Flat Florals for Birthday Stationery in Procreate Posted in Freebies, Tutorials, Hand Lettering, Color, Resources, Hand Drawn, Illustration, Advanced, Procreate
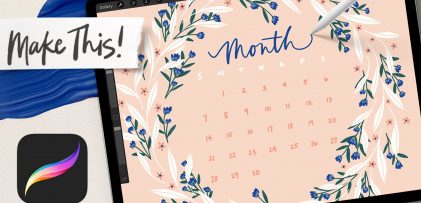 Easy Wreath Calendar Design in Procreate Posted in Freebies, Tutorials, Hand Lettering, Hand Drawn, Illustration, Beginner, Procreate
 Happy New Year! How to Draw Complex Ribbons in Procreate Posted in Freebies, Tutorials, Hand Lettering, Holiday, Hand Drawn, Illustration, Advanced, Procreate, Gouache
 How to Add Depth to Lettering in Procreate Posted in Freebies, Tutorials, Hand Lettering, Hand Drawn, Illustration, iPad Lettering, Advanced, Procreate
No comments