
I’ve had a few requests for advanced tutorials lately, so we’re closing out the year with my most advanced tutorial to date: complex ribbons! If you’re brand new to Procreate, you’ll want to take my free course before tackling this beauty. We’ll be combining selections, masking variations and depth effects, along with determining hierarchy within our ribbon folds. Even if you are a more advanced Procreate user, my hope is that you’ll still learn a few new tricks you can carry with you into the new year 😉
Pin it for later!
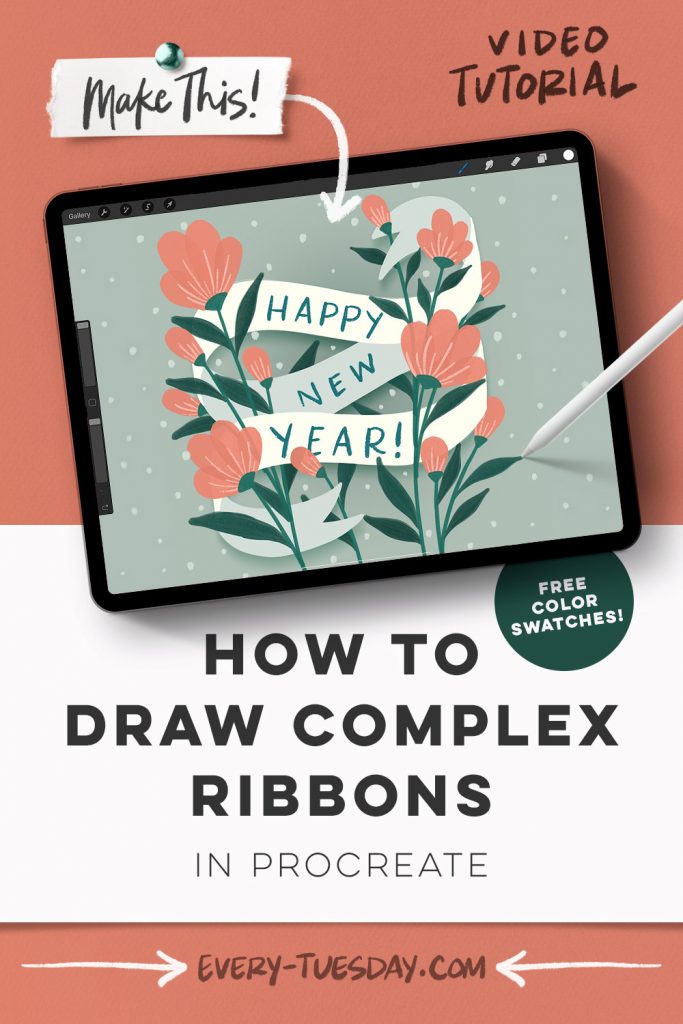
Happy New Year! How to Draw Complex Ribbons in Procreate
Mentioned in this video:
- Every Tuesday Monoweight Brush (free)
- Gouache Lovers Brush Set (or any favorite painterly brushes)
- Color Palette (free)

Here’s a written overview of how to draw complex ribbons in Procreate:
- Start by drawing out the ribbon shape template and make it pretty curvy. Reduce the opacity and duplicate it and move the duplicated layer down to establish the thickness of the ribbon.
- Then, add in the notch of your ribbon and trace over the ribbon to establish the hierarchy.
- Turn off the template to see the rough version of the ribbon. Paint in the color by creating a new layer and start with the back sections first by retracing what you just drew. Now draw in the front sections on a new layer.
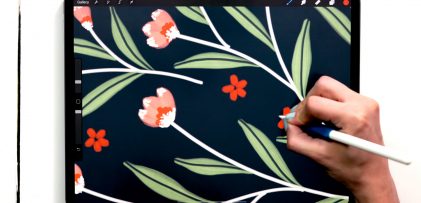
- Paint in all of the florals on top with the thick round textured brush and paint in some simple flower shapes. On a new layer, add in some lines to make the flowers look more detailed. Grab the dried out brush and just draw some lines straight up on all of them. Add in the stems with the liner brush.
- Then, group all of the flower elements together and make a copy of the group. Turn off the visibility of the original group and then flatten the duplicate. Duplicate the flattened flower layer and turn it off temporarily.
- Select the ribbon layer, hit invert, tap on the flower layer thumbnail and choose mask (it should look black in the layer thumbnail).
- Return to the layer mask layer and choose the color white. Choose which parts of the florals you want in front or behind the ribbon. Paint right over where you want the flower to be revealed.
- Add in your lettering with the dried out brush.
- Next, create a shadow of your ribbon layer.
- Create a new layer and grab the thick round opaque brush and paint in a circle in the middle of the canvas. Apply a gaussian blur and send the layer behind everything. Change the blend mode to multiply and reduce the opacity.
- Finally, add in some snow with the dried out brush and paint in some little dots.
- Done!
Receive special offers on courses + products, a new design file every month plus instant access to the Resource Library!

Pick up over 50 design + lettering files as our gift to you when you join the Tuesday Tribe for free!
error
Congrats!
Please check your email to confirm.
You May Also Enjoy
 Paint Mother’s Day Gouache Florals in Procreate Posted in Tutorials, Hand Lettering, Holiday, Hand Drawn, Illustration, Beginner, Procreate, Gouache
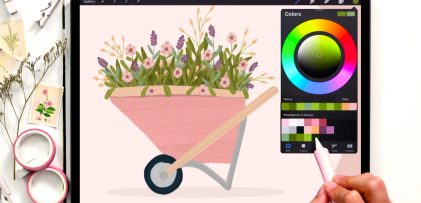 Paint a Gouache Wheelbarrow of Flowers in Procreate Posted in Freebies, Tutorials, Hand Lettering, Hand Drawn, Illustration, Advanced, Procreate, Gouache
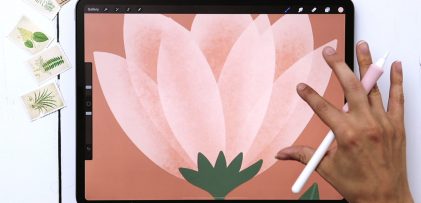 How to Apply Shading to Florals in Procreate Posted in Freebies, Tutorials, Hand Drawn, Illustration, Advanced, Procreate
 Easy Messy Gouache Flowers in Procreate Posted in Freebies, Tutorials, Color, Resources, Hand Drawn, Illustration, Beginner, Procreate, Gouache
No comments