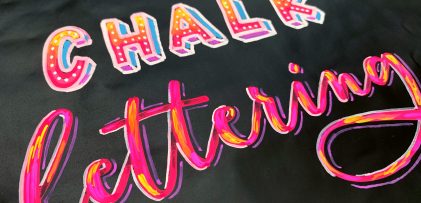
There are a lot of tutorials out there on how to create hand lettering, but far fewer on what you can do once you create your lettering. In this week’s tutorial, we’ll create a hand lettered photo composition using just photoshop. We’ll start with placing and coloring our lettering on a chosen photo, then go over the basics of masking and applying environmental shadows to give the final piece a polished look. As a bonus, I’m including the lettering used in the tutorial so you can follow along exactly if you’d like. Let’s get started!
Here’s that free hand lettering as an ai + eps file you’ll want to place in as a smart object:
You can pick up the free photo used in the tutorial here.
Receive special offers on courses + products, a new design file every month plus instant access to the Resource Library!

Pick up over 50 design + lettering files as our gift to you when you join the Tuesday Tribe for free!
error
Congrats!
Please check your email to confirm.


Michele | March 5, 2015
|
hey thanks for this tutorial! I had been wondering how to create this effect of lettering in front + behind an image. just came across your blog and am loving it – I’ll be back for more : )
TeelaC | Author | March 6, 2015
|
Awesome! I’m so glad – Thanks for checking everything out! 🙂
Yasmin | March 15, 2015
|
As you know, I love your blog. ;]
What if we wanted to offer this as a print. Do you have any tutorials on that? covering what the process looks like, from illustrator/photoshop to uploading it to our shop or etsy. Any specific setting we need to be aware of since people would print on their own??
Thanks so much!!
TeelaC | Author | March 16, 2015
|
Hey, thanks for watching! If you’d like to upload something like this to etsy, you would save your (cmyk) file as a pdf or a jpg sized to the intended dimensions – I would also include a bleed + trim marks so the customer could cut it without any white edges 🙂