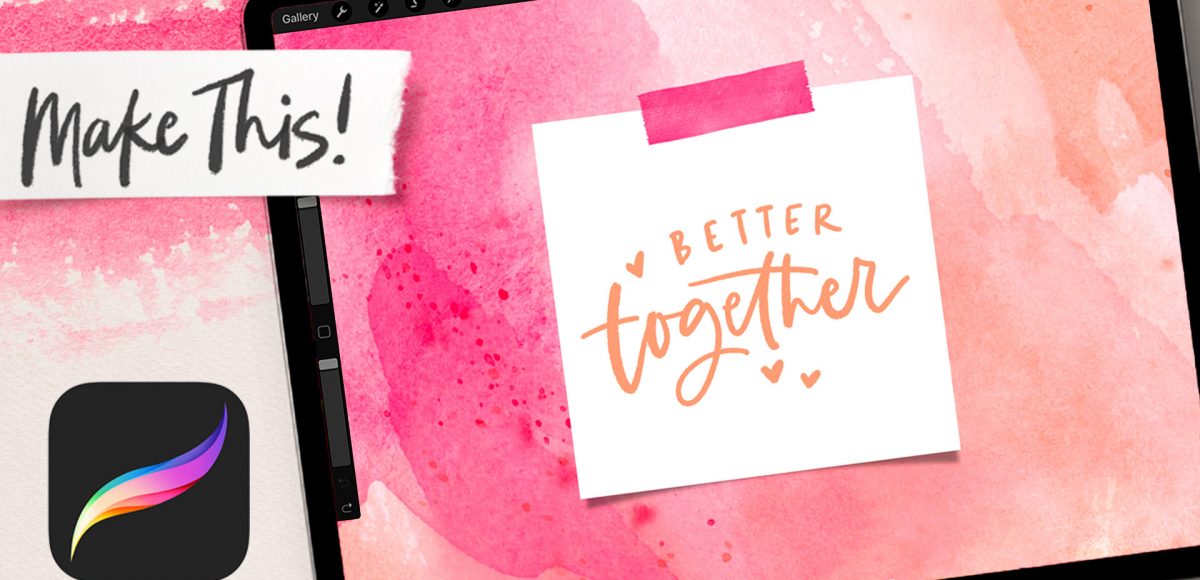
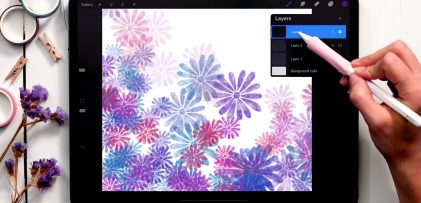
The other night I felt like Procreate playing – no set plan in mind, I just wanted to make something pretty with the messy watercolor brushes. I haven’t shared a Procreate abstract art tutorial (until today!), so I was extra excited when this messy watercolor background came together organically + quickly!
In the video, you’ll see how easy it is to make any kind of abstract watercolor backgrounds with the brushes, but what I’m *most* excited about is one of the biggest procreate tips I’ve shared to date. You know how Procreate crops off any artwork that goes beyond the edges of your canvas? Well, I’ve got a workaround that you’ll want to use + remember! 😉
Pin it for later!
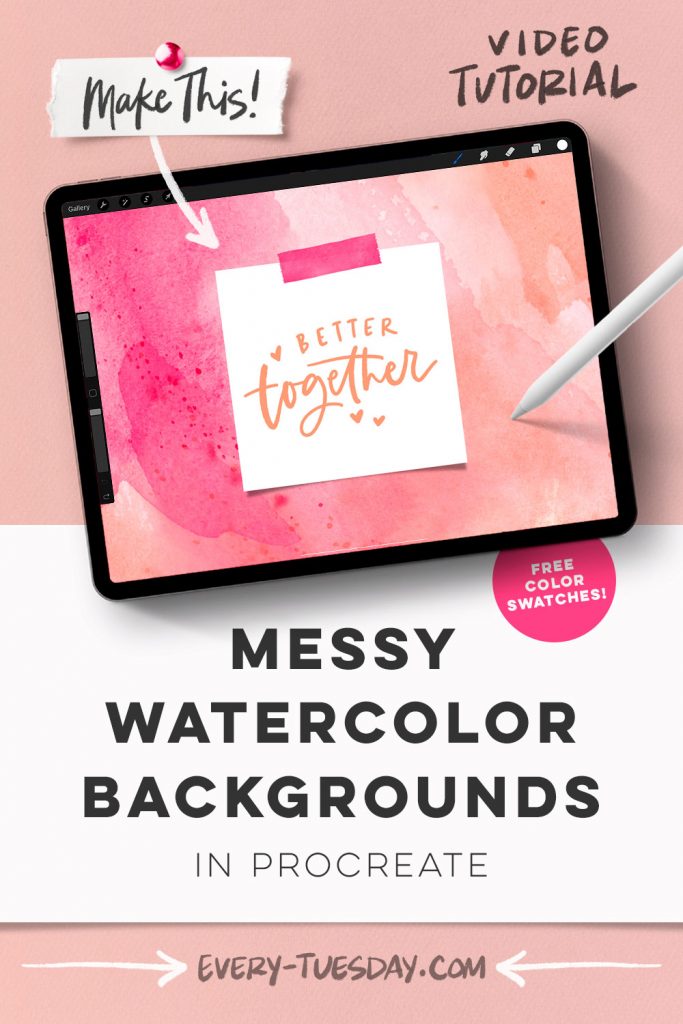
Paint Messy Watercolor Backgrounds in Procreate
Mentioned in this video:
- Messy Watercolor Brush Set
- Messy Watercolor Brush Set Sampler (if you’d like to try out the brushes for free first!)
- Color Palette (free)
- Polaroid Maker Kit (optional)
- Inky Edge Pro Brush (or any favorite lettering brush)

Here’s a written overview of how to paint messy watercolor backgrounds in Procreate:
- Apply any color you’d like to the background color layer, but make sure there’s enough contrast with white.
- On layer 1, grab true white and fill the canvas with white. Select it, make sure uniform is selected and scale it up until you get to 1500 pixels. Deselect and then move it into place on the canvas.
- Go into messy shapes number 2 and grab shape 64 and on a new layer, stamp it in with your finger. Create another layer on top and stamp in shape 72.
- Create a new layer and shape 60. Smudge any hard edges into the softer color to make them look like they are blending together.
- In the top corner, grab shape 68 and stamp it in. Grab shape 73 to fill in the white space.
- Use bloom 11 to tie in all the colors together, shape 69 in the bottom corner, and the bloom and bleed brush to smudge any hard lines.
- To make it feel even messier, add in some paint splatter. Use splatter 18, splatter 3, and splatter 05 to finish it off.
- Make a copy of all the watercolor layers and turn off the original layer. Flatten the new layer and apply a clipping mask.
- Make a new group of the clipping mask and square and then flatten them.
- Come back into the gallery and duplicate the canvas you were just working on. Open up the new canvas and remove the old layers. Grab the artwork square and tuck it into the bottom left corner.
- Hit the wrench, canvas, crop and resize and change the settings to 1500 px by 1500 pixels.
- You can recolor the canvas as desired.
- Add in a polaroid, polaroid shadow, and washi tape to top it off.
- Letter out any message that you like. Done!
Receive special offers on courses + products, a new design file every month plus instant access to the Resource Library!
Pick up over 50 design + lettering files as our gift to you when you join the Tuesday Tribe for free!
error
Congrats!
Please check your email to confirm.


No comments