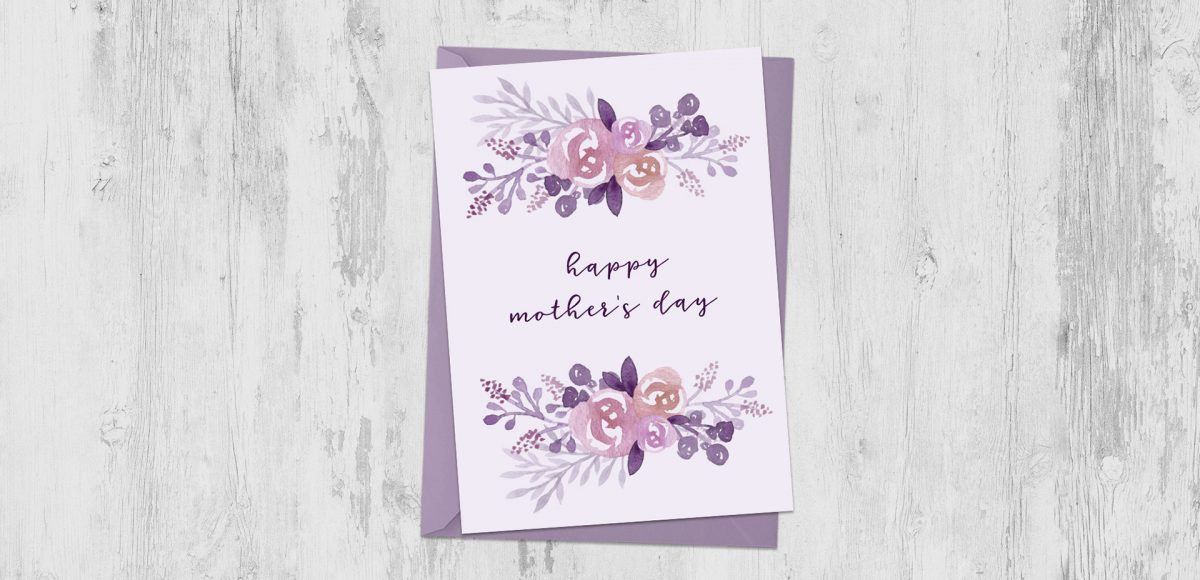
Happy Tuesday! This part of the year is always one of my favorites because it’s all about celebrating moms. My mom and I have always been really close – she was actually born on Mother’s Day the year she was born, and when she had my youngest sister, it was Mother’s Day that year *and* her birthday. Pretty crazy, especially since Mother’s Day doesn’t land on the same day each year. In case life has gotten a little crazy lately and you haven’t picked up a card yet, I’ve got you covered 😉 This week, we’ll create a simple (beginner friendly!) watercolor florals Mother’s Day card in Illustrator using a bouquet from my newest Watercolor Leaves and Florals kit, or you can use the free mini kit I’ve also included below. Read on to see it all!
Pin it for later!
Create a Watercolor Florals Mother’s Day Card
Mentioned in the video:
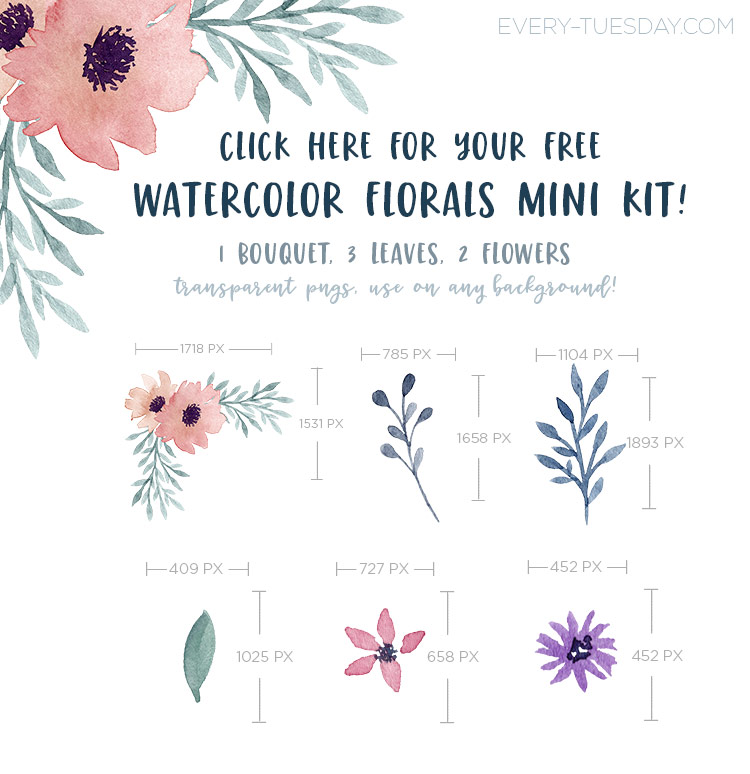
I also mentioned that free mini kit – get it sent to your email by clicking the image below (if you’re already an Every-Tuesday subscriber, you can pick it up in the resource library):
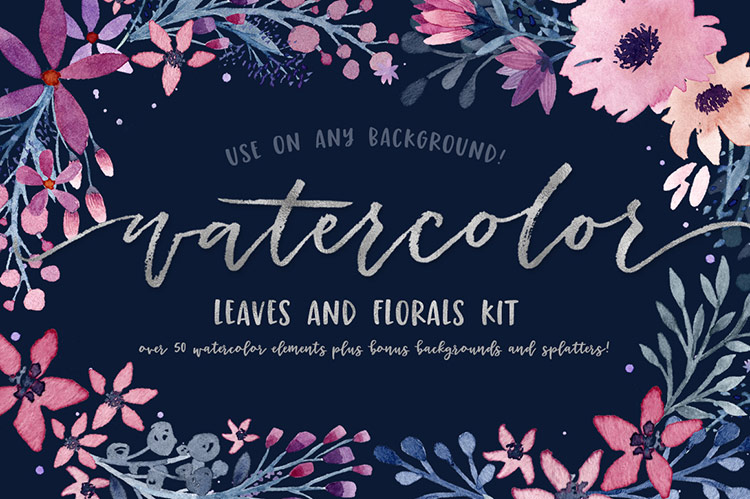
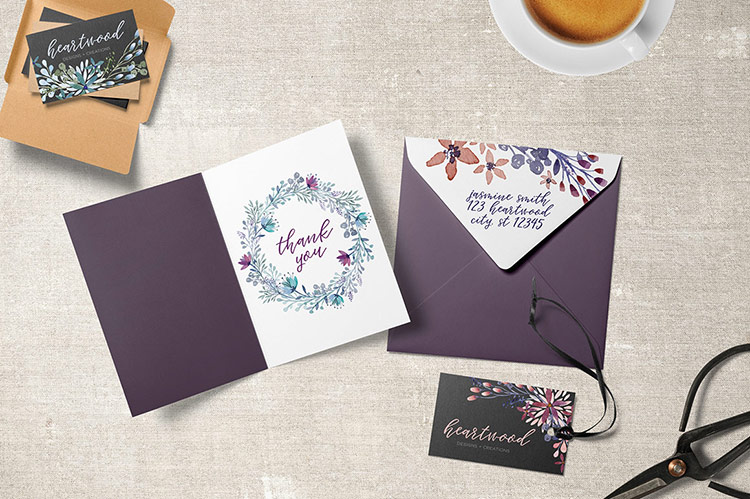
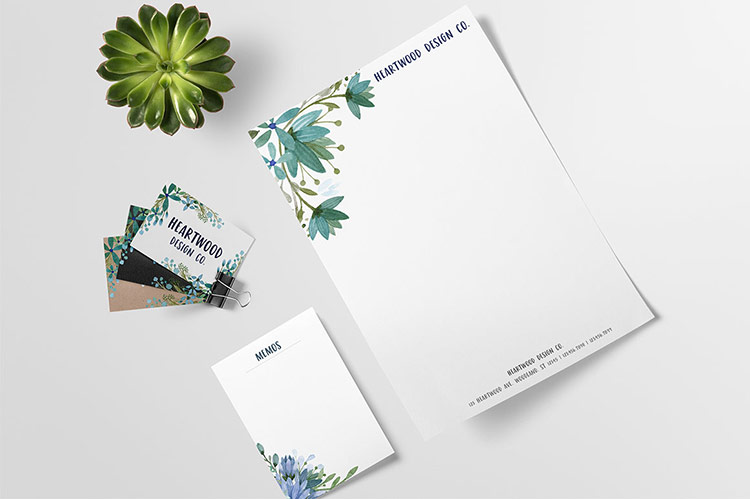
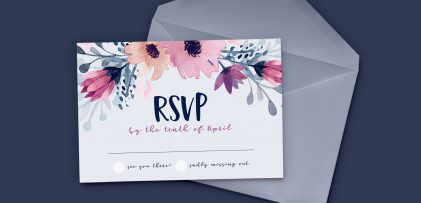
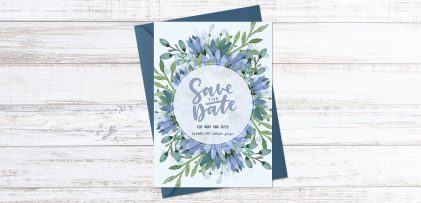
Here’s a little extra inspiration on how you can use the full kit in future projects!

Here’s what we did in the video, in case you’d like the written instructions:
- Create a new document, 8″ wide by 6″ high. Apply a bleed of .125 to all sides, CMYK.
- File > place your graphics in and set your type. If you choose to use a background color, be sure it extends all the way to the red bleed line on all sides.
- Save your Illustrator file so you always have the ‘raw’ art to come back to if you need it. Then, go file > save as and choose pdf as your format. In the pdf dialog, make sure ‘trim marks’ is checked under ‘marks and bleeds’ and check the box for ‘use bleed settings’ below it.
- Create a new Illustrator document the size of the paper you’ll run through your home printer. In the video, we use a standard letter size, 11″ wide by 8.5″ high.
- File > place in the pdf file you made with the trim marks. Create your own score marks if needed. File > print. Score along your score lines first, then trim along your trim lines to have color that goes straight to the edge around your card. Fold, fill out and place into any A4 sized envelope. Done!
Download your free watercolor florals mini-kit!

Where should we send your watercolor florals kit?
Receive special offers on courses + products, a new design file every month plus instant access to the Resource Library!

Pick up over 50 design + lettering files as our gift to you when you join the Tuesday Tribe for free!
error
Congrats!
Please check your email to confirm.




Adriana | May 9, 2017
|
hi there, your tutorial is great, I just have a question, when you want to vectorise your watercolours, do you always pass by photoshop first before bringing them to illustrator?
Teela | Author | May 12, 2017
|
If you already have textures ready to vectorize, you don’t necessarily need to involve photoshop – check out this tutorial for more info
Sue | June 14, 2017
|
Teela, you are an awesome teacher! I love your tutorials – keep it up!