Free Every-Tuesday Holiday Assets
If you’re in a pinch for some holiday design goodies, you’ve come to the right place! Here’s a roundup of every-tuesday content from the past two holiday seasons, enjoy!
2 Comments
LETTERING + GRAPHIC
DESIGN LEARNING
If you’re in a pinch for some holiday design goodies, you’ve come to the right place! Here’s a roundup of every-tuesday content from the past two holiday seasons, enjoy!
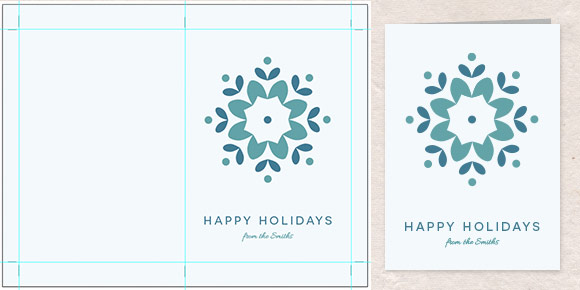
Happy Tuesday! In this final tutorial for the holidays, if you haven’t sent out cards yet, I’ve got you covered 🙂 No need to run to the store – in this tutorial we’ll create a holiday themed printable greeting card using Adobe Illustrator. We’ll create manual trim + score marks so you can print your card easily on your home printer, and design it from scratch in a few short minutes. Let’s get started!
This is a new post I’ve decided to start where I share my recent favorite typography pins from pinterest – get it? typins? I’m going with it 🙂 First up are 8 pins I spent some serious eye-disect time on.
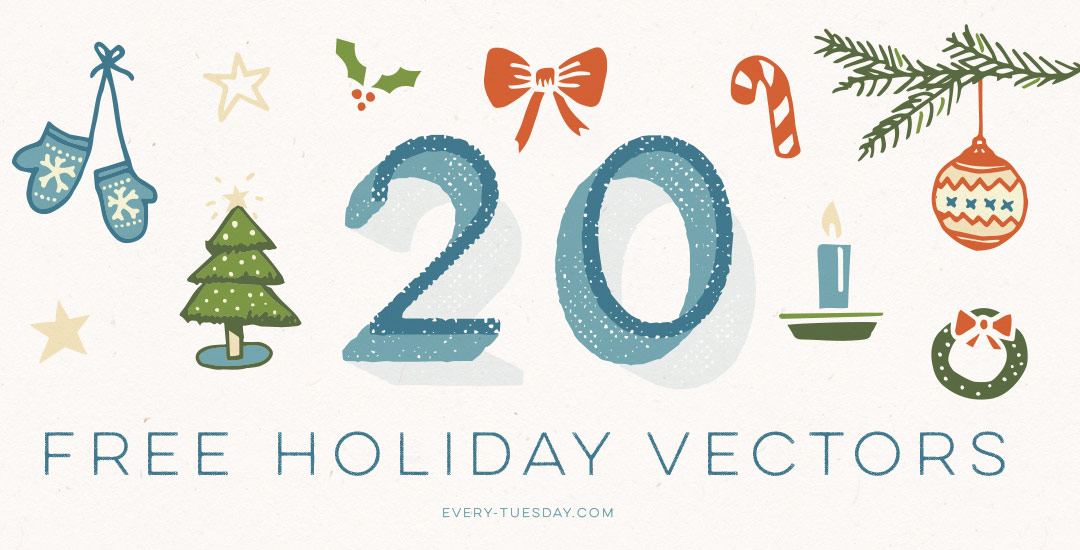
Happy Tuesday! As we close in on the holidays, the time for making holiday-related items is in full swing. To help with your crafts, invites, tags, gift bags, and cards, this week’s freebie is a set of holiday themed hand drawn vectors! The download includes 20 fully editable vector assets that can be opened with versions of Illustrator and Photoshop, CS3 or newer.
I’ve decided to change the fonts-I-dig format up a bit – showing you some fonts I’m really into that you can get for free and a more thorough + similar purchased one. Many times free fonts don’t come stocked with glyphs you’re likely to use..sometimes they’re even missing some basic punctuation. So if the free one is doing it for you but you just want more, listed below you’ll find a similar font for a fee.
Happy Tuesday! Hope you all had a great Thanksgiving! Spence, Nuna + I went low key + celebrated just the 3 of us together. After dinner, we spent the rest of the evening sipping blackberry rum fizzes, dipping italian herb bread in oil + vinegar we brought back from Sonoma + binge listening to Serial while Spence read coding tutorials + I doodled 🙂 ah, days off are the best!
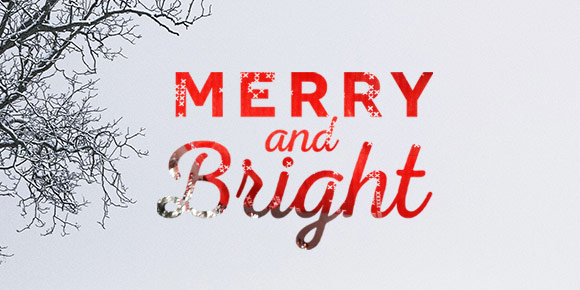
But it’s back to the grind for now.. I’ve been thinking about fun holiday themed tutorials I could make this year and this was one of the first ones that came to mind. You can use it on greeting cards, e-cards, gift tags, wrapping paper – you name it! And you can use the same technique all year long. In this week’s tutorial, we’ll mask an image inside of text in Photoshop in a few quick and easy steps. Click on to get started!
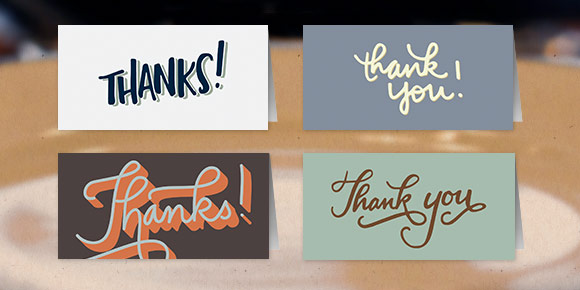
Happy Tuesday + happy almost Thanksgiving! In honor of one of our best holidays, this week’s freebie is a set of 4 unique, hand lettered mini thank you cards. The download includes all 4 in a pdf with printing, cutting + folding instructions. Final printed + folded size is 4″x2″ which -fancy this- fits perfectly in the mini envelopes freebie! Use these babies to thank a friend by attaching to a bouquet of flowers, or as a placecard on your Thanksgiving, or any table 🙂 And a HUGE, special + heartfelt thank YOU for visiting, downloading, watching + commenting. You’ve really made all the time + effort it takes to add content on a weekly basis so worth it! It’s been a great blogging year, and I can’t wait to do it all again – even more frequently in the coming year 🙂 xoxo
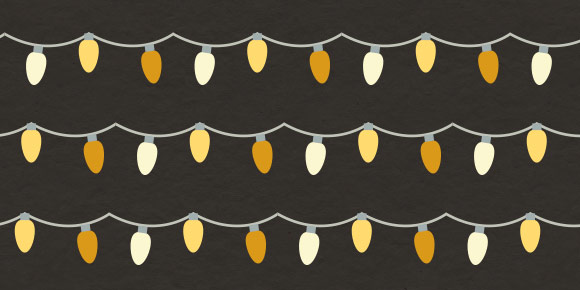
Driving through our neighborhood on the way home Friday night, I couldn’t help but notice the vibe in our subdivision had changed…holiday lights were going up! I love this time of year; it just felt like it came sooner than usual this year. To ring in the start of the holiday decorating season, in this week’s tutorial we create a string of vector holiday lights, then create a pattern brush out of them for unlimited hang-them-where-and-how-long-you-want-them use 🙂 Let’s get started!
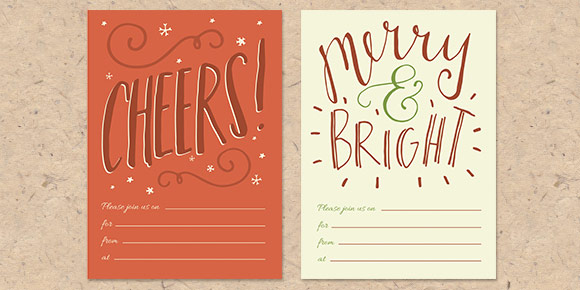
Happy Tuesday! And Happy Veteran’s Day! My father is a veteran (Marines), both of my grandfathers were veterans (both Navy), and my brother is currently an Air Force pilot, so I have lots to be proud of and grateful for today 🙂 Spence and I actually just got back from California visiting my brother, his wife, and my brand new nephew (born in July) who made me an Aunt for the first time. I’ll be posting a few pics soon from our too-short-of-a-trip. With family on the mind and knowing I’ll be seeing my family again soon for the holidays, this week’s freebie is a set of 2 hand lettered holiday invitation printables. Both are sized 5″x7″ and can fit perfectly in any A7 envelope. If you’d like to pick up the greeting postcard editable version of these + 2 more, you can grab them here.
Can you believe it’s November already?! Even I can’t believe I’m already beginning holiday content! I know a lot of readers like creating their own seasonal stationery or craft items, so in this week’s tutorial, we’ll create a basic Christmas ornament using Adobe Illustrator. It’s quick + easy + perfect for holiday projects in a pinch. Don’t forget to pick up the hand drawn snowflake set from last year here 🙂 Let’s get started!
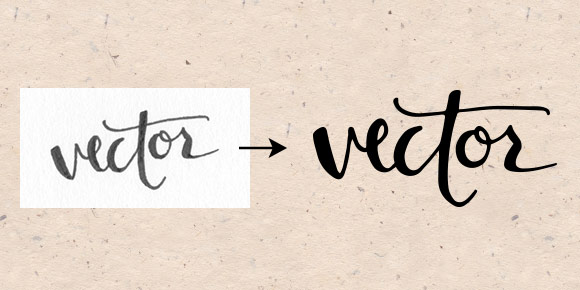
Happy Tuesday! Chances are you’ve heard of hand lettering recently – it’s everywhere! Many tutorials on hand lettering are paid ones, but I have the best readers, so this one’s free 🙂 In this week’s tutorial, we go over the basics of converting some hand drawn lettering and make it digital by vectorizing it. We’ll take a scan of a hand lettered word, optimize its contrast in Photoshop, then vectorize it in Illustrator. Vectorizing will help us to have our lettering fully scalable, re-colorable, and allows us to digitally customize it without compromising resolution. Let’s get started!
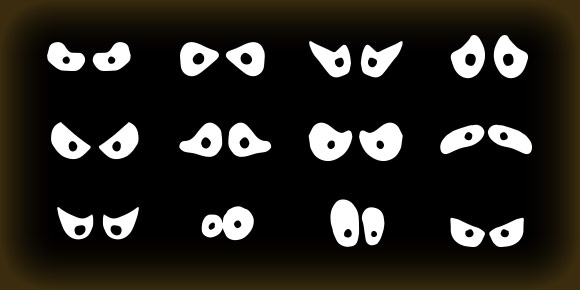
Happy Tuesday! Halloween is closing in! So much so that I just realized the blog has been up for a full year now (my first post was a halloween freebie!)! It’s been really awesome to have connected with so many through this blog and I can’t wait to see what the next year brings 🙂 But, back to business. This week’s freebie is a 12 piece set of spooky eyes!
We use cookies to customize and create content that’s most important to you. We’ll never share the info we collect.