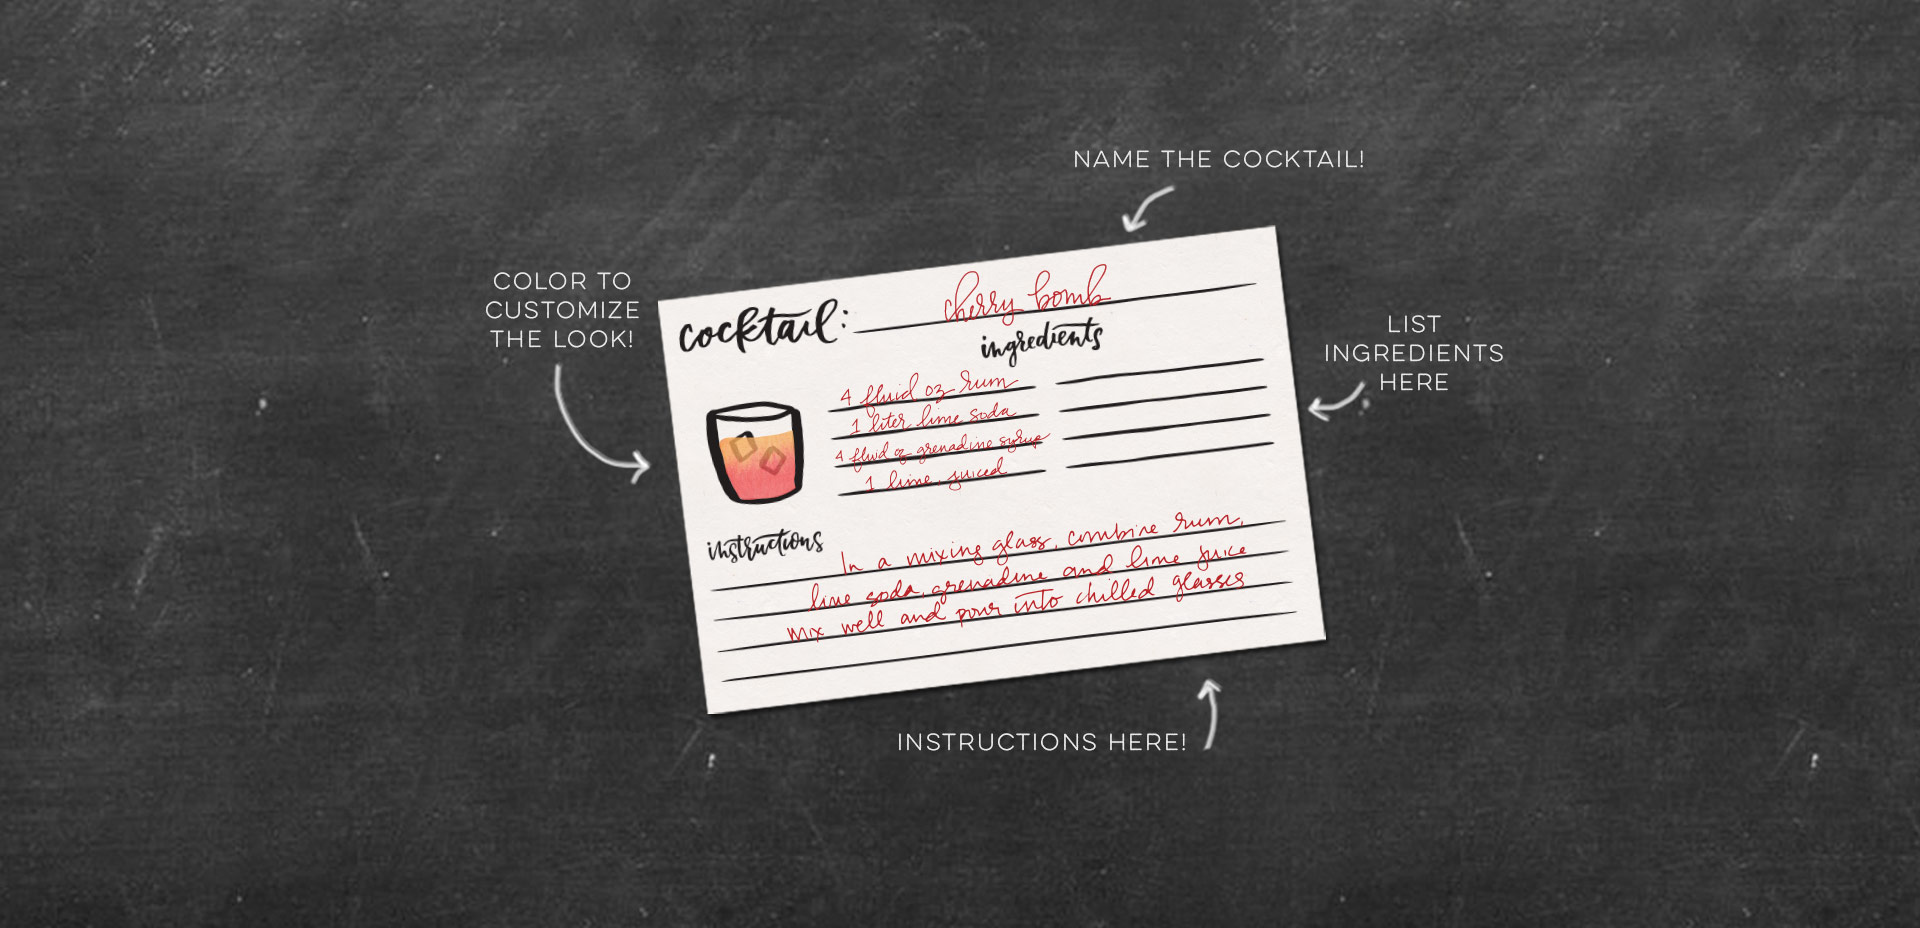
Home2015December

December 2015

I’m often asked how I add the ‘bounciness’ to letterforms as I’m drawing them out. I do this a lot with my non traditional calligraphy styles, too and this week I want to share how I taught myself to create the full non traditional calligraphy style using only my favorite pens (no calligraphy utensils!) and a little method I call the Skeleton Method. For more lettering time lapses and examples, take a peek at my Instagram 🙂 Read on to see it all!

One of my favorite things is taking a doodle and reimagining it digitally. If you’ve been here before, you know that’s true! One thing I find myself doing a lot with my mini doodles lately is turning them into seamless pattern brushes so they can connect to make (any length) dividers, laurels – you name it. There’s a little trick to getting them seamless and once you do, they are so much fun to play with. In this week’s tutorial, we’ll take a mini doodle, vectorize it, make it seamless, then convert it into a multi-purpose, seamless pattern brush in Illustrator. Read on to see how easy it is!

Much like Teela, I’m a sucker for great typography. I may not be able to match her Pinterest board perfection, but today I’m going to share a few of my favorites. Stepping a little bit out of theme here, I’ve rounded up 8 of the most insane (in a good way) food Typins on all of Pinterest. Yes, you read that right: food typography. Not yet convinced it’s a thing? Start scrolling and feast your eyes (no pun intended).

Happy Tuesday! A few months ago, I shared how to create a confetti brush in Photoshop and I’ve gotten a few requests since then on how to do the same in Illustrator. It’s a slightly different process, but can absolutely be done! In this week’s quick tip tutorial, I share how to create a confetti brush in Illustrator using two different examples: uniformly sized circular confetti and randomly scaled and rotated star confetti. This time of year, when real confetti is imminent, now you’ll have limitless digital confetti potential, too! Read on to see how!

We are one week into December, which means we have one less week to send out holiday postcards! Since we created some nice holiday assets the last couple of weeks, I wanted to share how you could easily repurpose them for a holiday photo postcard, 3 ways. In this week’s tutorial, we’ll create a print ready holiday photo postcard in Photoshop with a little help from the Glitz + Glam Kit to quickly and easily get your holiday postcards off of your to do list 🙂 The final postcard is sized 7″x5″ and can fit snugly into any A7 sized envelope. Full tutorial, links to recommended online printers, fonts used and past tutorials all listed below!

It’s time for a new hand lettered desktop wallpaper! I’ve really enjoyed making these the last few months and plan to keep these going all next year – it’s also nice to get a frequent refresh on my own desktop 🙂 This month’s wallpaper doubles as a sneak peek! I’m half way through creating my next font – a brush script this time, and I just finished up the full lowercase portion. The December lettering you see will soon be an available font! Look for it next month 😉 Until then – grab the wallpaper in two different sizes: 1920×1080 and 1280×1024 with and without dates below!

Happy December! I’m not sure how we got here so quickly, but here we are! In the spirit of the upcoming holidays, I’m excited to say the next few weeks will all be holiday-specific tutorials. This week we’re going to start things off with a typography tutorial (my favorite kind) requested by Allison on how to form typography into a shape. To start the holiday theme off, I’ll share how I would create typography to conform to the shape of a holiday bulb using the word ‘Joyful’. Read on to see it all!

GDPR Icon

Your Privacy Matters

We use cookies to customize and create content that’s most important to you. We’ll never share the info we collect.

View Privacy Policy