On Tuesday, we got crafty with mixing watercolors with diy embossing. In my opinion, this is one the most self-satisfying diy design/craft activities out there. There’s something about watching that embossing powder come to life with heat, and it’s literally eye candy every time. Today I’m sharing 5 simple, (but impressive!) DIY embossing ideas that will give your greeting cards, gift tags, stationery and artwork an extra level of cool. 😉 Read on for step by steps, exact supplies used and photos for each!
First things first
Here’s the full list of materials I’m using (mix-and-matched) throughout the examples below:
- Ranger Gold Embossing Powder
- Martha Stewart Heat Tool
- Stampendous White Embossing Powder
- Ranger Emboss It Pen
- Dr. Ph. Martin’s Concentrated Watercolors
- Winsor & Newton Series 7 No.0 Round Brush
- Canson 140# Cold Press Watercolor Paper
5 Simple DIY Embossing Ideas
#1: Use as Outlines
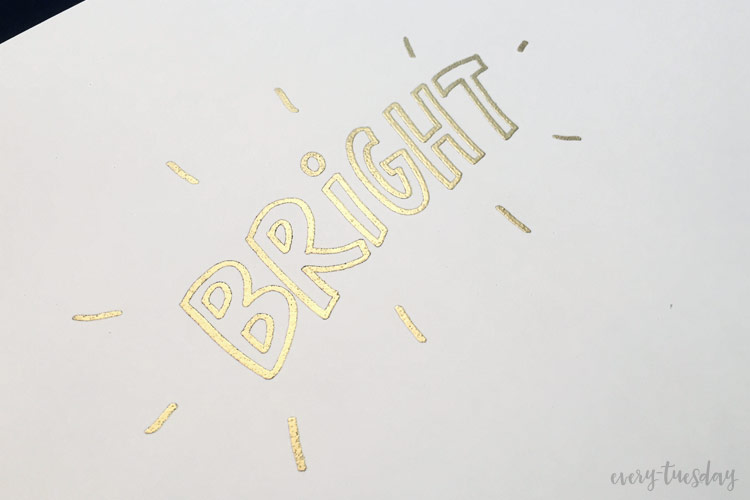
By creating art with open areas, you can then fill in the gaps with watercolors or markers, or just leave open for a more sophisticated feel.
Supplies:
#2: Create Added Depth
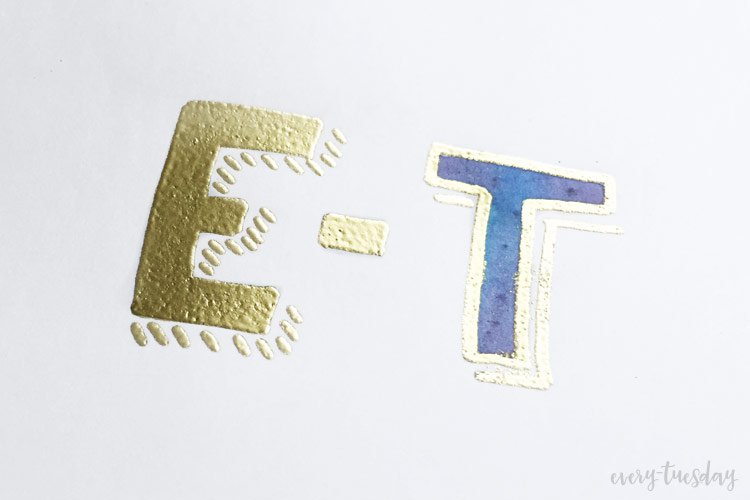
Instead of leaving simpler embossed lettering as-is, easily create more depth with a watercolor or marker shadow. Reverse the same effect by creating your simpler, watercolor lettering first, then add the emboss as a shadow.
Supplies:
#3: Extra Texture/Pattern Details

Add shine and texture at the same time by integrating the emboss to background elements, like a simple polka dot or confetti design. Use largely spaced smaller dots to create tiny sparkle for a more sophisticated look.
Supplies:
- gold emboss powder
- emboss marker (black)
- heat tool
#4: White on White for Surprise Texture/Depth Illusions!
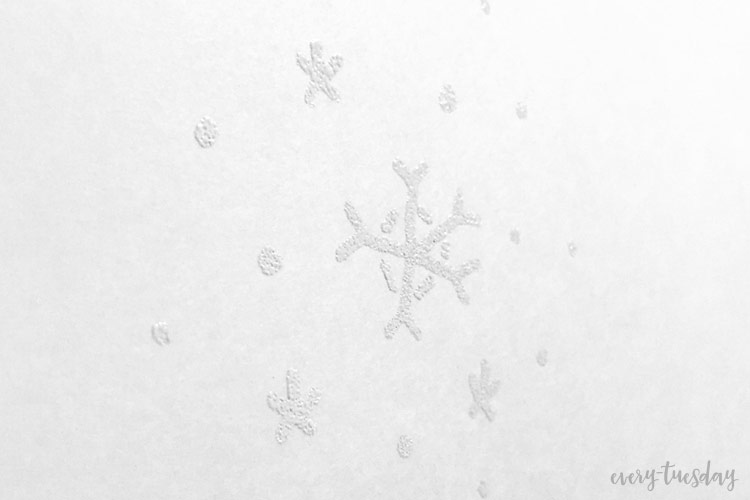
Create the illusion of extra depth by going white on white! Perfect for winter-themed holiday creations where a few simple dots or snowflake illustrations take any piece up a notch. 😉
Supplies:
#5: Sprinkle on Wet Watercolor!
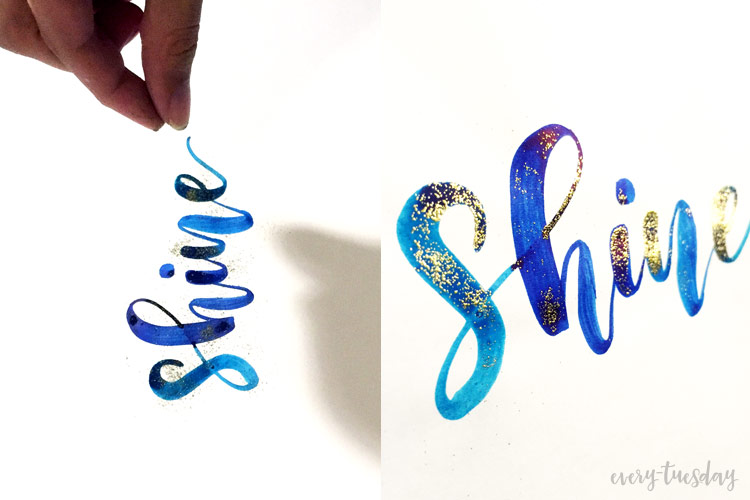
While your watercolor is still wet (or damp, where the powder will still stick), sprinkle a little embossing powder into it. Wait for your watercolor to fully dry, then zap with the heat tool. Check out the little random flecks of sparkle!
Supplies:
Receive special offers on courses + products, a new design file every month plus instant access to the Resource Library!

Pick up over 50 design + lettering files as our gift to you when you join the Tuesday Tribe for free!
error
Congrats!
Please check your email to confirm.


Vickie | September 16, 2016
|
i love your blog!!! you are an amazing artist and i pray you are truly blessed by sharing you talent with us
Teela | Author | September 17, 2016
|
Thanks so much, Vickie!
Michelle Murphy | September 17, 2016
|
beautiful!