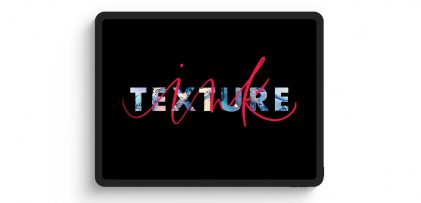
A few weeks ago, I asked on my Instagram if anyone wanted to learn how to make animated gifs in Procreate. After reading through the responses, I knew I couldn’t stop with just one! So I created 2 tutorials 😉 The first one is meant for beginners: getting the basics down + understanding how the file needs to be built. The second tutorial is a bit more advanced, since we utilize masking to make ‘drawn in’ lettering. Now that Procreate offers an export option for animated mp4s, it’s even easier to post your animations straight to instagram. Read on to see both tutorials!
Pin it for later!
How to Make Animated Gifs in Procreate: The Basics
Mentioned in this tutorial:
- Procreate for Beginners (free course)
- Free Procreate brushes (available when you join the Tuesday Tribe as a free email subscriber)
Colors used (HEX):
- Dark yellow: #cc9f5d
- Light yellow: #dab66e
- White: #ecece2
How to Make Animated Gifs in Procreate: Advanced
Mentioned in this tutorial:
- Masking in Procreate tutorial (layer masking begins at the 3:45 mark)
- Free Procreate brushes (available when you join the Tuesday Tribe as a free email subscriber)
- Create Basic Animated Gifs in Procreate tutorial (also above)
Colors used (HEX):
- Dark teal: #2d4f4a
- Light teal: #66b2a7
- Medium teal: #457f75
Extra info to keep in mind: Instagram requires a video be at least 3 seconds long to post. If your video is less than 3 seconds, you can make a copy of all of your groups and paste them all above the current ones to lengthen the animation. You can also reduce the speed of the frame rate to lengthen it.
Looking for more Procreate tutorials? Here’s my full YouTube playlist!

Here are some quick tips to remember when you make animated gifs in Procreate:
- Your animation will build from the bottom layer to the top layer. Each layer is considered a frame and all layers must be turned on when you export.
- Export as an animated gif to view the looping animation in your photos folder. Export as an animated mp4 if you plan to post to Instagram and be sure it’s at least 3 seconds long.
- If you’re using more than one layer to create the artwork of an individual frame, utilize your groups.
- If you run out of available layers, make a duplicate file to maintain a non-destructive version of your work, then in the duplicated file, begin flattening groups to open up more available layers.
- Wondering how many layers you have access to? Go to the wrench > canvas > canvas information.
Receive special offers on courses + products, a new design file every month plus instant access to the Resource Library!
Pick up over 50 design + lettering files as our gift to you when you join the Tuesday Tribe for free!
error
Congrats!
Please check your email to confirm.



Angela | December 29, 2019
|
You’re a wonderful instructor. Thanks for all the free tutorials and resources you do.