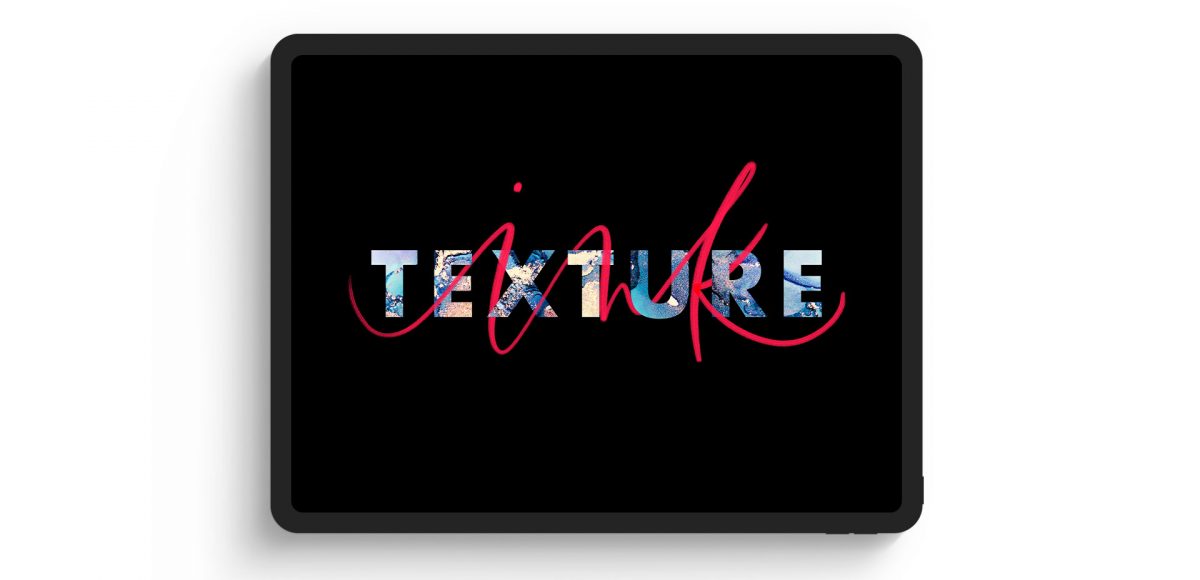
Within the past week, Procreate released their latest version, which allows you to add text! It’s been really fun playing around with the new feature and seeing how I’ll integrate text into future Procreate artwork. This week, I thought I’d share an easy way to create artwork with text, as well as sharing some masking tips, too. Read on for how to use text in Procreate!
Pin it for later!
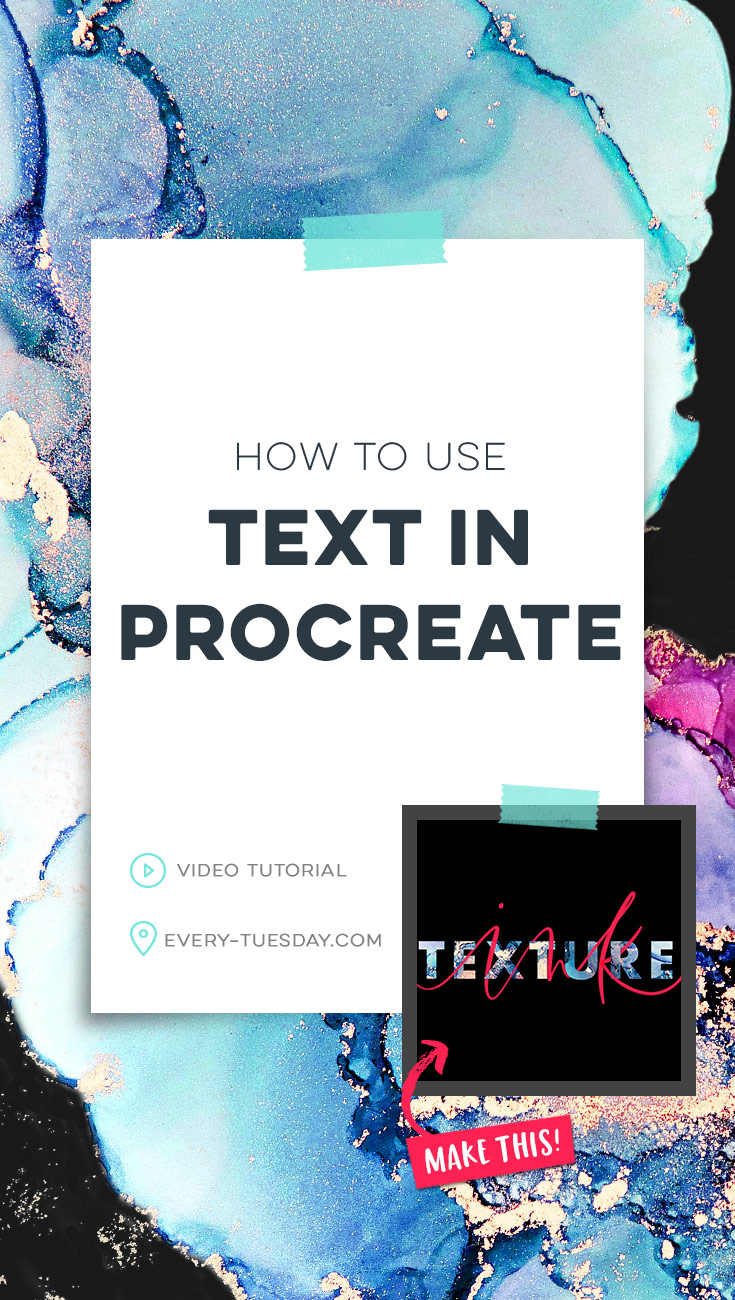
How to use Text in Procreate
Mentioned in this video:
- Dreamy Ink Textures (here’s how to install them on your iPad)
- My free Procreate brushes are in my free Resource Library! The Flat Marker and Monoweight were used in this vid.
- Masking in Procreate tutorial
Extra info:
- I’m on a 3rd generation iPad Pro (12.9″), 512GB with a 2nd generation Apple Pencil (but any iPad/compatible stylus will work for this tut).
- Procreate is available in the app store here.

Here are the written instructions for how we used text in Procreate!
To add text:
- Create a new Procreate document (I’m using screen size).
- Hit the wrench in the top left > add > add text
- Type what you’d like your text to say, then hit ‘edit style’
- This is where you can customize the look of your text on the same layer. Select a font, a style, all caps, underline, etc. You can also adjust the size, kerning and tracking here as well.
- Tracking is adjusting the same space between all characters, kerning adjusts spacing between individual characters. Tap between two characters to adjust kerning; you’ll see a cursor appear when you do.
- To change text color, if you have a cursor showing, return to the keyboard (hit the icon in the upper left of the edit style palette) and then return back to edit style > hit the color circle as you would change other colors.
To apply texture + masking:
- Hit the wrench > add > add file
- Choose the texture you’d like to use
- Now we will learn how to color the outline in Procreate. To fill the layer, tap on the texture’s layer (it should appear above your text layer) and choose clipping mask. The texture should fully fill the outlined layer text now. Use the selection tool to resize, rotate, etc. as desired.
- On another layer, create your lettering. Once finished, tap on the layer > mask. This applies a layer mask to your lettering’s layer. Any time you paint black on the mask, you’ll hide part of your lettering. Paint white and it’ll reveal it again.
- Select your text layer by tapping on it > select. (How to auto-select in Procreate: tap the selection button to bring up the selection toolbar. Tap automatic) Return to the mask on your lettering layer and begin to paint black on the areas you’d like your lettering to appear behind your text. When you are finished, deselect. Done!
Receive special offers on courses + products, a new design file every month plus instant access to the Resource Library!

Pick up over 50 design + lettering files as our gift to you when you join the Tuesday Tribe for free!
error
Congrats!
Please check your email to confirm.
You May Also Enjoy
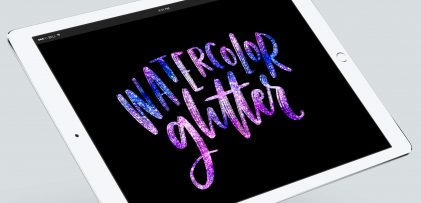 Create a Watercolor Glitter Lettering Effect in Procreate Posted in Tutorials, Hand Lettering, Textures, iPad Lettering, Beginner, Watercolor
 Create a Paper Cut Out Effect in Procreate Posted in Tutorials, Typography, Hand Lettering, iPad Lettering, Advanced, Procreate
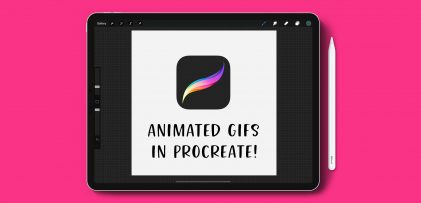 How to Make Animated Gifs in Procreate Posted in Tutorials, Hand Lettering, iPad Lettering, Beginner, Advanced, Procreate
 Create Easy Floral Wreaths in Procreate Posted in Tutorials, Hand Lettering, Hand Drawn, Illustration, iPad Lettering, Beginner
Jeanne Sullivan | April 23, 2019
|
Hi Teela! This is great! Thank you so much for demystifying how to use Procreate’s new text feature. As always, your tutorial makes everything clear as can be. I love your new Inky Textures, too! <3