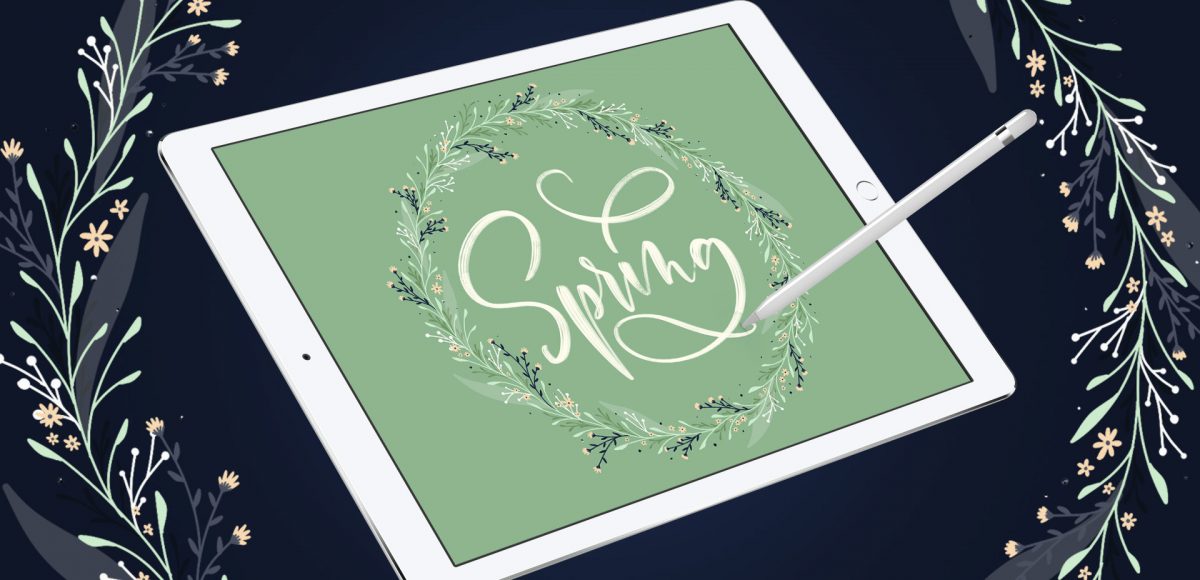
In celebration of Spring, I thought it would be fun to keep the floral party going into Procreate! The last couple of weeks we painted watercolor florals and this week we’re drawing digital ones 😉 In this week’s tutorial, we’ll plan, customize and create custom floral wreaths in Procreate. I’m using an iPad Pro (12.9″, 256GB), Apple Pencil, Procreate and my custom monoline procreate brush for this (available for free in the resource library). The color palette shown in the video is also available below if you’d like to use it. Let’s get started!
Pin it for later!
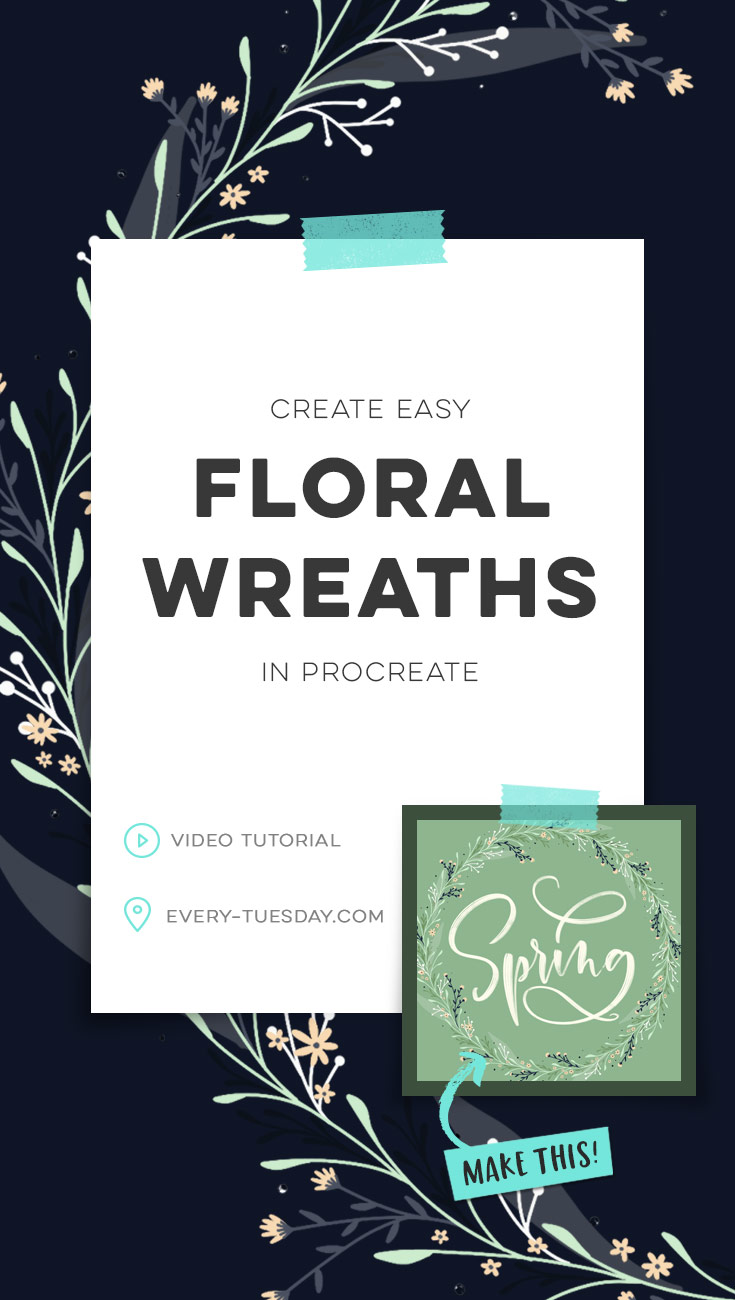
Create Easy Floral Wreaths in Procreate
Mentioned in this video:
- Free monoline Procreate brush (once you’re logged into the Resource Library, you’ll see it. Visit the resource library on an iPad and you’ll be able to instantly download it into Procreate)
- Procreate Metallic Texture Kit
- Quick color palettes in Procreate tutorial
- Adding multiple textures/watercolor glitter Procreate tutorial
- Procreate Watercolor Texture Kit
Colors used (Hexidecimal):
- Background mint: #8eb58f
- Grey mint (anchor leaves): #a2c2a2
- Light mint: #cceccd
- Dark green: #709261
- Navy: #18233e
- Light pink: #f8dab3
- White: #fbfcfb

Here’s a summary of what we did together to create easy floral wreaths in Procreate:
- Create a screen-sized document
- Fill the background layer with the color of your choice (really light or really dark helps your wreaths to stand out best)
- On a new layer, brush a hard circle to use as a guide + scale as needed. Reduce the opacity to 30-50% so anything you put on top of it will be extra visible.
- Start with your base repeat. I typically create my bases as a medium sized foliage. This helps to make decisions later on for other repeats: going larger or smaller, darker or lighter, more vibrant or less saturated, etc. (here’s a tutorial for creating quick color palettes you can use)
- Create your ‘anchor’. I generally draw large leaves that are reduced in either opacity or saturation to make it obvious they are the background and ‘holding everything up’. These should be on the bottom-most layer compared to your other repeats.
- Change up your shapes! Time to integrate other repeat layers. This will be where you introduce small or large flower doodles, other foliage shapes, etc. Use reference images for inspiration. There’s no need to be perfect or realistic. Simple doodles go a long way as you continue to layer. Create variety in scale, color, saturation and shape. Always be sure you’re creating a new document layer every time you create a new doodle ‘layer’. This gives you much more layout flexibility if you’d like to adjust your floral wreaths in Procreate later on.
- Finally, add in any textures you’d like – here’s how to do that.
- Finish things off with some lettering in the middle and you’re done!
Receive special offers on courses + products, a new design file every month plus instant access to the Resource Library!

Pick up over 50 design + lettering files as our gift to you when you join the Tuesday Tribe for free!
error
Congrats!
Please check your email to confirm.
You May Also Enjoy
 Create a Watercolor Glitter Lettering Effect in Procreate Posted in Tutorials, Hand Lettering, Textures, iPad Lettering, Beginner, Watercolor
 Create a Paper Cut Out Effect in Procreate Posted in Tutorials, Typography, Hand Lettering, iPad Lettering, Advanced, Procreate
 iPad Lettering: Using Multiple Procreate Textures Posted in Tutorials, Typography, Hand Lettering, Textures, iPad Lettering
 Create Easy Ribbons in Procreate Posted in Tutorials, Hand Lettering, iPad Lettering, Beginner
Josee | April 11, 2018
|
Great tutorial, Teela! Thank you!
Nat | October 16, 2019
|
Your tutorial helped me a lot with getting to know procreate! You’re an amazing teacher!