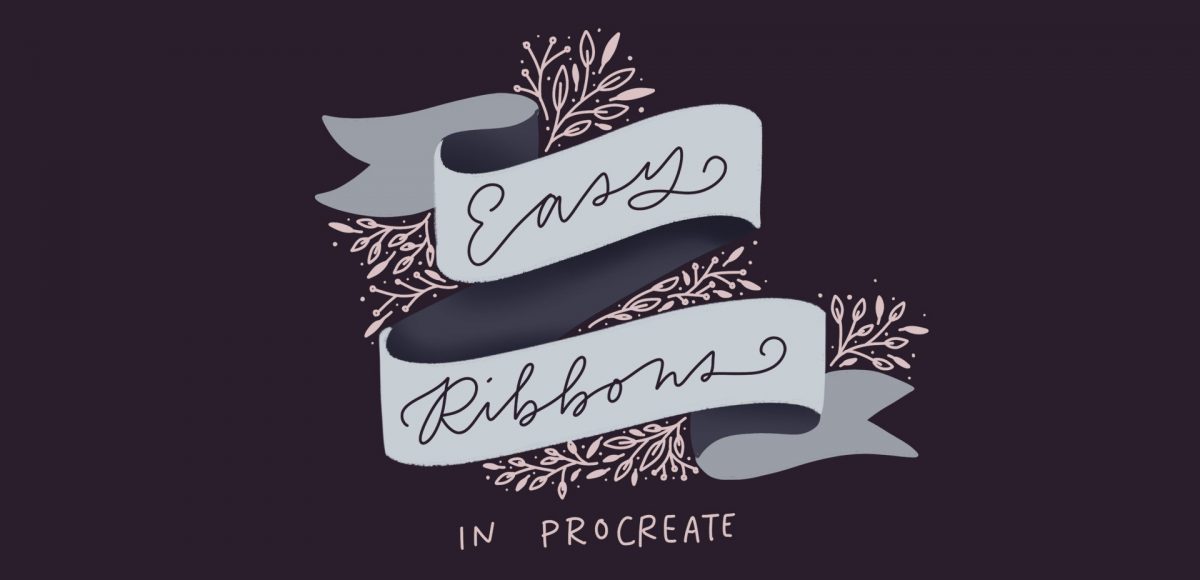
If you’re just getting started with Procreate – especially after all the recent updates – it’s totally normal to feel a bit overwhelmed! This week, I wanted to do a super simple Procreate tutorial for beginners that will also give you some great insight into the capabilities Procreate now has. In this tutorial, we’ll create 2 easy ribbons in Procreate and you’ll pick up some tips you can use for your future digital artwork, as well. Read on to get started!
Pin it for later!
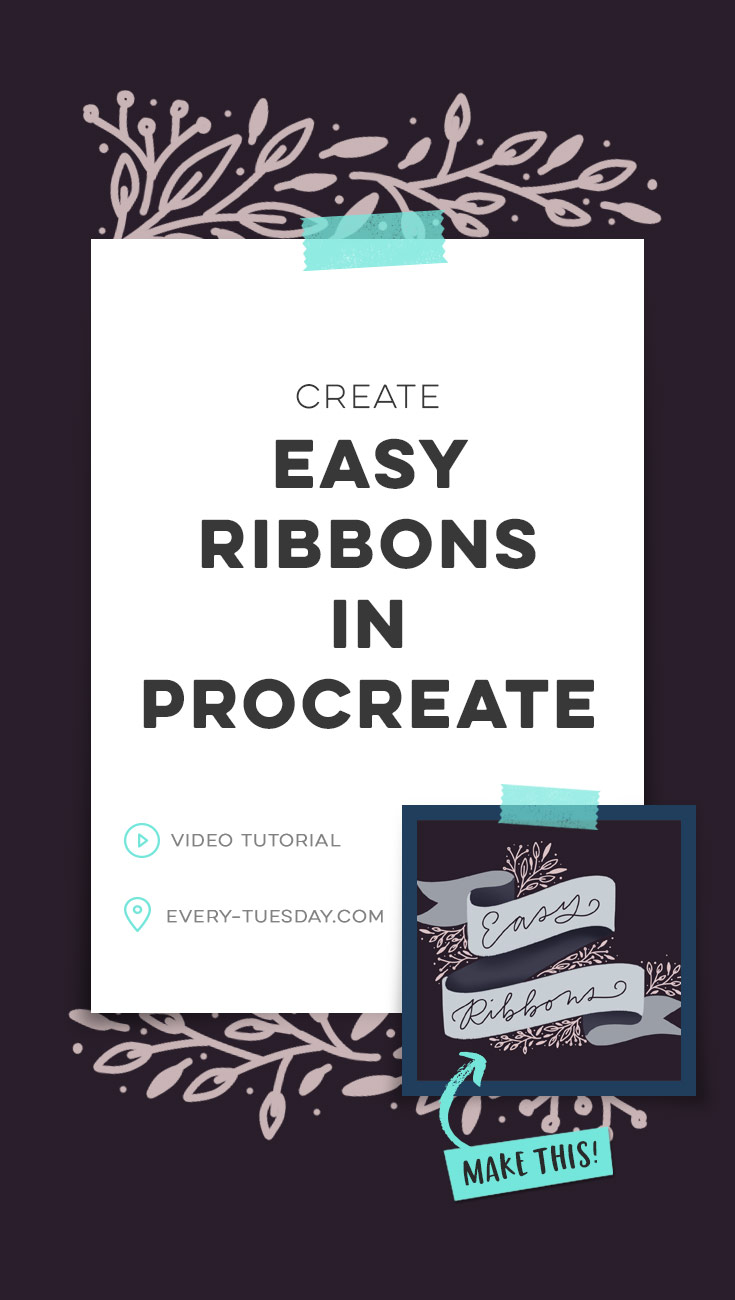
Create Easy Ribbons in Procreate
Mentioned in this tutorial:
- Create Easy Floral Wreaths in Procreate [tutorial]
- Free monoweight Procreate brush (part of the free Every-Tuesday Resource Library)
Colors used for this ribbon (Hexidecimal):
- Light grey: #b9bec3
- Medium grey: #92969c
- Greyish purple/blue (dark color): #444352
- Dark purple (for the background + ribbon lettering): #332a34
- Light pink (for decorative details): #c9b4b6
I’m on an iPad Pro (256 GB) using an Apple Pencil and the Procreate app (version 4.1.3)

Here’s what we did in written form to create easy ribbons in Procreate!
- Create a new canvas (I chose screen size for mine).
- Pick out your colors: choose one light, one medium and one dark in the same hue or color family. Make sure the differences in brightness of each color is extra obvious for more contrast and eye catching results.
- Create your starting curve for your ribbon (where you’ll place lettering later on). Duplicate the curve, connect the sides and fill it with your light color.
- Duplicate your ribbon face (if you’d like to have 2) and place it below the first. Feel free to stretch or scale its appearance if desired.
- Using a random, unrelated color on a new layer, draw the template guide for the rest of your ribbon.
- On a layer above the template, begin filling in your pieces. Keep the furthest back portions darkest and the ends of your ribbon medium.
- Add additional shading to the darkest areas by selecting them, creating a new layer and brushing with a soft brush.
- Turn off your template layer and clean up any areas that need it. Group your ribbons layers together for easy repositioning/rescaling. Add decorative elements around it if desired. Finally, place your lettering on the ribbon faces. Done!
Receive special offers on courses + products, a new design file every month plus instant access to the Resource Library!

Pick up over 50 design + lettering files as our gift to you when you join the Tuesday Tribe for free!
error
Congrats!
Please check your email to confirm.
You May Also Enjoy
 Create Easy Floral Wreaths in Procreate Posted in Tutorials, Hand Lettering, Hand Drawn, Illustration, iPad Lettering, Beginner
 Create a Paper Cut Out Effect in Procreate Posted in Tutorials, Typography, Hand Lettering, iPad Lettering, Advanced, Procreate
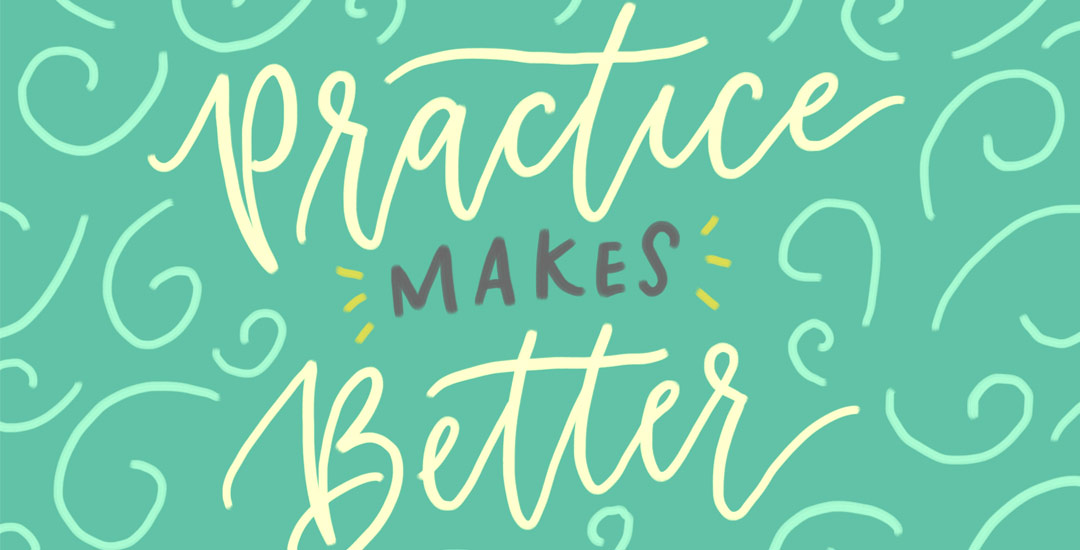 My iPad Lettering Process Posted in Tutorials, Typography, Hand Lettering, Skillshare, iPad Lettering
 Paper vs. Procreate: Watercolor Block Lettering Posted in Tutorials, Hand Lettering, iPad Lettering, Beginner, Watercolor, Procreate
No comments