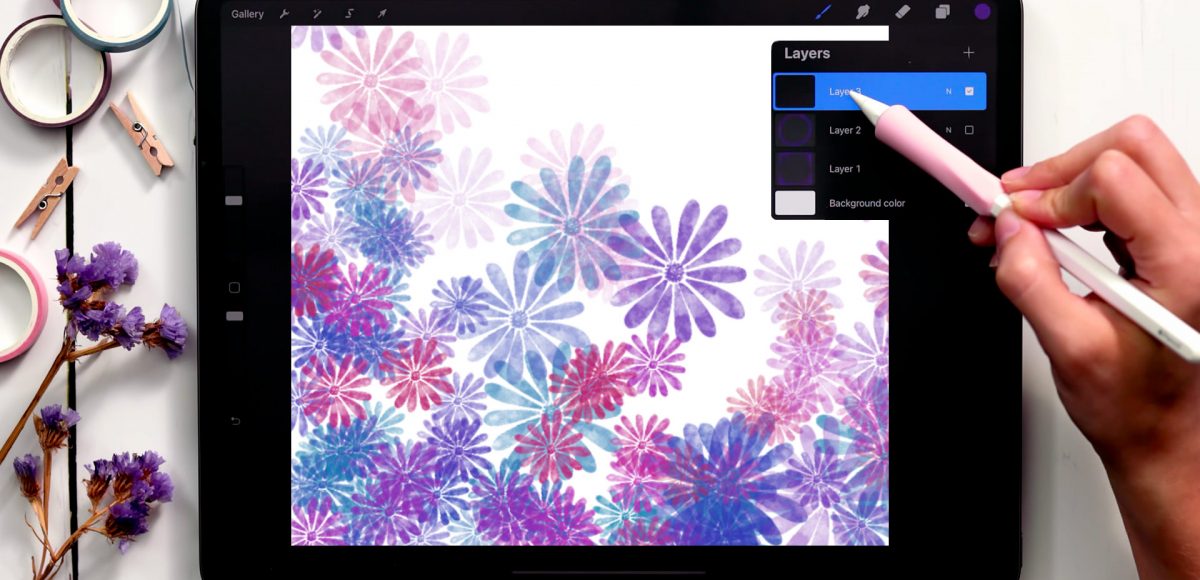
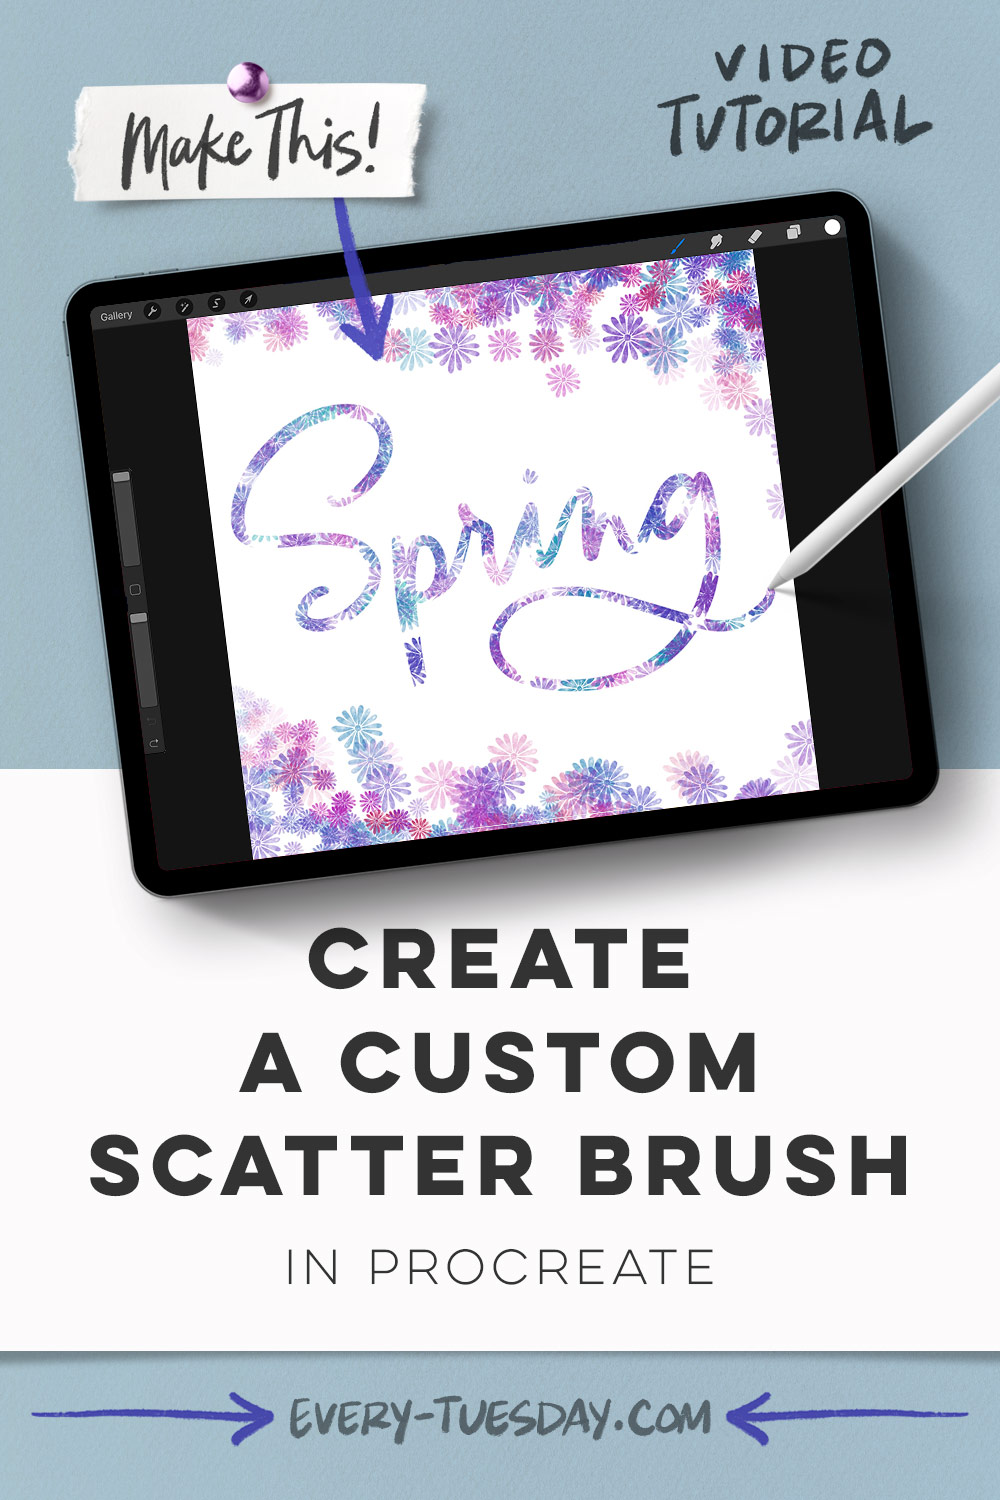
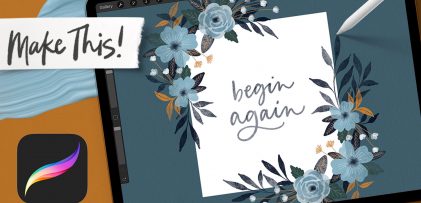
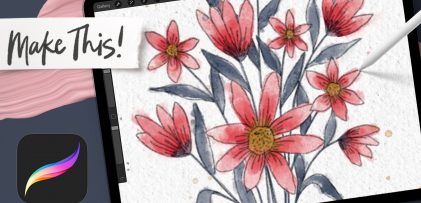
I realized I haven’t made a tutorial on custom brushes in awhile and especially since Procreate has added so many new options to making them. In the spirit of springtime (my favorite season), this week I’m sharing how to create a custom watercolor floral scatter brush *and* 3 quick ideas on how you can use it after it’s made!
Pin it for later!
Create a Custom Scatter Brush in Procreate
Mentioned in this video:
Here’s a written overview of how to create a custom scatter brush in Procreate:
- Start with white on a black background on your new canvas. Put a black background on a separate layer than your background color.
- Create a new layer whatever you would like to paint for your new brush and paint it in white. Merge the shape with the background layer.
- Make a copy of the layer thumbnail. Create a new canvas and create a new brush. Bring in the shape by importing the shape.
- Under stroke path, increase your spacing and your jitter. Rotate each individual element by clicking on shape and then rotation.
- You can also change the color dynamic under stamp color jitter, hue.
- Change the name under about this brush.
- Play around with the various settings to create the brush you want!
- Feel free to add in a written message with typeable text or your own lettering.
- Done!
Receive special offers on courses + products, a new design file every month plus instant access to the Resource Library!
Pick up over 50 design + lettering files as our gift to you when you join the Tuesday Tribe for free!
error
Congrats!
Please check your email to confirm.




No comments