It’s Tuesday! Time for project no.4 in my Procreate holiday greeting series! Catch all the past projects right here 😉
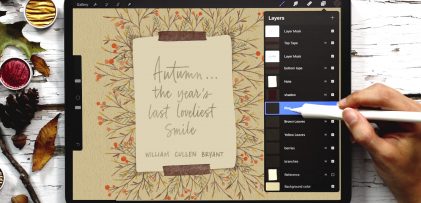
This week, I’m sharing my method for creating quick and simple ribbons in Procreate. We’ll embellish it with some hand lettering and some simple textured leaves and berries for a layout that you can apply to digital or traditional greeting cards, gift tags, social media posts – whatever you’d like!
Pin it for later!
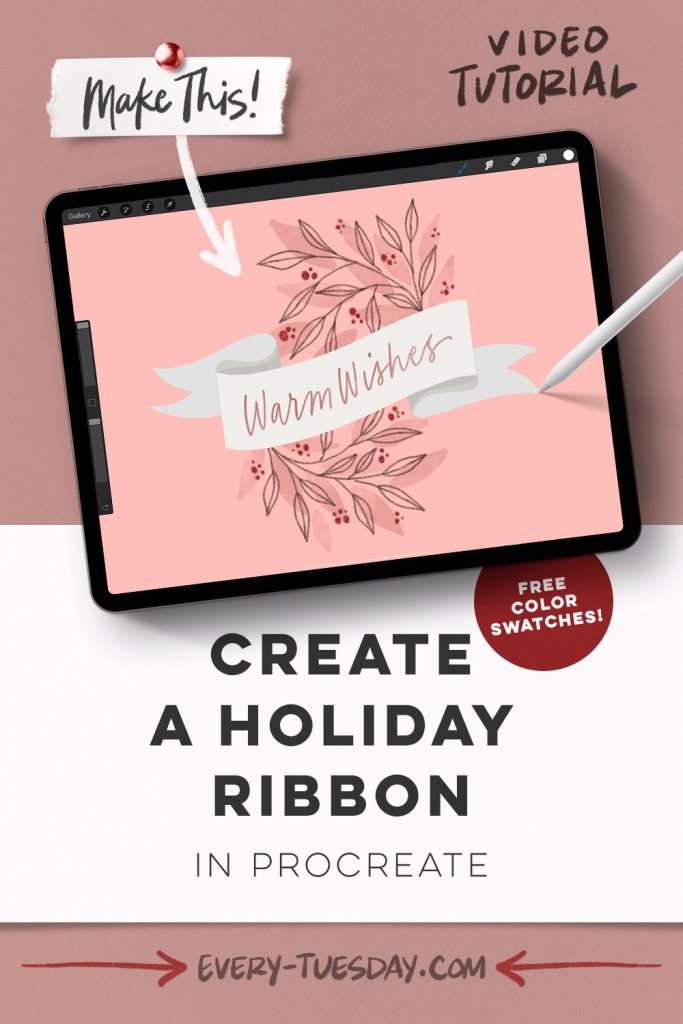
Create a Holiday Ribbon in Procreate
Mentioned in this video:
- Free monoweight brush
- Watercolor Illustration brushes
- Free color palette
- Watercolor Florals in Procreate course

Here’s a written overview of how to create a holiday ribbon in Procreate:
- Draw in your ribbon using the monoweight brush.
- For the sides and notches, start with a sketch layer to use as a guide. Start from the corner, draw in a curve, come around and give yourself a little notch. Then connect your line to the top corner. Do the same thing to the other side of your ribbon but in reverse.
- Make a new layer above your guide. Draw in the entire shape for the sides and notches and trace what you already have on your sketch layer. Close the paths and drop in your color.
- To add in a shadow, create a new layer right above your curve. Apply a clipping mask and grab your darkest color. Reduce the opacity if it is feeling too dark for you.
- Add in your lettering on top of your ribbon layer using the round liner brush.
- Use your sketching pencil to draw in your branches to change up the texture. Add some simple leaves to them.
- Create a new layer under your branches layer and switch to your medium paint round brush. Keep the leaves simple and big to create some dimension.
- Add in some berries with your sketching pencil.
- Done!
Receive special offers on courses + products, a new design file every month plus instant access to the Resource Library!

Pick up over 50 design + lettering files as our gift to you when you join the Tuesday Tribe for free!
error
Congrats!
Please check your email to confirm.


No comments