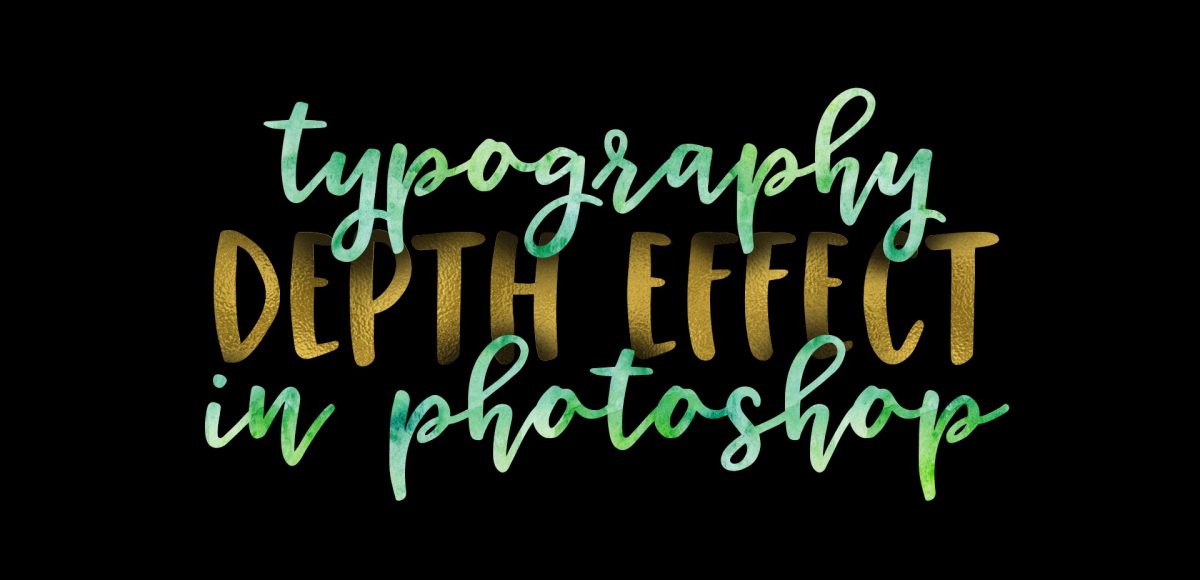
I’m on a bit of a type tutorial kick these days, so this week we’re keeping it going with a depth typography effect in Photoshop! If you’re new to Photoshop, this tutorial is perfect for you – we’re going over some simple tools and ending with a very non-beginner looking outcome. Grab your favorite (bold) font and follow the easy steps below!
Pin it for later!
Create a Simple Depth Typography Effect in Photoshop
Mentioned in this tutorial:
- Metallic Magic online course
- Glitz + Glam Kit for Photoshop
- Watercolor Texture Kit Vol.3
- Miss Magnolia Font

Here are the step-by-steps written out, so you can refer to it in the future!
- Create your Photoshop document: File > New. The example uses a letter sized doc (8.5″ high x 11″ wide) in RGB color mode for onscreen purposes.
- Fill your background layer with the color you’ll use for the background and all of your shadows.
- Set your typography. Each new line needs to be on its own layer, with the top-most type in the document as the top layer and so on.
- Navigate to the layer you’d like to apply a shadow to. Hover over the mini thumbnail ‘T’ on the layer and hold cmnd (or ctrl if on a pc) and click to select the type on that layer. You should see the ‘dancing ants’ appear to show it has been selected.
- Create a new layer right above the layer you’ll be applying your shadow to. This will be your shadow layer.
- You should still be seeing those dancing ants. Hit ‘b’ on your keyboard for your brush tool. Navigate to a very soft brush and select the color (as your foreground) that you’ll use for your shadow.
- Paint the areas you’d like to apply shadow to. You’ll notice the shadow is only appearing within those selected dancing ants, so it’s set perfectly over your typography. Once finished, hit cmnd (or ctrl) + shift + d to deselect your selection.
- If you’d like to remove any areas afterwards, use a soft eraser. If you’d like to lighten any shadows, change the opacity of your shadow layer (80-90% is a great setting for black).
- Done!
Receive special offers on courses + products, a new design file every month plus instant access to the Resource Library!

Pick up over 50 design + lettering files as our gift to you when you join the Tuesday Tribe for free!
error
Congrats!
Please check your email to confirm.





Marie | April 11, 2017
|
Great tutorial. I wondered how you did that 🙂 Another question on it though. Is it only possible on a black background or is it possible to do the shadow effect on a lighter colour background?
Thanks
Teela | Author | April 13, 2017
|
Nope – use any color you’d like! Just make sure you use the same color to paint your shadows 🙂