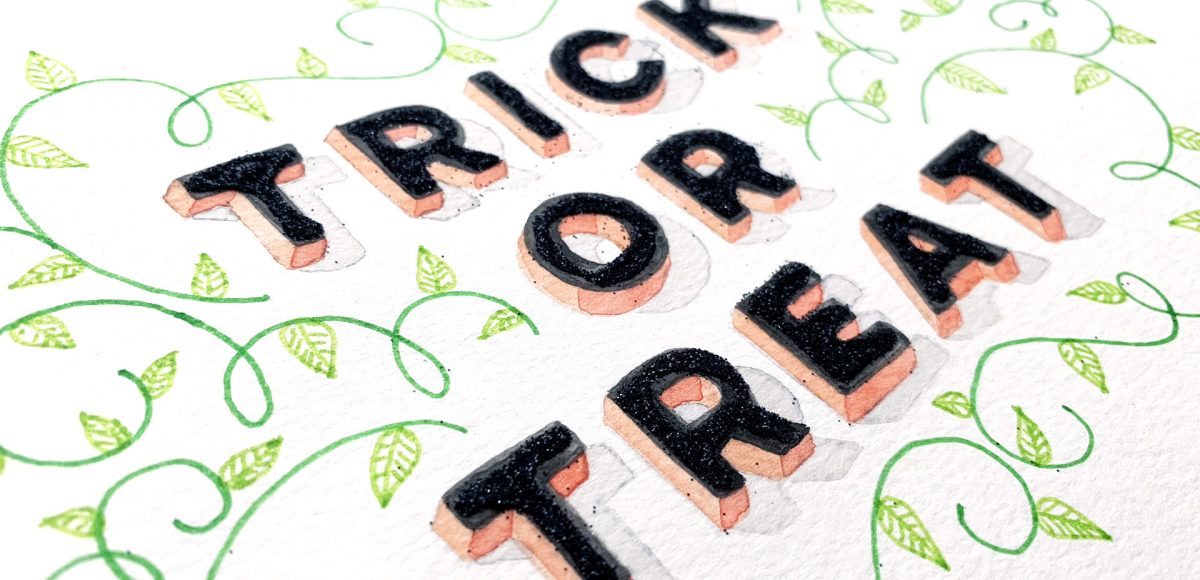
Happy almost-Halloween! With all the fun crafts that Halloween inspires, I couldn’t let it pass without adding a DIY to the mix! It’s been a little while since we had a craft tutorial and this is my biggest one yet. This week, we’ll create some mixed media 3D Halloween lettering you can use as decoration anywhere! We’ll plan it out + paint it with watercolor, add details with fineliner pens AND add some sparkle to finish it off. I’ll take you through my process of painting 3D, pop-off-the-page lettering, as well as how I plan out flourishing to frame the final piece. Read on to create your own mixed media 3D Halloween lettering!
Pin it for later!
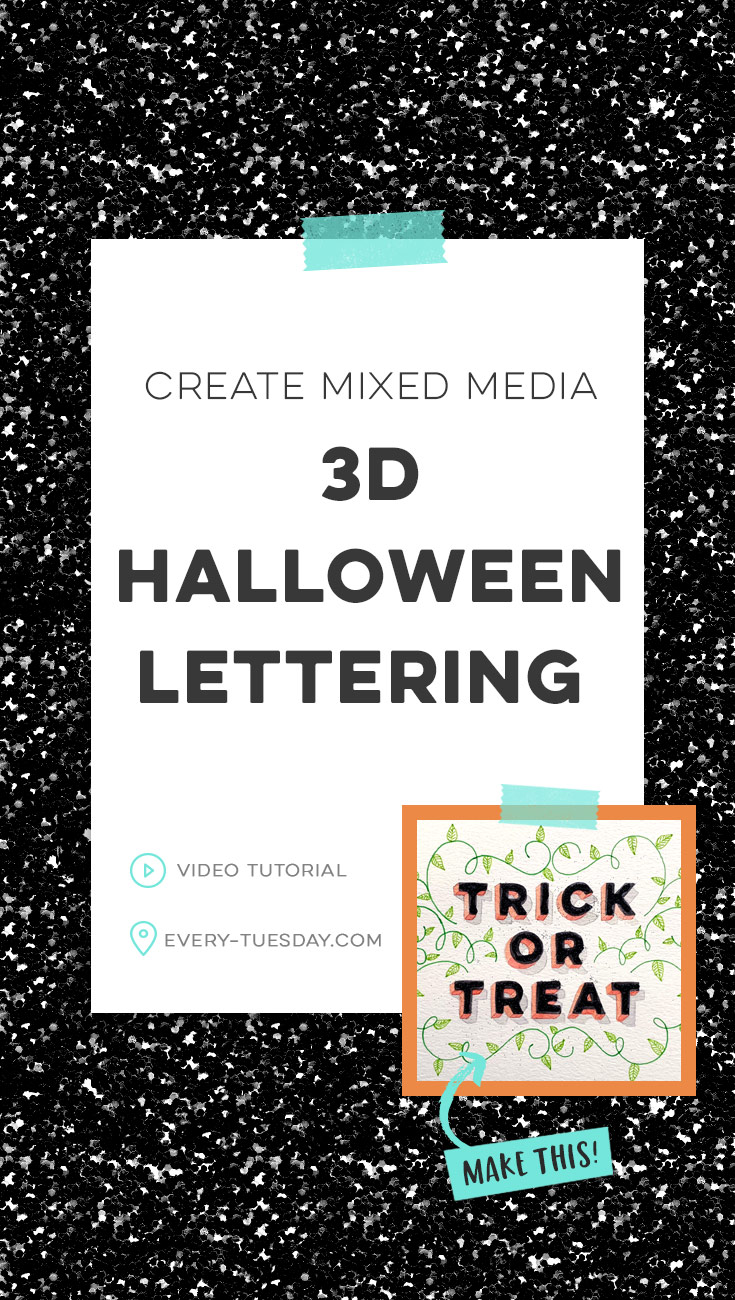
Create Mixed Media 3D Halloween Lettering
Supplies used for this tutorial:
- Arteza half pan set watercolors˙
- Canson cold press 140# watercolor paper
- Winsor & Newton Cotman Round #4 and #0 round brushes
- Arteza fineliner pens˙
- Arteza glitter shakers˙
- Staedtler 3B + 3H pencils
- Clic eraser
- Elmers glue
- Lettering template (download it below!)
**Arteza has generously offered an additional 10% off their art supplies for Every-Tuesday readers! Use the code TeelaCunningham1 at checkout; expires December 31, 2018**
3D Lettering Template
I mentioned I had the lettering template shown in this video available for free, and here it is:
3D Halloween Lettering Template
Trick or Treat
- File type: pdf
- Size: 105kb
- Minimum software version: n/a
Extra Resources
- Want to create your own lettering template? Here’s how to create it in Illustrator (remember to reflect it before you print so when you transfer it, it’ll read correctly)
- The lettering template for this tutorial is based off of the font Lulo.
- Addicted to flourishing? Check out my online course, Fantastic Flourishes, to take it even further!

Here’s the written version of what we did to create mixed media 3D Halloween Lettering!
- First, print out the lettering template and trace around all components using a soft (3B) pencil: the letters themselves, the 3D extrusion and shadows.
- Once finished, place it facedown on watercolor paper. Use a hard pencil (3H) to transfer the soft pencil lines onto the watercolor paper. Lightly erase over any areas that might have transferred darker than you’d like.
- With your watercolors, paint the different components, allowing each color to fully dry before moving onto the next.
- With your hard pencil (3H), lightly sketch in your flourishes to frame your lettering. Use your fineliner pens to trace over your pencil sketch for the vine flourishes. I created my vines using dark green and a lighter green for the pumpkin leaves to add variation.
- Erase away your pencil sketches for your flourishes once the fineliner has fully dried.
- Using your Elmer’s glue, carefully place glue on top of your main letters. Shake glitter (I used onyx black) on top of the glue and allow to fully dry before moving your piece.
- Once dry, place the excess glitter back into the shaker jar. If some glitter is still on your watercolor paper due to static, use a dry paintbrush to wipe any glitter bits away.
- Done!
˙This post contains affiliate links, which means I may make a small commission – at no cost to you – if you choose to purchase an item from one of these links. Thank you in advance for your support!
Receive special offers on courses + products, a new design file every month plus instant access to the Resource Library!

Pick up over 50 design + lettering files as our gift to you when you join the Tuesday Tribe for free!
error
Congrats!
Please check your email to confirm.
You May Also Enjoy
 Create a Debossed Watercolor Lettering Effect Posted in Tutorials, Typography, Hand Lettering, Textures, Crafts, Watercolor
 10 Chalk Marker Effects Anyone Can Do Posted in Tutorials, Typography, Hand Lettering, Illustration, Crafts, Beginner
 Create a Watercolor Glitter Lettering Effect in Procreate Posted in Tutorials, Hand Lettering, Textures, iPad Lettering, Beginner, Watercolor
 Holiday Hand Lettering Projects: Week 4 Posted in Tutorials, Typography, Hand Lettering, Holiday, Crafts
No comments