New Year’s Eve is less than a week away! To celebrate, I thought I’d cheers you Every-Tuesday style with a couple of cocktail glasses created in Adobe Illustrator. This tutorial is very doable if you’re a beginner, but the pace is a little quick, so just a head’s up. We’ll be in Illustrator CC for this one since we’re using the live corners option for smooth contours on our glasses. If you’re not using CC, this can still be done, but you’ll want to visit your appearance palette > stylize > round corners. Ready to get started? Full video + all the colors used are below!
Pin it for later!
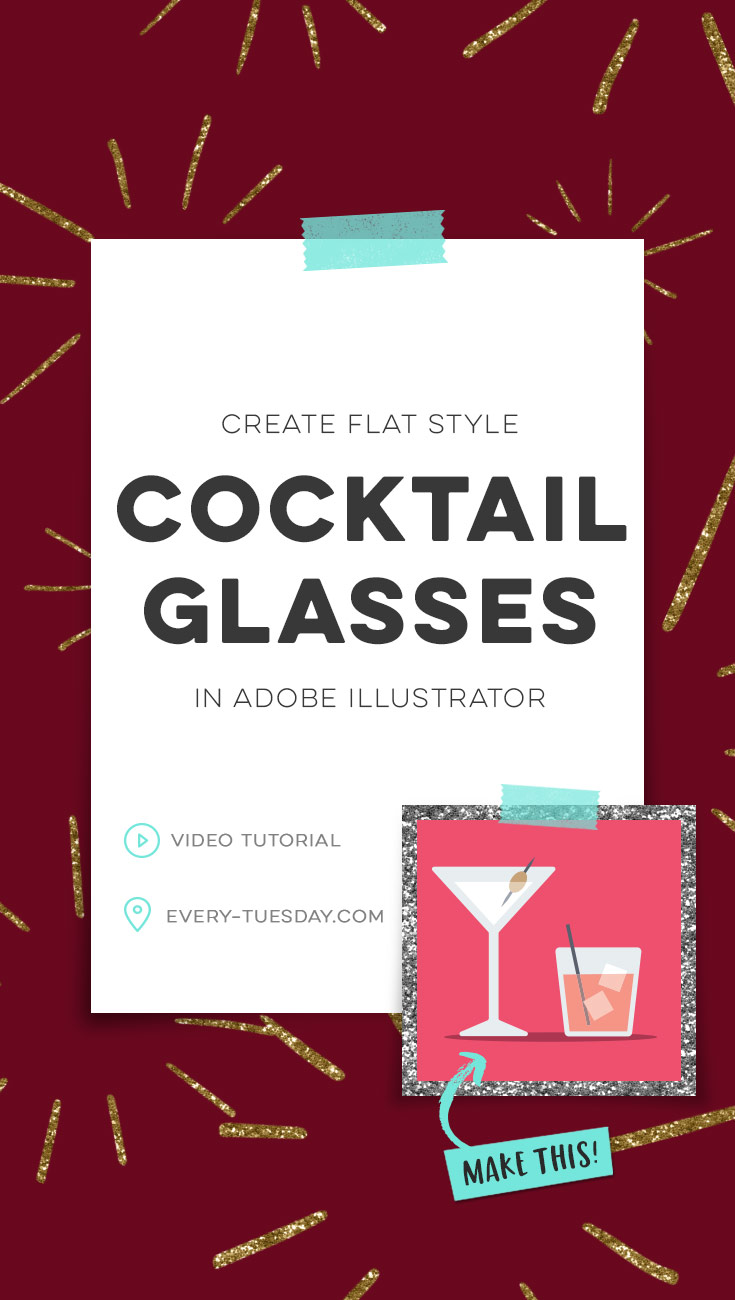
Cheers! Create Flat Style Cocktail Glasses in Adobe Illustrator
Color palette from this tutorial (RGB)
- Bright pink: 239/80/111
- Dark redish-pink: 172/54/80
- Light ‘drink’ pink: 245/150/135
- Dark blue: 90/96/110
- Tan: 200/164/120
- Light blue: 231/238/241

Here’s a quick overview of what we did to create these flat style cocktail glasses in Adobe Illustrator!
- Begin with your tumbler. Create a rectangle, toggle in bottom points and add rounded corners using live corners.
- Utilize the offset path option to add your liquid, toggle down points from the top for a half full glass.
- Add in your straw and ice cubes (add rounded corners to your ice cubes).
- Use the blend tool to create faux transparency colors. Apply the divide option in your pathfinder, ungroup and apply the faux transparency colors to everything below the liquid line. Group your artwork when finished.
- Start your martini glass. Reduce the star tool to a 3 pointed star and create your top and base of your glass. Add a skinny rectangle in between.
- Use the offset path option to create your liquid, then merge all glass shapes together. Pull your top points of your liquid down for a half full glass.
- Create your toothpick by using the rectangle tool, adding a point that you toggle up. Copy and reflect this segment then unite together for a symmetrical object. Scale as needed. Add your olive using the ellipse tool. Position within the martini glass.
- Following the same steps earlier, create your faux transparency colors for the toothpick and olive. Use the pathfinder to divide, ungroup and apply those colors. Group your final martini glass together.
- Rescale the tumbler and martini glass so they feel appropriate. Add a final shadow underneath them using the ellipse tool. Done!
Need a recipe card to go with your cocktail? Grab a free one here 😉
Receive special offers on courses + products, a new design file every month plus instant access to the Resource Library!

Pick up over 50 design + lettering files as our gift to you when you join the Tuesday Tribe for free!
error
Congrats!
Please check your email to confirm.




Julie | December 29, 2017
|
This one was super fun! Thanks Teela! 🙂