If you’re just diving into Illustrator, this week’s tutorial is perfect for beginners! We’ll go over some very basic, but powerful tools that you can use in different ways well into the future. In this tutorial, we create a simple ribbon brush together (from scratch) using Adobe Illustrator. We’ll talk about different brush settings, customizing your ribbon before and afterwards, and even how to save it for future use. Everything you need to get started is below!
Pin it for later!
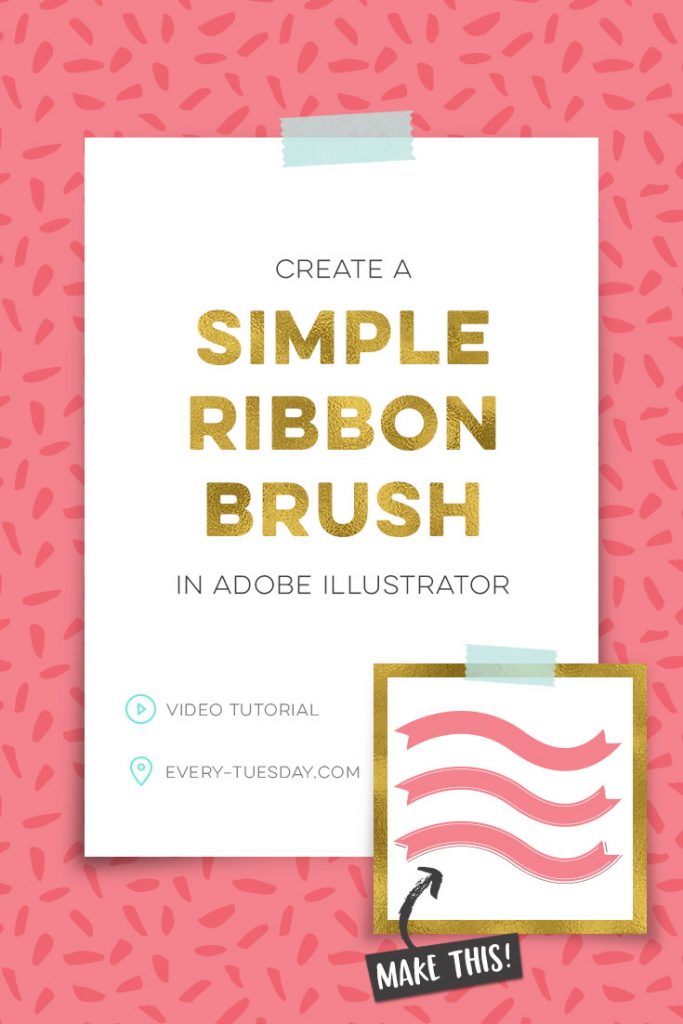
Create a Simple Ribbon Brush in Adobe Illustrator
Mentioned in the tutorial:

Here are the steps in written format, if you need to refer to this in the future!
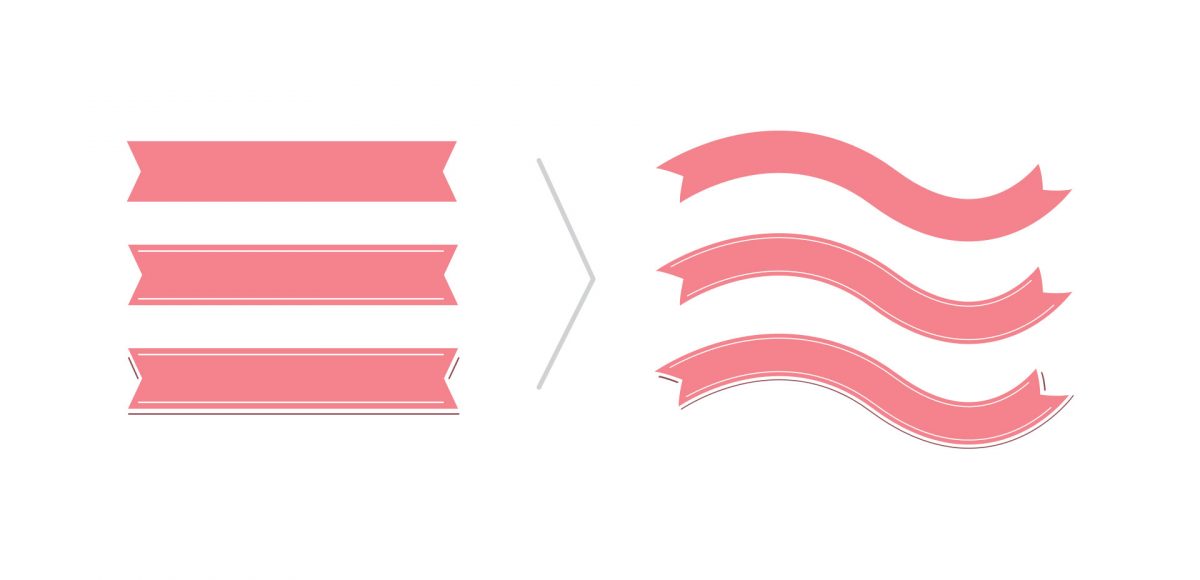
- Create your ribbon design (or whichever design you choose). Utilize the shape, pen, or pencil tools.
- With your design selected (and any stroked paths expanded), navigate to your brushes palette (window > brushes). Hit the icon in the lower corner to create a new brush, and select ‘art brush’ when the dialog menu shows up.
- When your art brush settings menu appears, under ‘brush scale options’ select ‘stretch to fit stroke length’. Also be sure that the direction is to the right and no overlap is set to occur. Hit Ok.
- Using your pen tool, draw out a path with as few points as possible. With the new path selected, navigate to your brushes palette and click on the ribbon brush you created. The ribbon will be applied directly to your path 🙂
- If you need to adjust areas of your ribbon along the new path, with it selected, go object > expand. Now, you can use your pen tool to adjust points and the ribbon will be its own shape, rather than a brush applied to a path.
- To save your ribbon brush for future use, in the brushes palette, toggle down the icon in the upper right corner and select ‘save brushes’. Save the brush file in a place you can easily find it in the future. In a new document, navigate to the brushes palette, toggle down the same icon and choose ‘load brushes’ and select your previously saved brush file. Now you can use it in any file you choose 🙂 (for the video recording of this brush saving process, check out this tutorial!)
- If you’d like to apply text on top of your new, curvy ribbon, check out this tutorial!
Receive special offers on courses + products, a new design file every month plus instant access to the Resource Library!

Pick up over 50 design + lettering files as our gift to you when you join the Tuesday Tribe for free!
error
Congrats!
Please check your email to confirm.
You May Also Enjoy
 Create Watercolor Texture Brushes in Adobe Illustrator Posted in Tutorials, Illustrator, Textures, Beginner
 Cheers! Create Flat Style Cocktail Glasses in Adobe Illustrator Posted in Tutorials, Holiday, Illustrator, Illustration, vector
 Create a Pair of Cute Winter Mittens in Illustrator Posted in Tutorials, Holiday, Illustrator, Illustration, vector
 Create Enamel Pins in Adobe Illustrator Posted in Illustrator, vector, Beginner
Sandra | February 28, 2017
|
Soo cool!! gonna try them out over the weekend! Can’t wait!
Marie | March 2, 2017
|
Hi Teela,
Is there an advantage over not choosing tints and shades when making the brush? I’m a little confused over why you didn’t choose that option when making the brush.
Thanks!
Mauricio Blint | July 14, 2017
|
Nice!! Could you explain with more details what keys combination you press in 2:00′, exactly after draw the rectangle!? Can’t understand it 🙁 Thanks!!
Teela | Author | July 14, 2017
|
Sure! You want the “add anchor point tool” which is part of your pen tool. The keyboard shortcut is the ‘=’ key on your keyboard. Whenever you have that tool and click along a path, it will add an anchor point to it. Hope that helps!