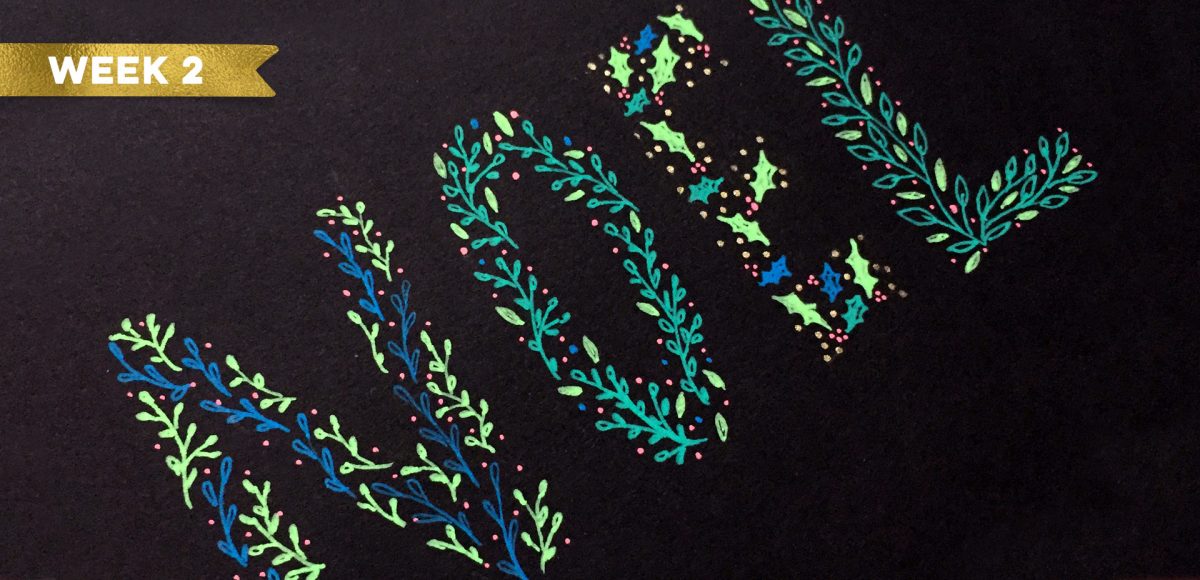
Welcome to week 2 of holiday hand lettering projects! If you missed last week’s project, pop over here to check it out! This is a 6 week lettering tutorial series with the goal of gaining new lettering tricks, learning about lettering supplies you might not have used before and creating something you can use/gift right away. Check back every Tuesday from now until December 12th for a new holiday themed lettering project! This week, we’ll create colorful and decorative NOEL lettering! Read on to see how 😉
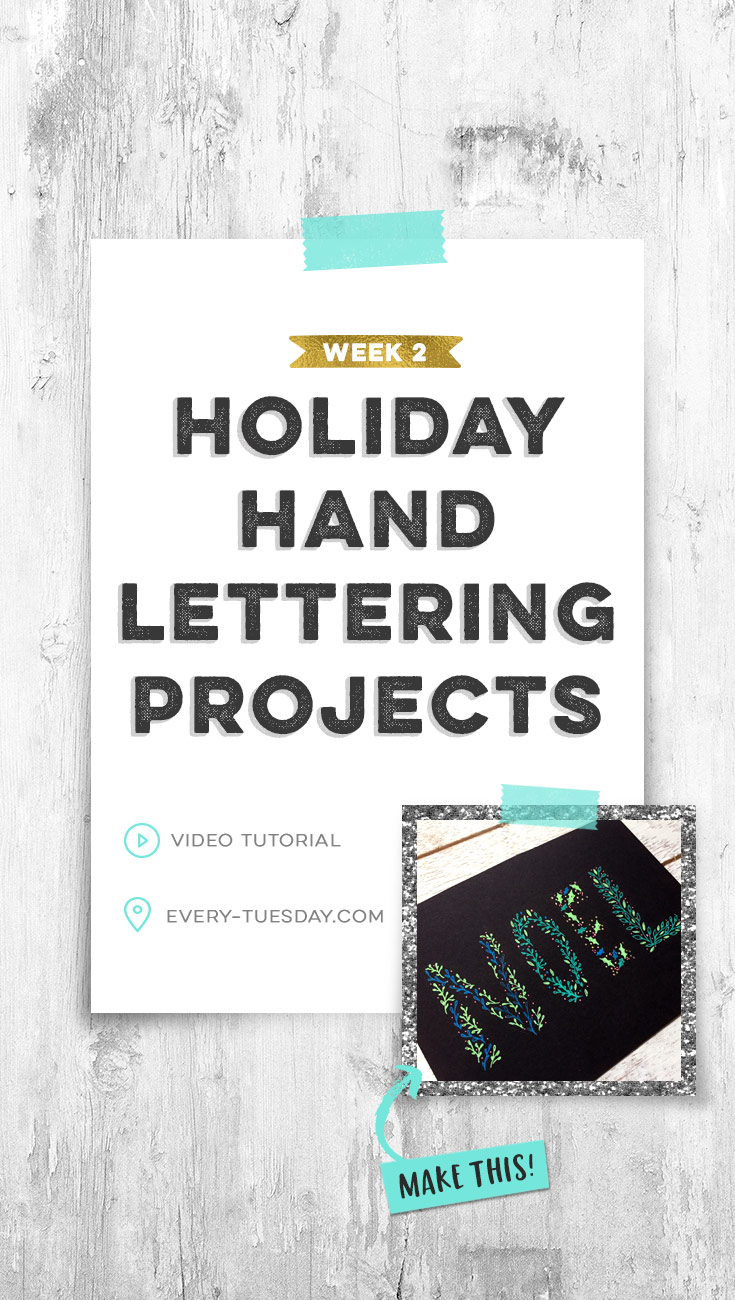
Pin it for later!
Get featured on Every-Tuesday!
If you follow one, or even all 6 projects and have used your new lettering on something for the holidays, I’d love to see it! On Instagram, tag me (@everytuesday) and use the hashtag: #holidayhandletteringproj so you can show support to others who participate, too! Feel free to follow the videos exactly or change it up to fit your style! At the end of this series (the last project being posted Tuesday, December 12th), I’ll go through all projects listed under that hashtag.
I’ll be putting together a roundup post to feature community artwork created during this series on Every-Tuesday. I’ll also be linking to your Instagram account if you’re featured, so you may get some new Instagram followers as a result of being featured, too! By tagging me and/or using our hashtag, you’ll be giving me permission to feature your work here. This roundup post will be published on December 14th, so if you plan to participate, just be sure you’ve posted and tagged your artwork on Instagram by then. This should be a really fun lettering community holiday project for all of us and double as beautiful inspiration, too! I hope you’ll join us!
Holiday Hand Lettering Projects: Week 2
Supplies mentioned in this video:
- Astrobrights Eclipse Black cardstock
- Moonlight gelly roll gel pens
- Metallic gelly roll gel pens
- Papermate clear point mechanical pencil
- Clic eraser

When creating your holiday hand lettering project, remember:
- You can create consistent block letters using the outline method shown at the beginning of the video
- Gel pens take a little longer to dry making them easy to smudge. Be considerate where you’re resting your hand as you doodle in areas you’ve visited previously.
- Keep your doodles touching the outline of your letters throughout, so once you erase your pencil lines, your eyes will know the letters immediately.
- Only have a few doodle types in your arsenal? Change their scale and color to make it seem like you have even more!
- Make sure your gel pens have fully dried before erasing your pencil lines (metallic gel pens take the longest to dry).
Receive special offers on courses + products, a new design file every month plus instant access to the Resource Library!

Pick up over 50 design + lettering files as our gift to you when you join the Tuesday Tribe for free!
error
Congrats!
Please check your email to confirm.
You May Also Enjoy
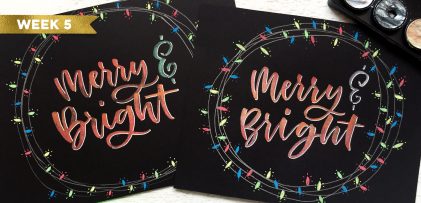 Holiday Hand Lettering Projects: Week 5 Posted in Tutorials, Typography, Hand Lettering, Holiday, Crafts
 Holiday Hand Lettering Projects: Week 4 Posted in Tutorials, Typography, Hand Lettering, Holiday, Crafts
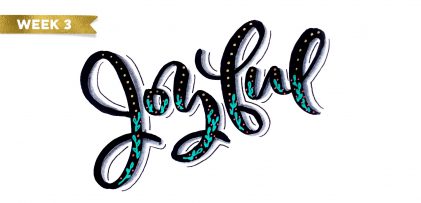 Holiday Hand Lettering Projects: Week 3 Posted in Tutorials, Typography, Hand Lettering, Holiday, Crafts
 Holiday Hand Lettering Projects: Week 1 Posted in Tutorials, Typography, Hand Lettering, Holiday, Crafts
No comments