
Welcome to the first week of holiday hand lettering projects! This is a new tutorial series spanning 6 weeks, starting today. Every Tuesday, we’ll create a new holiday-inspired lettering project you can then use on your holiday stationery (like gift tags, greeting cards, homemade ornaments, etc.). The goal of this series is to gain some new lettering tricks, learn about lettering supplies you might not have used before and to create something you can use/gift right away. Since we’re starting in early November, you’ll have plenty of time to practice and prepare for December celebrations. I also have another surprise that comes with participating in these weekly projects below!
Pin it for later!
The extra surprise: Get featured on Every-Tuesday!
If you follow one, or even all 6 projects and have used your new lettering on something for the holidays, I’d love to see it! On Instagram, tag me (@everytuesday) and use the hashtag: #holidayhandletteringproj so you can show support to others who participate, too! Feel free to follow the videos exactly or change it up to fit your style! At the end of this series (the last project being posted Tuesday, December 12th), I’ll go through all projects listed under that hashtag.
I’ll be putting together a roundup post to feature community artwork created during this series on Every-Tuesday. I’ll also be linking to your Instagram account if you’re featured, so you may get some new Instagram followers as a result of being featured, too! By tagging me and/or using our hashtag, you’ll be giving me permission to feature your work here. This roundup post will be published on December 14th, so if you plan to participate, just be sure you’ve posted and tagged your artwork on Instagram by then. This should be a really fun lettering community holiday project for all of us and double as beautiful inspiration, too! I hope you’ll join us!
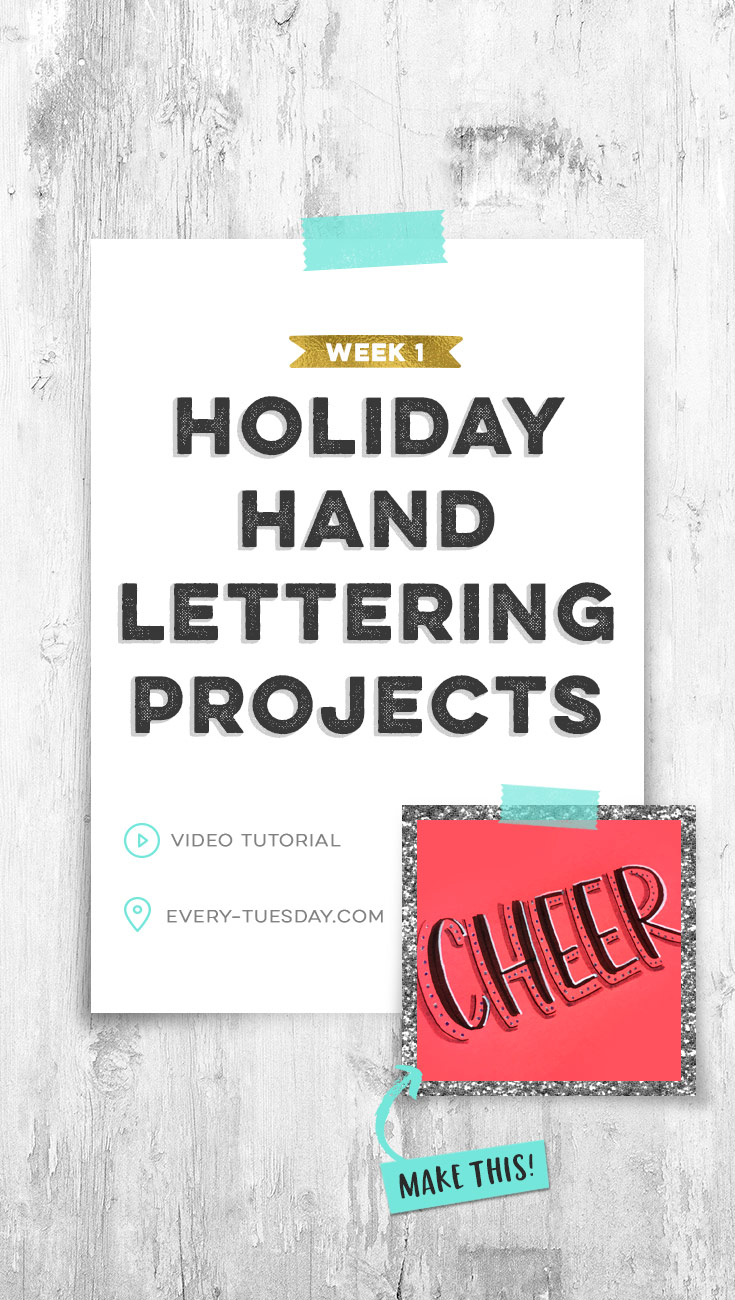
Ready to get your holiday lettering on? Let’s start with a little cheer 😉
Holiday Hand Lettering Projects: Week 1
Supplies used in this video (feel free to use whatever you have on hand, though!)
- Astrobrights paper in Rocket Red (try to avoid construction paper if you can since the marker will bleed into its fibers – any colored copy paper is best!)
- Tombow Fudenosuke Twin Tip (black on one end, grey on the other)
- Micron 05 pen
- Metallic Gelly Roll gel pens
- White Gelly Roll gel pen

When creating your holiday hand lettering project, be sure to:
- Keep your capital letters a similar height and width for consistency throughout.
- Give your letters a little extra space between them than you usually would. This will allow you to fit all the details in without anything feeling smothered.
- Always consider your light source to determine where your floating shadow lines are drawn.
- When using the grey to add depth, do your best to add the grey on a single pass/single stroke at a time. Going back over any areas of grey will make those areas darker and stand out (whether you want them to or not) to the viewer.
Looking for some graphic design holiday projects? Check this page!
Receive special offers on courses + products, a new design file every month plus instant access to the Resource Library!

Pick up over 50 design + lettering files as our gift to you when you join the Tuesday Tribe for free!
error
Congrats!
Please check your email to confirm.
You May Also Enjoy
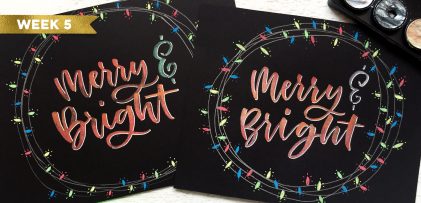 Holiday Hand Lettering Projects: Week 5 Posted in Tutorials, Typography, Hand Lettering, Holiday, Crafts
 Holiday Hand Lettering Projects: Week 4 Posted in Tutorials, Typography, Hand Lettering, Holiday, Crafts
 Holiday Hand Lettering Projects: Week 3 Posted in Tutorials, Typography, Hand Lettering, Holiday, Crafts
 Holiday Hand Lettering Projects: Week 2 Posted in Tutorials, Typography, Hand Lettering, Holiday, Crafts
julie Stancato | November 7, 2017
|
That was really fun! Thank you!!
Teela | Author | November 8, 2017
|
Thanks for watching!
Marie | November 7, 2017
|
I love this! thanks for the inspiration 🙂
I have such a hard time with placing shadows properly on text. Didn’t you post a cheat sheet on text shadows a while back? I’ve checked and I cant’ find it. No worries if it wasn’t you. I’m just thinking out loud. I’ll just have to be more conscious of placing my shadows, that’s all. Cheers Teela!
Teela | Author | November 8, 2017
|
Hey Marie! You might be thinking of this one or this one. Fingers crossed that helps!
Jo Ovenell | November 8, 2017
|
Sounds like so much fun! I’m hoping to participate every week and knock off some of those holiday to-dos off my list with these projects. Thanks so much for providing this great idea! @theletteringcompanion
Teela | Author | November 8, 2017
|
Awesome! Can’t wait to see what you do with them! ❤️
Lori Hicke | November 8, 2017
|
Thanks Teela,
I’m looking forward to participating in your holiday letting projects. All your posts are so much fun. I really learn a lot from you!
Warmly,
Lori Hicke
Teela | Author | November 8, 2017
|
Yay, thanks Lori! Looking forward to seeing what you make!
Liz | November 10, 2017
|
Thank you! I love this.
Cristina | November 17, 2017
|
This was a great post and project! I have enjoyed it very much! Thanks Teela!
Cristina
Lisa Chris | November 21, 2017
|
When I saw the pic for this post I really thought that it was made on the ipad! Such a bright & bold look, love it!
Jaime | January 4, 2018
|
Hi Teela! You’re so amazing!! I have a question. I’ve been noticing that my sakura white gelly roll pen doesn’t stand out on my tombow ABT twin. Same result with my uniball signo. I waited to make sure the tombow ink was dry but it’s still not as strong. Am I using the wrong tombow?
Thanks so much for all you do! One of my new year’s goals is to take your flourishing class. Can’t wait!!
Teela | Author | January 5, 2018
|
I’ve found that the Kuretake brush pen gives me the best results – you can see the difference here 🙂