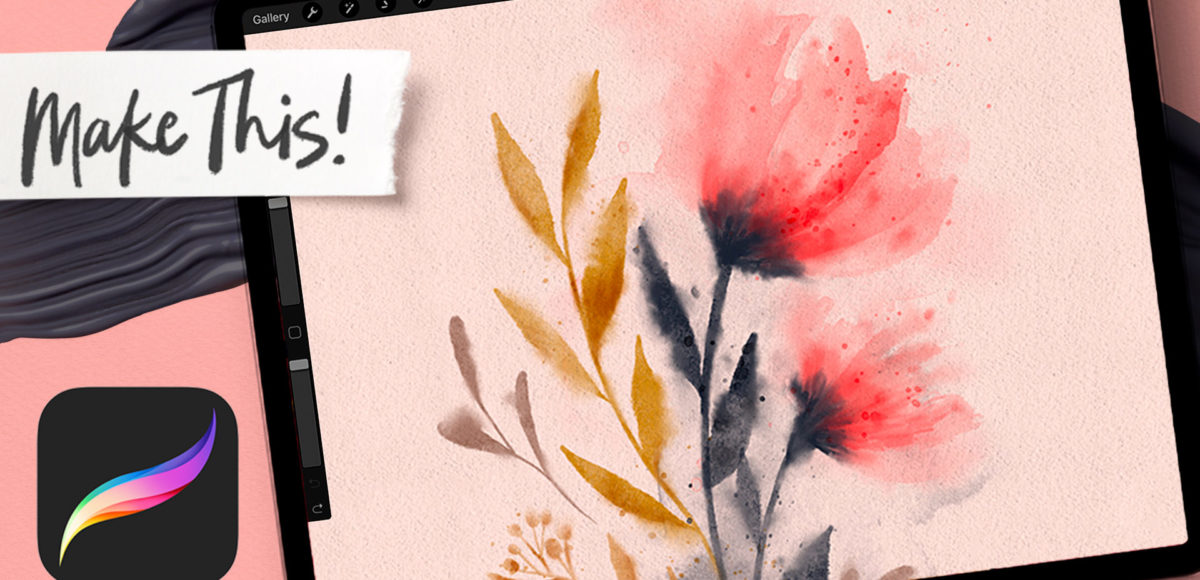
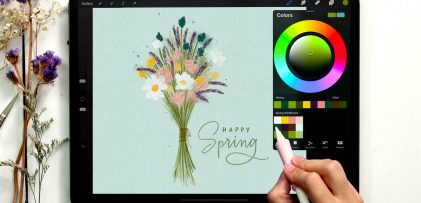
I couldn’t let Valentine’s Day arrive without some watercolor florals! I was a little hesitant to share my sketching process for these 🫣, but I wanted you to see that a sketch does not need to be a beautiful thing to lead to a beautiful thing… especially in this style.
This tutorial can be adjusted to fit any occasion throughout the year – just change up the colors for a completely different feel! You can also control how much messiness you’d like to inject by increasing or reducing the wash and splatter elements at the end. Other than that, just let the brushes + stamps do the rest of the work for you 😉
Pin it for later!
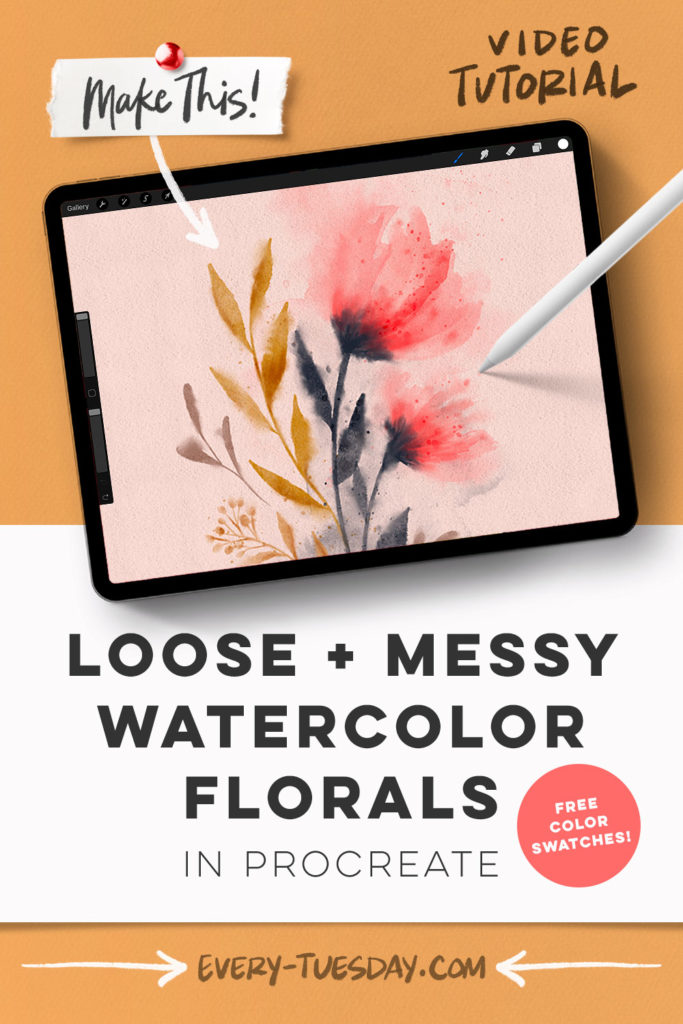
Loose + Messy Watercolor Florals in Procreate
Mentioned in this video:
- Messy Watercolor Brush Set
- Love Lettering Stamps (free when you become an email subscriber)
- Reference sketch (free png file)
- Color Palette (free)

Here’s a written overview of how to make loose + messy watercolor florals in Procreate:
- Freehand a sketch or use this reference photo. Grab the sketching pencil brush to draw out the foliage and flowers.
- Create a new layer and start with creating messy watercolor flowers. Grab shape 66 and stamp it in with your finger for the large flower. Choose another stamp, and position it in place. Grab another stamp that follows the general shape of the flower petals to finish it off. Choose one of the petals and change the blend mode to multiply.
- Follow that same process for the smaller flower.
- Paint the main stem with the Tuesday Waterbrush from the Messy Extras brush category. Messy up the stem and leaves with the Bloom and Bleed brush to stipple/ smudge out the transition areas.
- Start on the foliage and paint in the leaves. Smudge up the edges. Create a new layer, change the blend mode to multiply, and add some darker edges to the leaves. Smudge to pull the color out.
- Next paint the remaining elements following the same process. Add in some messiness with the smudge brush.
- Create a new layer at the bottom, grab a Messy Wash stamp, and tap it in behind the leaves. Reflect it and position it where you would like. Smudge any hard edges that you see. Repeat it behind the flowers as well.
- Add in your splatter by stamping it in, and warp it as you like to get more of a curve. Soften some by smudging them.
- Create a new layer at the top, change the color to black, grab Watercolor Paper 01, and paint across the canvas. Then change the blend mode to multiply. Duplicate this layer, and reduce the opacity.
- Finally add in your lettering as you like with the Hey Lovely stamp from my free Love Lettering Stamp set.
- Done!
Receive special offers on courses + products, a new design file every month plus instant access to the Resource Library!

Pick up over 50 design + lettering files as our gift to you when you join the Tuesday Tribe for free!
error
Congrats!
Please check your email to confirm.


No comments