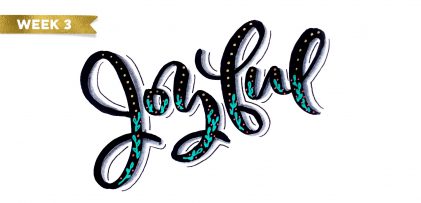
Happy December! Now that the holiday season is in full swing, I wanted to offer up a fun hand lettering technique for your (any time of the year) stationery, too! This ombre embossing effect is SO eye catching *and* I have a technique that avoids mixing your embossing powders together. Using this technique, you’re able to maximize the life of your powder purchases and create beautiful outcomes, too. Plus, look at the colors on black! I love the vibrancy and contrast embossing straight onto black produces. Swoon. Read on to see it all!
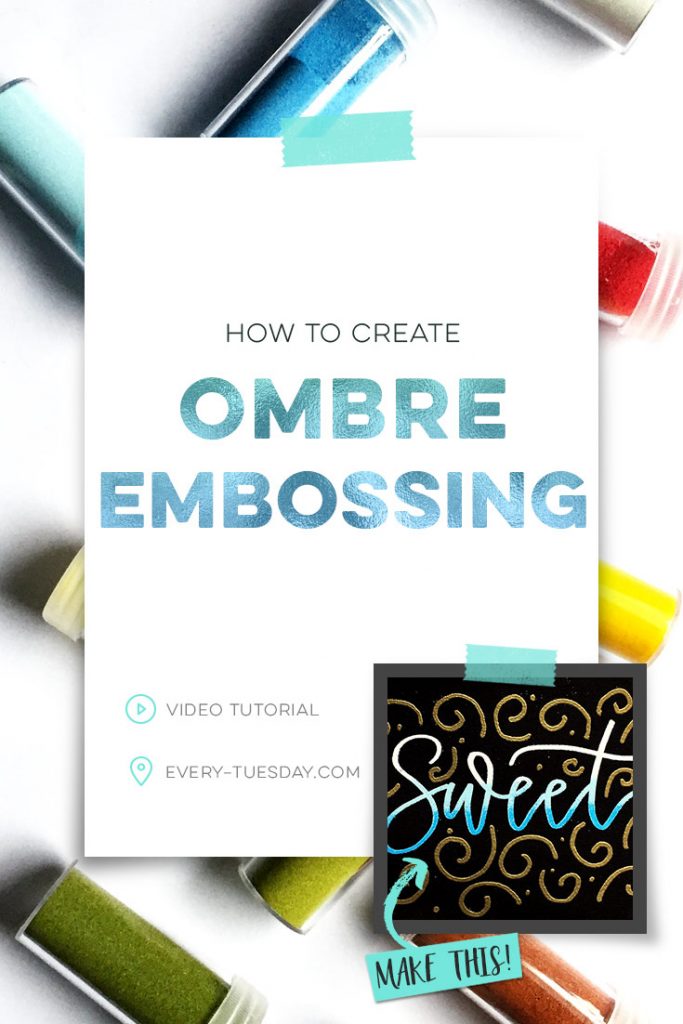
Create Quick and Easy Ombre Embossing
Here are all of the products used/mentioned in the video:
- Stampendous colored embossing powders (14ct set)
- Ranger gold embossing powder
- Astrobrights cardstock in Eclipse Black
- Ranger clear embossing pen
- Martha Stewart brand heat tool

Here are a few tips to keep in mind as you create ombre embossing!
- If you’re just getting started with embossing, you must purchase a heat tool. A hair dryer will not get hot enough to melt the embossing powder, so save yourself the trouble!
- An embossing pen is special and very important to have. Regular pens dry too quickly to keep the powder sticking as consistently as an embossing pen does. Be sure to pick one up!
- The heat tool gets very hot – rotate your paper as you work to avoid burning your fingers. Watch out for smudging the powder; even hardly grazing it can ruin your work.
- Keep copy paper below your artwork paper to make powder clean up as tidy and easy as possible.
- Static can cause powder remnants to stick where they aren’t supposed to. Use your fingers or a small paintbrush to push them away without harming your work.
- Remember to heat emboss your ombre effect before moving on to embellishments. This will keep powder mixing to a minimum, and make smudging far less likely.
Receive special offers on courses + products, a new design file every month plus instant access to the Resource Library!

Pick up over 50 design + lettering files as our gift to you when you join the Tuesday Tribe for free!
error
Congrats!
Please check your email to confirm.


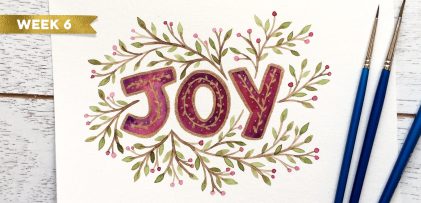
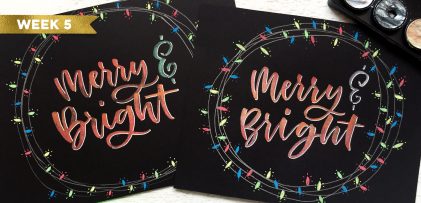
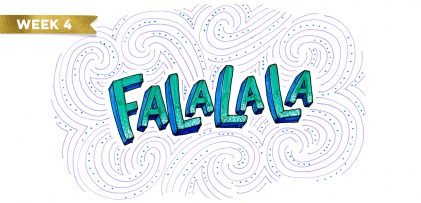
Natalie | December 11, 2016
|
Love this! The blue really pops on this
– Natalie
http://www.workovereasy.com
Janelle | December 29, 2016
|
What a great look! It really stands out and I just love the colours you’ve used. ☺
SueZoo | January 29, 2017
|
A couple of embossing tips:
– run a dryer sheet over your cardstock and copy paper before you begin to lessen the static cling factor. [You can also spend some money and get a pounce tool, which I’ve done, but honestly, the dryer sheet is as effective]
– pinch the bottom center of your copy paper underlay, this will create a little “spout” for pouring the powder back into the bottle. [I have a larger piece of glossy cardstock that was a backing page from a purchase (I think for a pack of page protectors) that I’ve designated as my embossing underlay. The glossy coating really helps the powder run back into the bottle. I bone-folder creased it in half vertically (valley fold) and folded under the top corners (mountain folds) to funnel all the powder] I have arthritic hands that tremor so I need all the help I can get!
Teela | Author | January 31, 2017
|
Thanks for the tips, Sue!