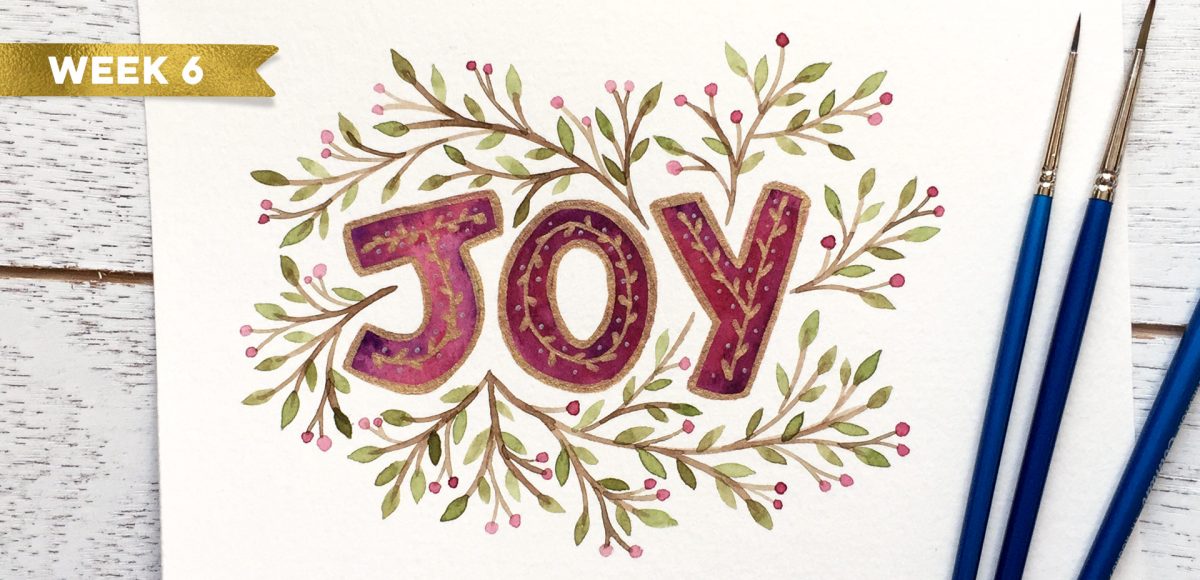
Welcome to week 6 of holiday hand lettering projects! If you missed the last five weeks, scroll below to click on links to all of them! This 6 week lettering tutorial series is wrapping up this week! The goal of the series was to gain new lettering tricks, learn about lettering supplies you might not have used before and create something you can use/gift right away. Each week we built on skills from the previous weeks, so if you need a refresher, be sure to rewatch any of the prior videos. This week, we’re creating watercolor JOY lettering, surrounded by seasonal branches and finished with gold and silver details! Read on for the step-by-steps!
Pin it for later!
Get featured on Every-Tuesday!
If you follow one, or even all 6 projects and have used your new lettering on something for the holidays, I’d love to see it! On Instagram, tag me (@everytuesday) and use the hashtag: #holidayhandletteringproj so you can show support to others who participate, too! Feel free to follow the videos exactly or change it up to fit your style! This is the last video of the series and I’ve started going through all projects listed under that hashtag to feature community artwork in a post later this week!
I’ll be linking to your Instagram account if you’re featured, so you may get some new Instagram followers as a result of being featured, too! By tagging me and/or using our hashtag, you’ll be giving me permission to feature your work here. This roundup post will be published on December 14th (this Thursday!), so if you plan to participate, just be sure you’ve posted and tagged your artwork on Instagram by then. There’s no pressure to create all of the projects – just completing one can get you featured – I hope you’ll join us!
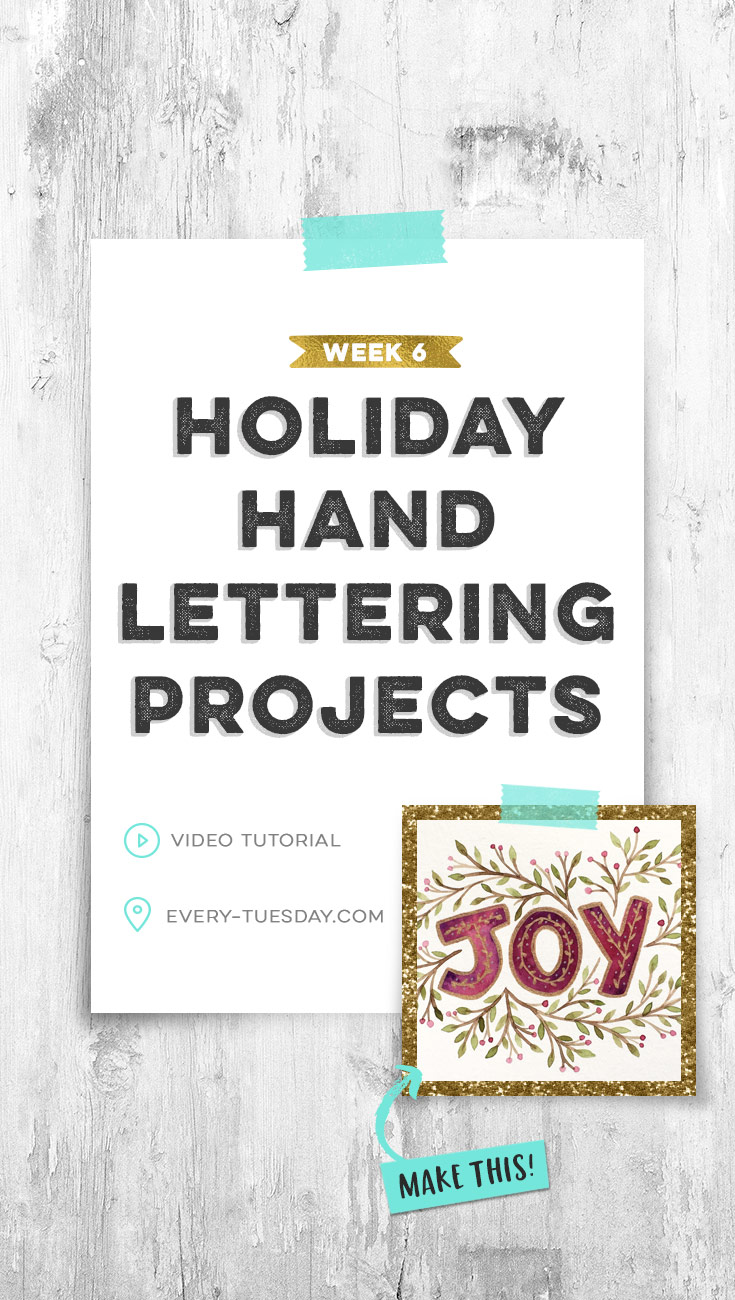
Holiday Hand Lettering Projects: Week 6
Mentioned in this video:
- Winsor & Newton Watercolor Pan Set
- Winsor & Newton Cotman no. 4 + no. 0 Brush
- Metallic Gelly Roll Gel Pens (gold + silver)
- Canson Cold Press 140# Watercolor Paper
- Tutorial: Create a Watercolor Autumn Branch
Catch up on past holiday hand lettering videos!
Take your watercolor lettering further in my online course, Brush Lettering with Watercolor!


When creating your holiday hand lettering week 6 project, remember:
- Sketch your letters first using a pencil, then add your blockiness around your base letters.
- Erase your guidelines until you can barely see them. This will provide a guide and make them unnoticeable once painted over.
- To darken your letters, apply extra coats of watercolor. Add color variety by dabbing an alternate color (purple shown) randomly throughout the letters.
- Add a stroke around your letters using a gel pen. Thicken up that stroke as desired, but be sure it’s consistent in weight across all letters.
- When adding in your branch flourishes, begin them between letters and tuck them into any natural letter crevices. When you have a straight edge (like the ‘y’), mirror what is on the opposite side to balance your layout.
- Trim your final card down so everything is centered. Done!
Receive special offers on courses + products, a new design file every month plus instant access to the Resource Library!

Pick up over 50 design + lettering files as our gift to you when you join the Tuesday Tribe for free!
error
Congrats!
Please check your email to confirm.
You May Also Enjoy
 Holiday Hand Lettering Projects: Week 5 Posted in Tutorials, Typography, Hand Lettering, Holiday, Crafts
 Holiday Hand Lettering Projects: Week 3 Posted in Tutorials, Typography, Hand Lettering, Holiday, Crafts
 Holiday Hand Lettering Projects: Week 4 Posted in Tutorials, Typography, Hand Lettering, Holiday, Crafts
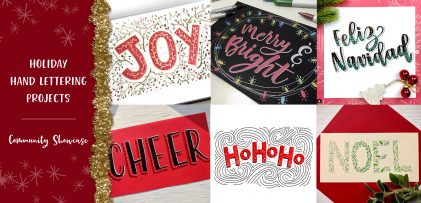 Holiday Hand Lettering Projects Showcase! Posted in Tutorials, Roundups, Hand Lettering, Holiday, Crafts
Jeanne Sullivan | December 12, 2017
|
Love this, Teela! Thanks for posting this project. So fun, fast and doable…even in the midst of Christmas frenzy! In your Week 6 “Make This” sample, I see the gold border you’ve added. Is this from your Glitz & Glam kit? Also, how is the border added? Can you point me to another of your tutorials or classes? Thanks so much!
Teela | Author | December 12, 2017
|
Yep! That’s from Glitz + Glam, it’s a pattern overlay layer style just applied to that shape. You could copy and paste the shape in from Illustrator and then apply the layer style, or you could make the shape in Photoshop – I don’t have a tutorial on that exact shape, but hopefully that helps!
Jeanne Sullivan | December 12, 2017
|
THANKS SO MUCH, TEELA! WILL ORDER THE KIT AND GIVE IT A GO. WISHING YOU THE MERRIEST CHRISTMAS EVER!!!
Josee | December 12, 2017
|
Thank you for sharing this holiday series with us, Teela! I enjoyed each and every lettering technique. Your ideas are amazing! Happy Holidays to you and yours!
Teela | Author | December 12, 2017
|
Thanks Josee! I’m so glad you’ve enjoyed them, and same to you! 🙂