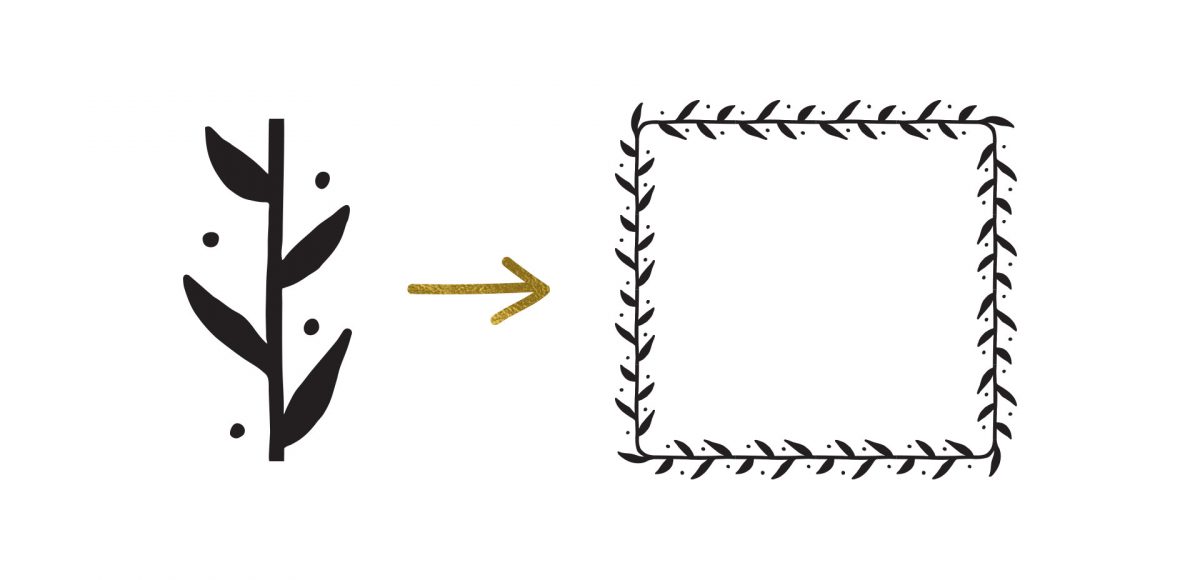
After I created this tutorial, I received a few questions about how to create pattern brushes with corners in Illustrator. If you ever need your pattern brush applied to a 90º angle, you’ll need to implement custom corners. Here’s the kicker, though; Illustrator CC makes corners super easy when the pattern brush is geometric. When your pattern brush is hand drawn, there are extra considerations to make, so we’re covering them all in this week’s tutorial. Read on to create hand drawn pattern brushes with corners!
Pin it for later!
How to Create Pattern Brushes with Corners
Mentioned in this tutorial:
Other pattern resources:
- How to save patterns and brushes tutorial
- Interested in Illustrator patterns? Check out this tutorial and this tutorial.
- My friend, Oksana, is also a great pattern resource! You can check out her work and tutorials here.

Here’s the written version of this tutorial on creating hand drawn pattern brushes with corners!
- First, create a basic pattern brush (follow this tutorial if you’re new to hand drawn pattern brushes!).
- Put an invisible rectangle around your brush segments and group. Align your brush’s segments vertically and horizontally to create a square in the corner.
- Convert your segment to be proportional to your square – it can be one square in width, two squares (as shown) or more. As long as it’s proportional, you’ll be good. Make sure your segments still read as a seamless pattern after you do this + before you move onto your corners!
- Create an invisible corner square. Draw in your new corner (I used the pencil tool for mine). Adjust your artwork so it fits perfectly within the bounds of the square. Group the artwork and invisible square together.
- Drag your proportional pattern segment to your brushes palette and define it as a pattern brush. Select your outer corner you just created, hold ‘alt’ and drag it into the brush palette in the first position of your pattern brush.
- Create your inner corner by duplicating your outer corner and rotating it 180º. Ungroup it from its square and make adjustments as needed to seamlessly connect your segments. Once finished, regroup it with your invisible square, make a copy and rotate that copy back 180º.
- Hold ‘alt’ and drag it into the last position of your pattern brush.
- Done! To save your pattern brush for future use, check out this tutorial 😉
Receive special offers on courses + products, a new design file every month plus instant access to the Resource Library!

Pick up over 50 design + lettering files as our gift to you when you join the Tuesday Tribe for free!
error
Congrats!
Please check your email to confirm.
You May Also Enjoy
 How to Create a Seamless Pattern Brush in Illustrator Posted in Tutorials, Illustrator, Hand Drawn
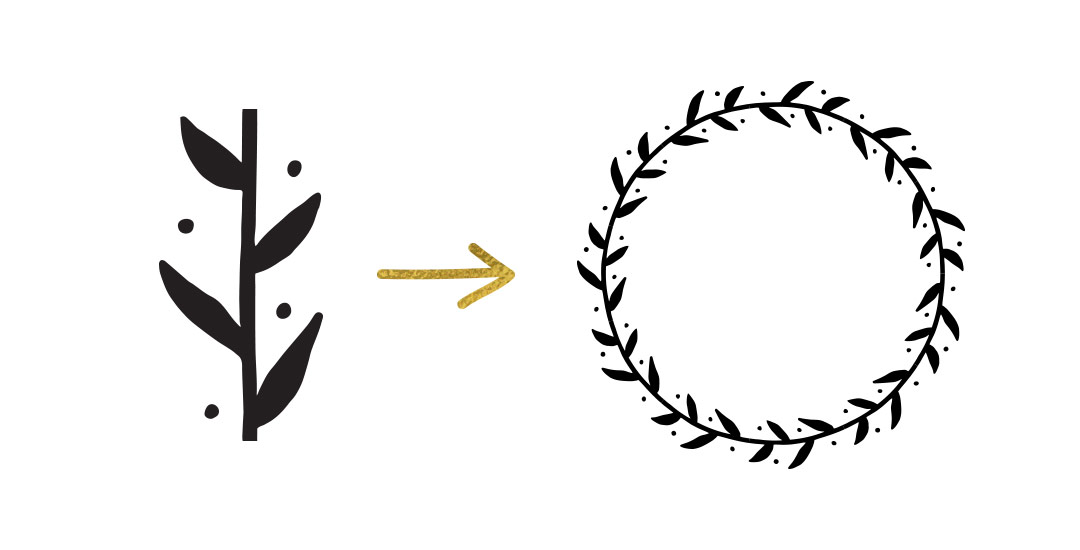
 Create Seamless Pattern Wreaths in Adobe Illustrator Posted in Tutorials, Holiday, Illustrator, Patterns, vector
 Create a Holiday Postcard in Adobe Illustrator Posted in Tutorials, Holiday, Illustrator, vector
 Create Custom Holiday Gift Wrap in Adobe Illustrator Posted in Tutorials, Holiday, Illustrator, Patterns, vector
No comments