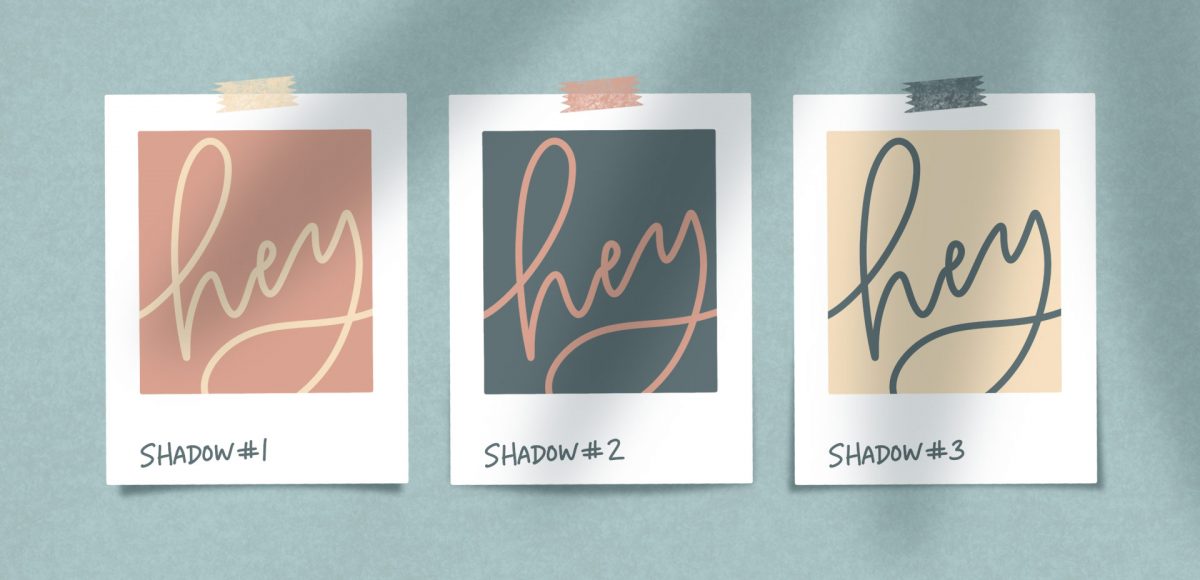
I’m realllly excited about this week’s Procreate tutorial! Little polaroids are some of my favorite things to make – you’ll definitely notice that if you’ve spent any time on my site. Now that Procreate has the quick shape tool, they’re super simple to make! In this week’s tutorial, I’m sharing how to create peeling polaroids in Procreate by applying 3 different shadow types. I’m even sharing my method for applying a trendy shadow on the top, too! Read on to see it all!
Pin it for later!
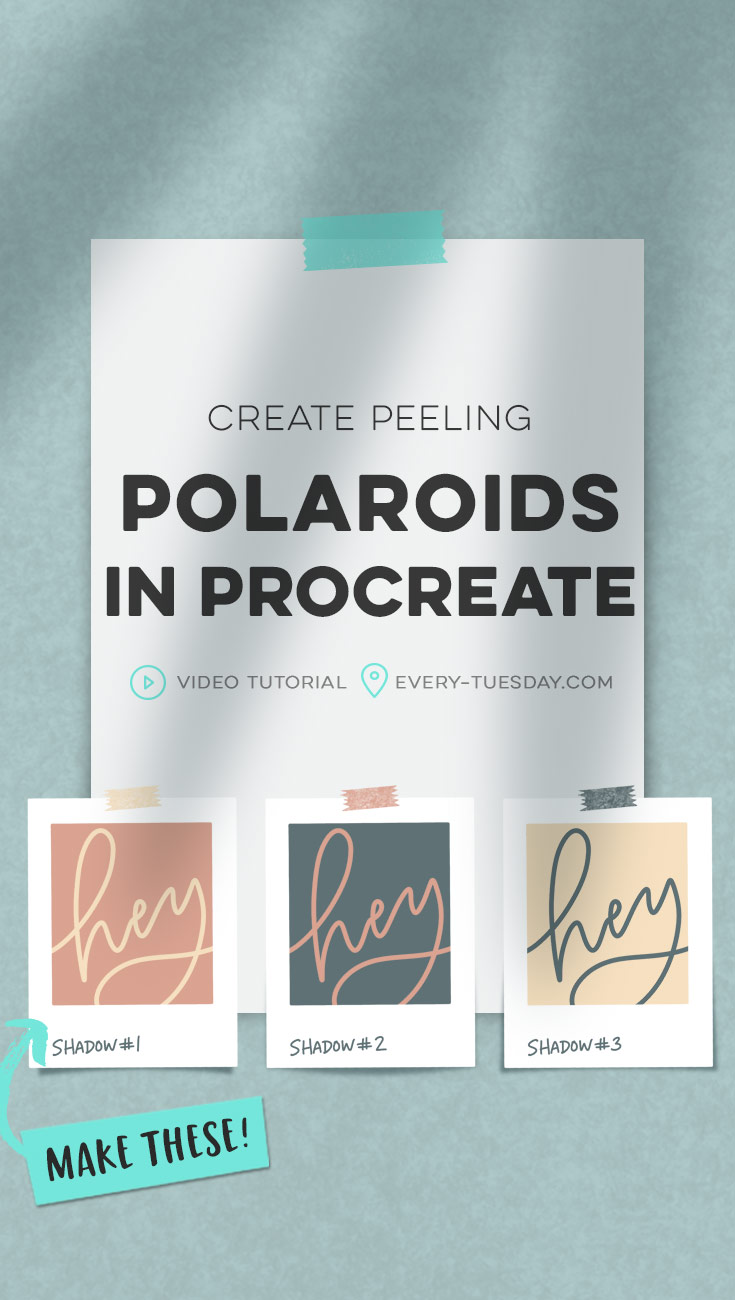
Create Peeling Polaroids in Procreate
Mentioned in this video:
- My free Procreate for Beginners course is available here
- My Procreate Monoweight Brush is available for free in my Resource Library when you become a free email subscriber
- The other brush we use is the default ‘4B Compressed’ brush in the Charcoals category
Here are the color builds for the palette we use if you’d like to input them manually (RGB):
- Pale yellow: 246/224/192
- Salmon: 218/163/145
- Slate blue: 95/113/117
- Light blue: 159/181/181
- White: 255/255/255
Save time and download the palette straight to your iPad! Here’s the downloadable swatch:
Peeling Polaroids Colors
Procreate Color Swatch
- File type: .swatches
- Size: 429 bytes
- Minimum software version: 4.0
Looking for more Procreate tutorials like this? Check out my YouTube playlist!

Here’s the written overview of how to create peeling polaroids in Procreate!
Creating Polaroids:
- Create a screen sized document. Apply a light blue background on its own layer.
- Draw your base polaroid shape by utilizing the quick shape option > rectangle. Fill the rectangle with white.
- Create a square on top of it in a different color on another layer following the same method.
- Hand letter or draw what you’d like to appear within your polaroid right above the square layer and apply a clipping mask to it.
- Create your tape on a layer by drawing a small rectangle, cutting out the edges and hitting it once with the charcoal brush as an eraser. Angle it to make it appear more realistic.
- Select the base polaroid shape, create a new layer and apply a fill of the dark blue. Move it behind your base layer.
- With your blue layer selected, hit your cursor > warp and reshape to whichever shadow you’d prefer. Move the top nodes towards the center.
- Apply a gaussian blur to the shadow layer (I used 12%), set the blend mode to multiply + opacity to 60%.
- Group all elements except the background together. Duplicate the group as needed and change the colors of the different elements using the recolor option.
Creating the background texture + large shadow:
- Right above your background layer, create a new layer. Select your light blue color, and change the layer’s blend mode to overlay.
- Grab your 4B Compressed charcoal brush, max out the size and lightly brush over the entire background. Reduce the opacity as desired.
- For the large shadow, create a layer at the very top of all of your layers.
- Select your dark blue color, grab the monoweight brush and draw a rough shape of leaves (or whatever shape you’d like). Fill it with blue, reposition + scale as desired.
- Apply a heavy gaussian blur to it (I used 27%).
- Set the layer’s blend mode to multiply and reduce the opacity (I set mine to 35%).
- Done!
Receive special offers on courses + products, a new design file every month plus instant access to the Resource Library!
Pick up over 50 design + lettering files as our gift to you when you join the Tuesday Tribe for free!
error
Congrats!
Please check your email to confirm.


renee | September 24, 2019
|
A million Thank You’s for these tutorials!
Nasia | September 26, 2019
|
You are the best , I learn so many things from you . Thank you.