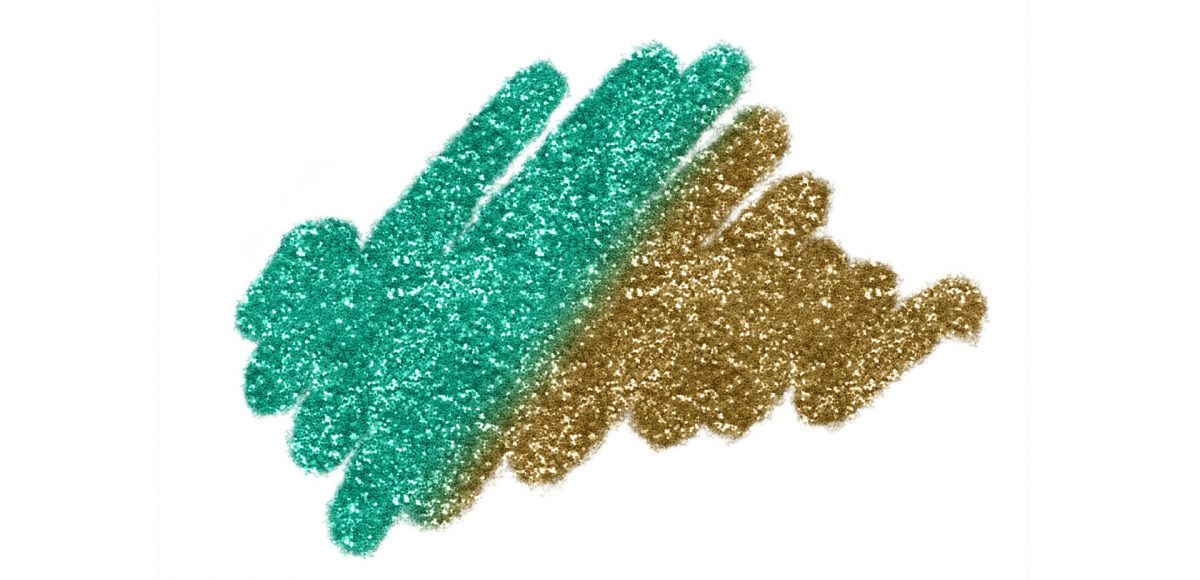
I realized the other day that I did some short mini vids on Instagram wayyyy back on how to recolor textures in Procreate, but never a tutorial here. Introducing textures into your Procreate work can create some pretty stunning, unique results. Using textures myself led me to offer the procreate watercolor kit and metallic kit, which I still use constantly. The silvers and golds from the metallic kit look stunning, but you can change their colors to anything you’d like! Colors like rose gold and blue glitter are a cinch to make, and in this week’s video, I share how!
Pin it for later!
How to Recolor Textures in Procreate
Mentioned in the video:
For more iPad lettering with Procreate tricks, check out my course, Intro to iPad Lettering!

If you’d like to refer to this post later and just need the step by steps, here they are!
- In a new Procreate document, import your texture on its own layer within Procreate. To import a texture, hit the wrench in the upper left corner > insert > insert flat image. Choose ‘photos’, then choose the location of the texture on your iPad. Resize the texture as needed. This will always be your bottom layer while you work.
- Create a new layer and choose your desired color from the color picker in the top right corner. On the new layer, paint or fill the layer with the color you’d like to change your texture to.
- Change the blend mode setting of the color layer to ‘color’
- If you’d like create subtractive lettering, apply a black fill on its own layer above all other layers. Select an eraser brush and erase away the black (or white!) to reveal the colored texture underneath.
- For other color effects, experiment with changing the color layer’s blend modes!
Receive special offers on courses + products, a new design file every month plus instant access to the Resource Library!

Pick up over 50 design + lettering files as our gift to you when you join the Tuesday Tribe for free!
error
Congrats!
Please check your email to confirm.



No comments