HomePosts Tagged "settings"

settings Tag

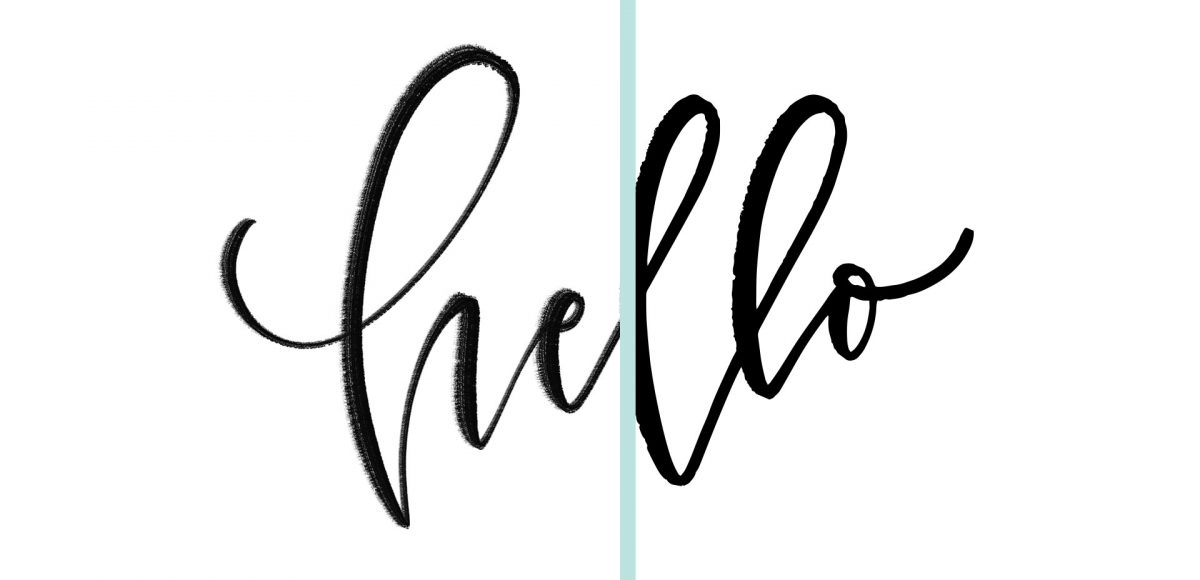
If you love lettering – whether it’s on paper or an iPad, you’re probably familiar with how powerful your lettering becomes when it’s vectorized. Vectorization allows your lettering to be infinitely rescaled without losing quality. This means it can be put on anything, at any size and look as great as the day it was drawn. Since it’s a digital copy, it can exist for forever without fear of it being buried in past stacks of lettering experiments, too. It’s also a crucial step in creating open type fonts!

In this week’s video, I’m sharing my favorite, most reliable Illustrator trace settings when it comes to vectorizing lettering. These are the settings I use every time I vectorize to keep as much original quality as possible. Read on for it all!

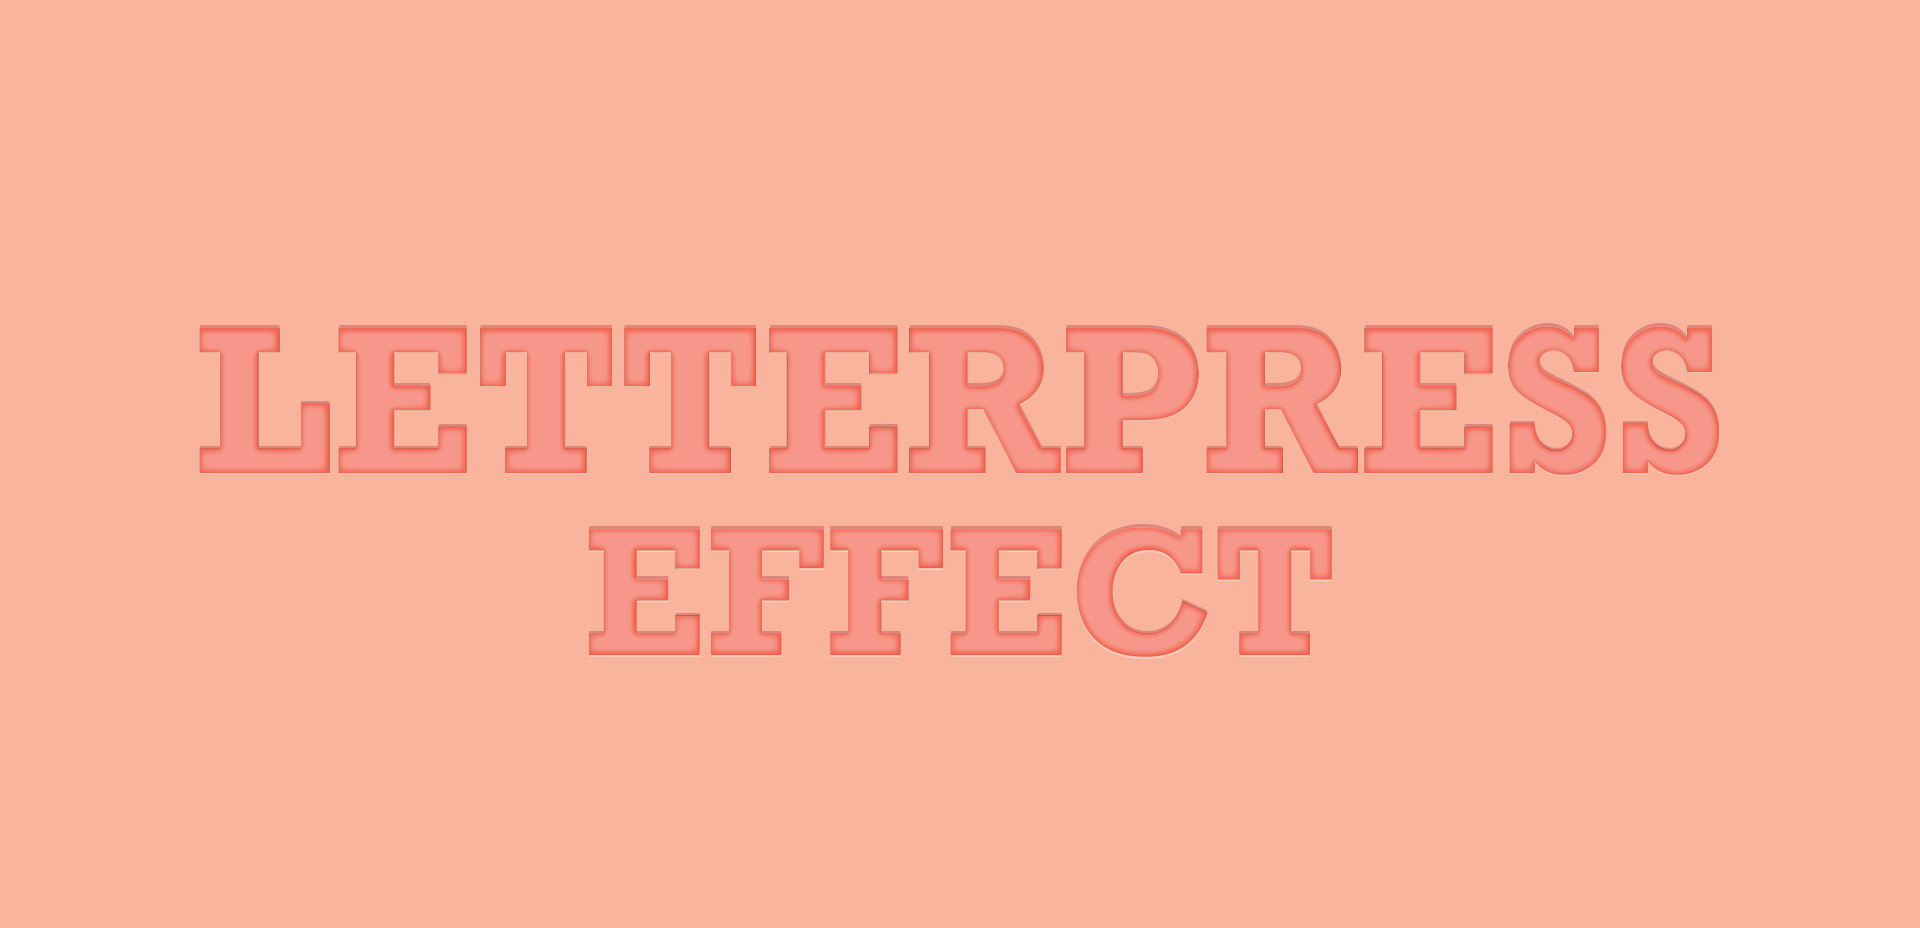
Last week, we created a realistic foil stamp effect using only illustrator and a seamless foil texture. This week, we’re borrowing some of the same tips, but simplifying. If you don’t have a texture on hand, but still want to add an element of cool, a letterpress effect is a great option. The letterpress effect simulates the impression a polymer plate makes on paper when it’s pressed into it. Letterpress has become increasingly popular over the last 5 years, but fun fact: letterpressing was never meant to be a final print effect. Letterpressing first began as a ‘test’ print before metal plates were developed which create stronger, deeper (and more expensive) impressions. In this week’s tutorial, adjust the settings for however strong of an impression you’d like as we create a letterpress effect entirely in Illustrator.

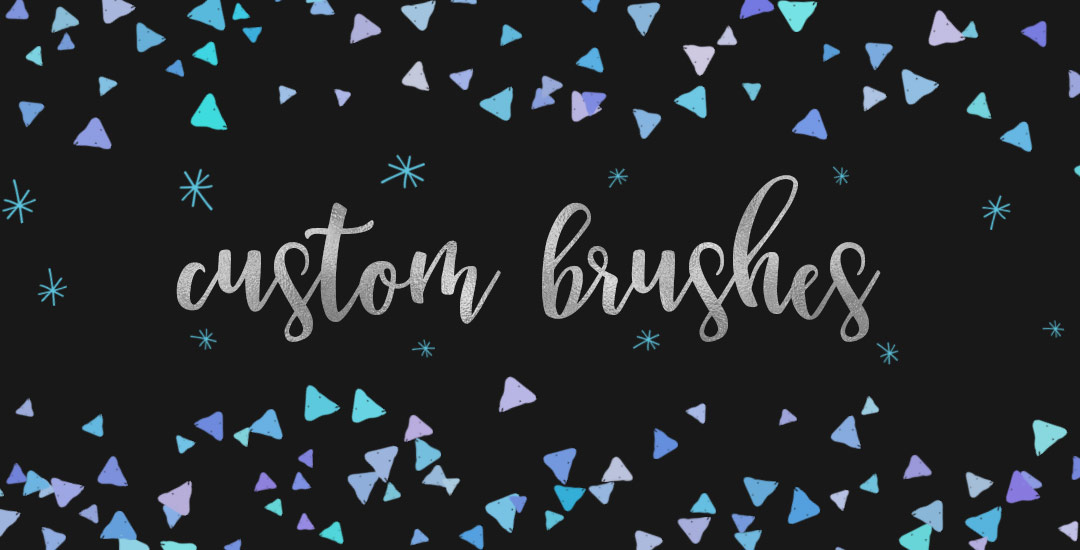
Creating custom brushes in Photoshop is one of my favorite things to do! I love using them for lettering (paired with a wacom tablet), extra decorative elements or just to add a little bit of unique style to whatever I’m making. What’s even better is that they are really quick and easy to make and Photoshop offers a ton of settings to truly make them original. If you’ve checked out my Intro to Photoshop class, you could easily integrate a custom brush to really make your layout special!

In this week’s tutorial, I’ll walk you through what all of those settings do and we’ll create a custom brush in Photoshop together. At the end of the tutorial, you’ll have everything you need to start creating and using your own brand spankin’ new brushes 🙂 Everything is below!

GDPR Icon

Your Privacy Matters

We use cookies to customize and create content that’s most important to you. We’ll never share the info we collect.

View Privacy Policy