
If you love lettering – whether it’s on paper or an iPad, you’re probably familiar with how powerful your lettering becomes when it’s vectorized. Vectorization allows your lettering to be infinitely rescaled without losing quality. This means it can be put on anything, at any size and look as great as the day it was drawn. Since it’s a digital copy, it can exist for forever without fear of it being buried in past stacks of lettering experiments, too. It’s also a crucial step in creating open type fonts!
In this week’s video, I’m sharing my favorite, most reliable Illustrator trace settings when it comes to vectorizing lettering. These are the settings I use every time I vectorize to keep as much original quality as possible. Read on for it all!
Pin it for later!

My Favorite Illustrator Trace Settings to Vectorize Lettering
Here are some other vectorization tutorials you can check out!
- Hand Lettered Birthday Card in Illustrator
- How to Vectorize Doodles
- Using Vectors with Procreate
- Click here to learn more about creating + selling hand lettered fonts!

Here’s my favorite Illustrator trace settings to vectorize lettering in written form, along with some tips!
- If you’re creating your initial lettering on an iPad, always make sure you create it in black! This will give you the greatest contrast when you go to image trace in Illustrator later. To transfer your lettering from Procreate to Illustrator, you can either air drop it (if you’re on a Mac), or email it to yourself (PC or Mac).
- If you create your lettering on paper, use black ink to keep that contrast. Scan in at a minimum of 300dpi. If you have Photoshop, increase the contrast of your scan there first, then bring the scan into Illustrator for vectorizing. This will give you the best chance of keeping the most detail from your original lettering, especially if you have a lot of texture in it.
- In Illustrator, image trace, then access your trace panel settings. Input the following:
- Threshold: 150
- Paths: 75%
- Corners: 75%
- Noise: 5-10px
- Make sure ‘ignore white’ is unchecked
- I recommend not ‘ignoring white’ because, although the trace will remove the white, with lettering, any closed letters, like an ‘a’ or ‘o’, ‘e’, etc. will have an extra, unfilled shape that you won’t need that can make things confusing/more complicated later on.
- Expand your trace and ungroup. Grab your magic wand tool and select an area of white (all the white will be selected when you do this) and hit delete. This will ensure that you don’t have any empty shapes that you don’t need AND remove all the white at the same time 😉
- Done!
Receive special offers on courses + products, a new design file every month plus instant access to the Resource Library!

Pick up over 50 design + lettering files as our gift to you when you join the Tuesday Tribe for free!
error
Congrats!
Please check your email to confirm.
You May Also Enjoy
 How to Save and Export Patterns in Illustrator Posted in Tutorials, Illustrator, Patterns, Beginner
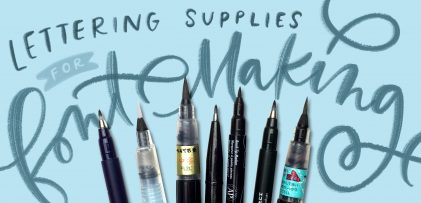 My Favorite Lettering Supplies for Font Making Posted in Tutorials, Roundups, Typography, Hand Lettering, Beginner
 Quick Tip: Create Circular Text in Adobe Illustrator Posted in Tutorials, Typography, Illustrator, Beginner
 Create Colorful Gradient Lettering in Adobe Illustrator Posted in Tutorials, Typography, Hand Lettering, Illustrator, Advanced
No comments