
If you’ve been here before, you already know I’m crazy about watercolor – traditional or digital. A couple years back, I shared how to vectorize watercolor textures, so today I want to share the process I use to vectorize watercolor lettering. We’ll start by creating our watercolor lettering traditionally using Arteza watercolor brush pens. Next, we’ll scan it into the computer, then finish it up by vectorizing in Illustrator. Read on for the full supply list + tutorial!
Pin it for later!
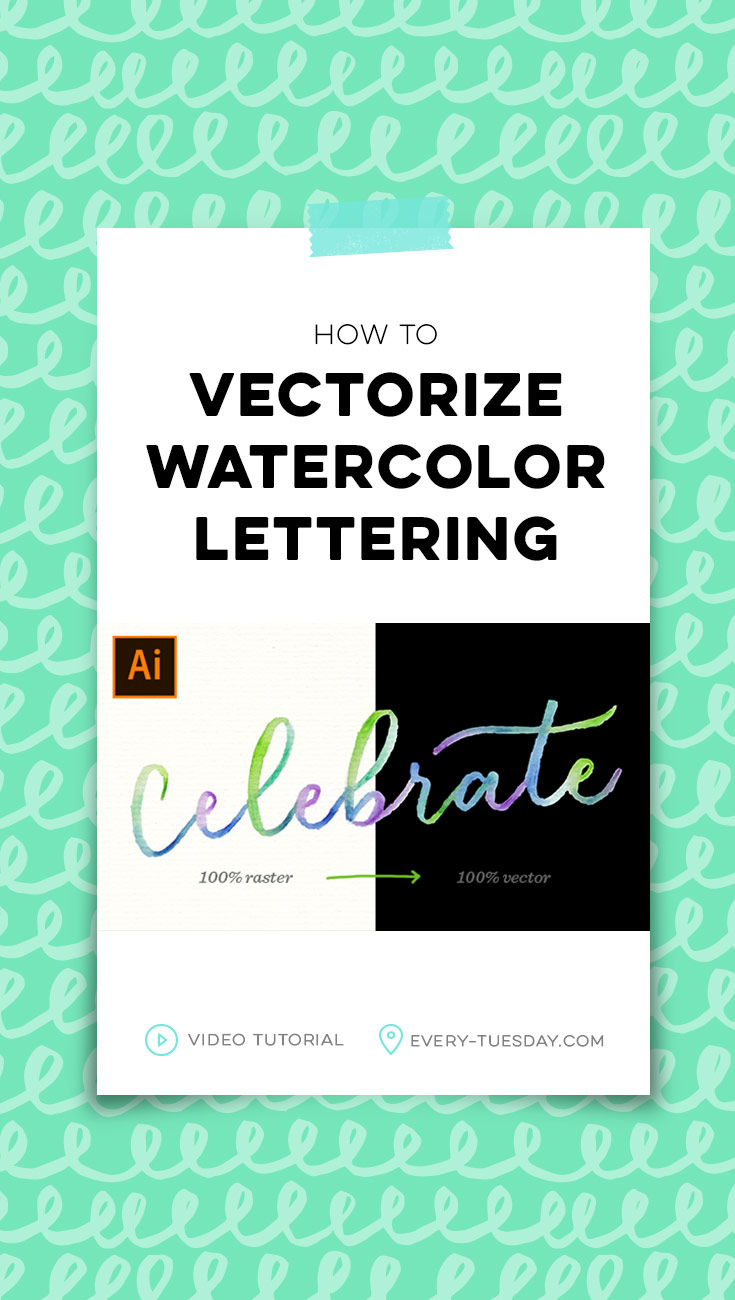
How to Vectorize Watercolor Lettering
Mentioned in this tutorial/supply list:
Arteza has offered Every Tuesday readers 10% off your entire order when you use the code TeelaCunningham5 at checkout from now until February 27, 2020!
If you’d like to vectorize watercolor lettering created in Procreate, export the artwork as a jpg, then open it in Illustrator and continue the tutorial from there.

Here’s what we did to vectorize watercolor lettering in Adobe Illustrator!
- Create your watercolor lettering. Click here for more on watercolor lettering traditionally. To create watercolor lettering on an iPad using Procreate, check out this course!
- Scan traditional watercolor lettering into the computer as a 300 dpi color jpg.
- Make any color adjustments in Photoshop as desired (optional).
- Create a new document in Adobe Illustrator. Document size doesn’t matter since we’ll be vectorizing. I used an 11″x8.5″ RGB doc that was 300 dpi.
- File > place the scanned jpg into your Illustrator document.
- Image trace the texture as a high fidelity photo. Afterwards, adjust additional trace options as needed, then commit the changes by hitting ‘expand’.
- Place a dark background on the layer beneath your lettering to view any light colored areas while you work.
- Adjust the tolerance of your magic wand tool. Use your magic wand to remove the majority of the white watercolor paper that surrounds your lettering.
- Remove any additional white from around the lettering using the direct select tool.
- Clean up edges as desired using the pencil tool, direct select tool + anchor point removal tool.
- Done!
This post contains affiliate links. This means I may make a commission at no additional cost to you if you choose to purchase the products listed. I only promote products I’ve personally used, trust and believe in. Thank you in advance for supporting the free content on Every Tuesday!
Receive special offers on courses + products, a new design file every month plus instant access to the Resource Library!

Pick up over 50 design + lettering files as our gift to you when you join the Tuesday Tribe for free!
error
Congrats!
Please check your email to confirm.
You May Also Enjoy
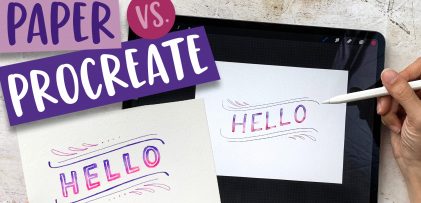 Paper vs. Procreate: Watercolor Block Lettering Posted in Tutorials, Hand Lettering, iPad Lettering, Beginner, Watercolor, Procreate
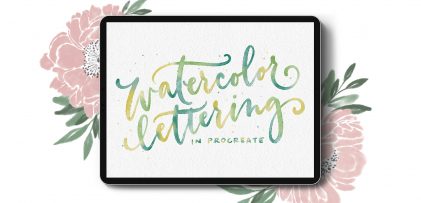 New Course! Watercolor Lettering in Procreate Posted in Hand Lettering, Courses, iPad Lettering, Beginner, Watercolor
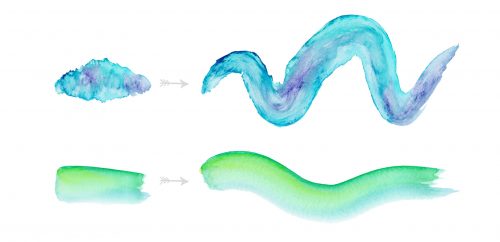 Create Watercolor Texture Brushes in Adobe Illustrator Posted in Tutorials, Illustrator, Textures, Beginner
 iPad Lettering: Using Vectors with Procreate Posted in Tutorials, Illustrator, vector, iPad Lettering
No comments