I created something similar to this watercolor fireworks trick last year and I couldn’t stop thinking about it this year. It’s soooo easy, quick and really fun to create. In celebration of Independence Day here in the US (and the fact it lands on a Tuesday this year), today we’re going to create watercolor fireworks together 🙂 Grab your favorite watercolors, a waterbrush, a straw and let’s go!
Pin it for later!
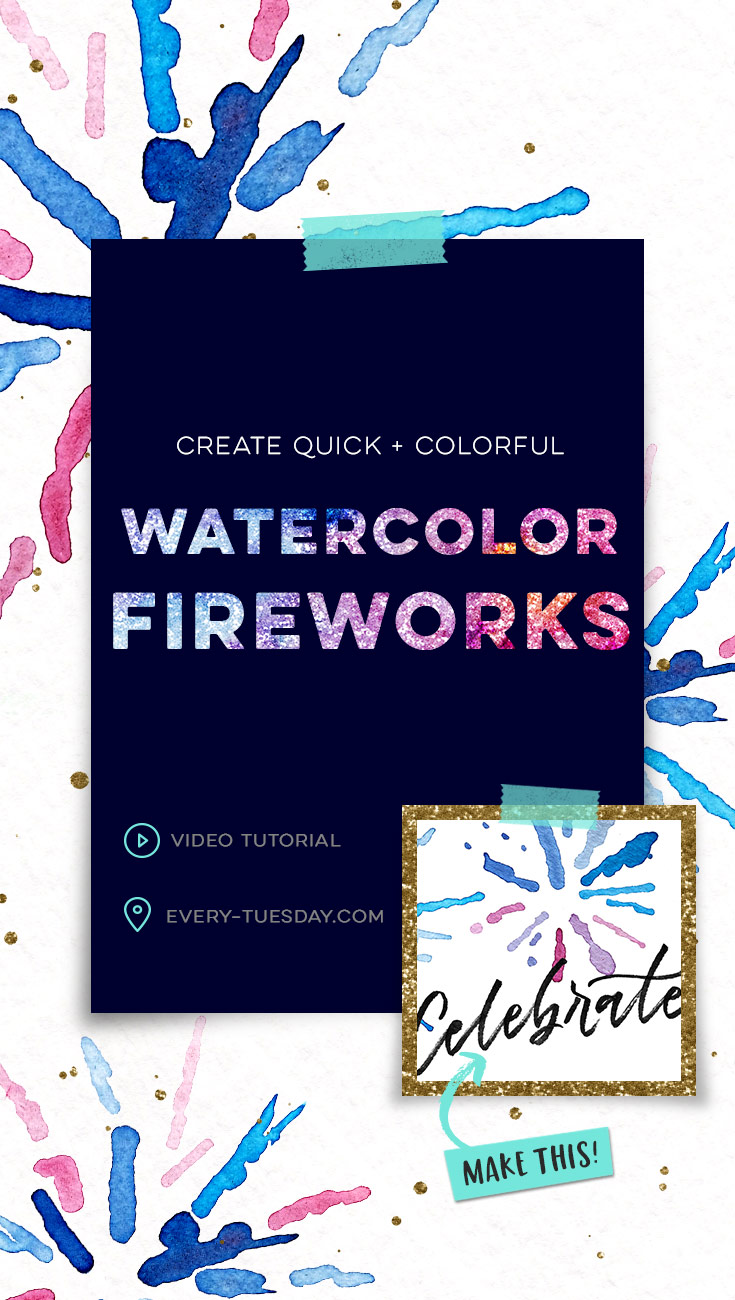
Create Quick and Colorful Watercolor Fireworks
Supplies used + mentioned in this tutorial:
- Watercolors (your pick): tube, pan set, or concentrated (concentrated is my personal favorite for this technique because of its vibrancy)
- Iridescent Medium (for adding glitter/sparkles)
- Watercolor Paper: Canson cold press 140#
- Waterbrush: a Pentel fine tip aquash brush was used in the video
- Paper straw, or any straw you have on hand!
- eye dropper or pipette
- old/cheap paintbrush (for transferring iridescent medium to watercolors)
- If adding lettering: Tombow Fudenosuke Twin Tip

Here’s a basic, written overview of what we did together, if needed:
- Prepare your watercolors – if using liquid concentrated watercolors, I recommend adding a little water to make your colors last a bit longer.
- Shake your iridescent medium, then fill the tip of an older paintbrush and mix into each color. Clean the brush each time so no color accidentally ends up in your iridescent medium.
- Using a waterbrush with a full barrel of water, fully dip the tip into your first color. Squeeze the barrel gently and create colored drops on your paper. Keep your drops on the smaller side and keep a healthy space between ‘drop rays’ so they don’t merge together when you use your straw.
- Once you have all of your drops laid, grab your straw. Gently apply a swift puff of air angled in line with your drops. This may take a few tries to discover the proper pressure, so stick with it! Fix or improve any areas you’d like using your waterbrush.
- For a full firework burst, create your first puff of air directly in the center of your dots. After the first puff, angle your brush to merge any remaining drops.
- Allow to fully dry before adding your lettering. Done!


Receive special offers on courses + products, a new design file every month plus instant access to the Resource Library!

Pick up over 50 design + lettering files as our gift to you when you join the Tuesday Tribe for free!
error
Congrats!
Please check your email to confirm.



wendy l | July 4, 2017
|
Awesome! Love how this looks.
Marie | July 4, 2017
|
Wow. So cool! Thanks for the inspiration. Have a happy holiday!
Stickhummel | July 4, 2017
|
Beautiful, inspiration. I love your videos. It makes me happy.
myra | September 7, 2017
|
what a great idea. I have tried this when painting a scarecrow and had trouble with the flow and now I will try it with the dot method you teach thanks.